Create an Order
The first step is to create a Service Desk Order.
-
Navigate to Main > Service Desk > Orders.
2. Click 
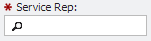
3. Enter the Service Rep (if not populated with the User's name)
4. Enter the Owner of the new service

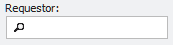
5. If so desired, enter the Requestor's name
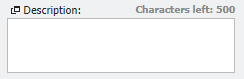
6. Enter a brief description
7. Click the
An Order number will be generated in the upper left-hand corner of the window.
Adding an Action
Next, add a Service Desk Order Action.
1. Click the
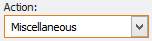
2. Set the Action as "Miscellaneous"
3. Select the Service for the Order
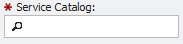
Ways to search for Services:
-
If the Service Number is known, enter it into the Service ID field and hit enter.
2. Part of the Service ID can be entered into the field.
3. Hit Enter.
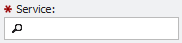
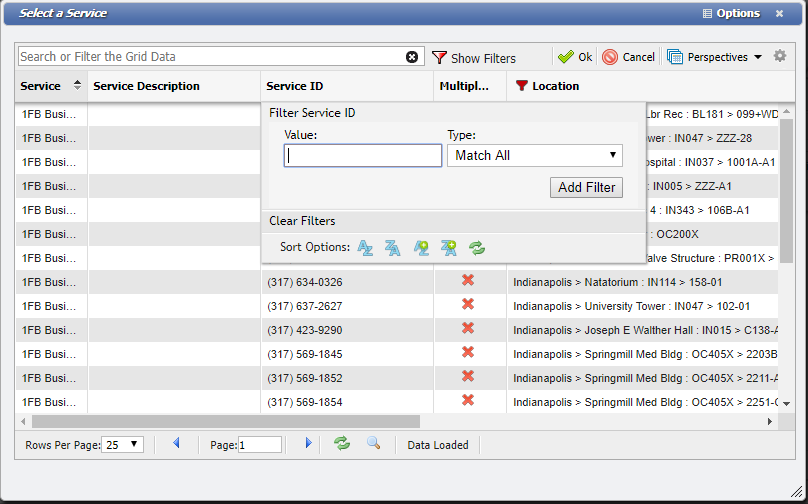
4. The magnifying glass in the Service field will trigger a form to help select the appropriate Service
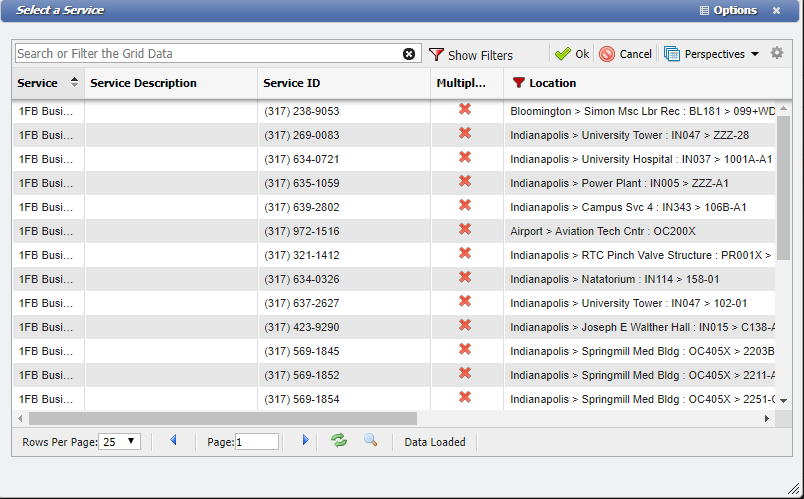
5. Filters can be added to the columns to shorten the list
After Selecting a Service:
-
Click
-
If there are any matching SDC's (Service Desk Classification) the User will see this screen and have the choice of choosing the appropriate SDC, saving without an SDC, or not saving the Action.
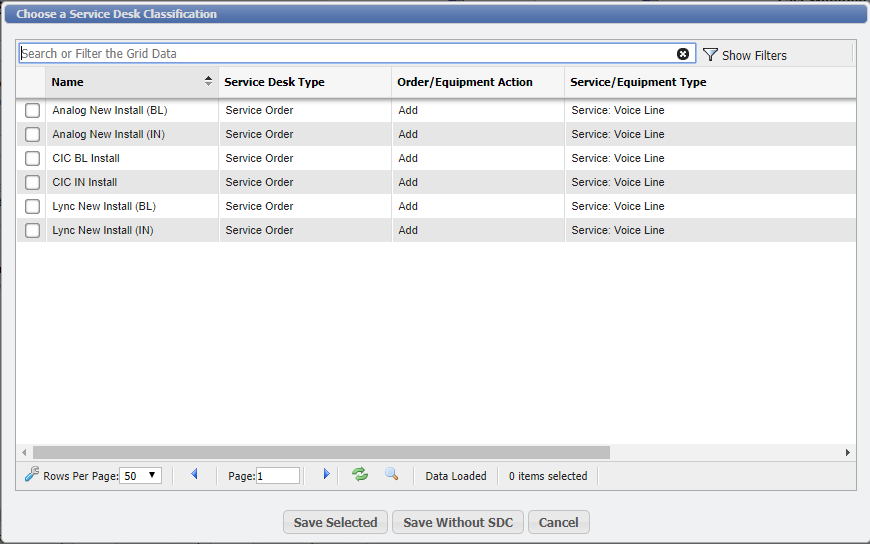
If saved (with or without an SDC) there will now have an Action number next to the SD#.
Entering Workflow
At this point, if the workflow is not populated from the Service Desk Classification it can be entered here.
-
Click on the

2. Click
3. Enter a Workflow Number

See Note below for additional information.
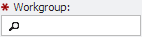
4. Enter the Workgroup
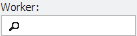
5. If assigning this to a specific person, enter/select the Worker
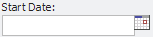
6. If this WF item is ready to be worked, enter a Start Date
Optionally, choose a Scheduled Date, and/or enter an Estimated Time to complete the workflow.
7. Click
Note: A couple of things to remember about Workflow numbers.
-
Workflows Numbers are used to order the workflow items
-
Leave room between workflow numbers in case items need to be added later. It is recommended to use intervals of 100
-
Multiple WF items can have the same number. This is done when those tasks can be performed concurrently
Selecting GLA's
-
Click on the

2. Click the 
3. Click the 
4. Choose the GLA that will get billed for this Service's charges.

5. If the charges are split between multiple GLA's choose the percentage for this GLA then choose the other GLA's and percentages.

6. Click the 