System Requirements
The Avaya Communication Interface is not a part of general PCR-360 functionality and requires the purchase of a license.
Please contact Professional Services to request a license, and confirm your system meets all requirements.
Authorization Codes
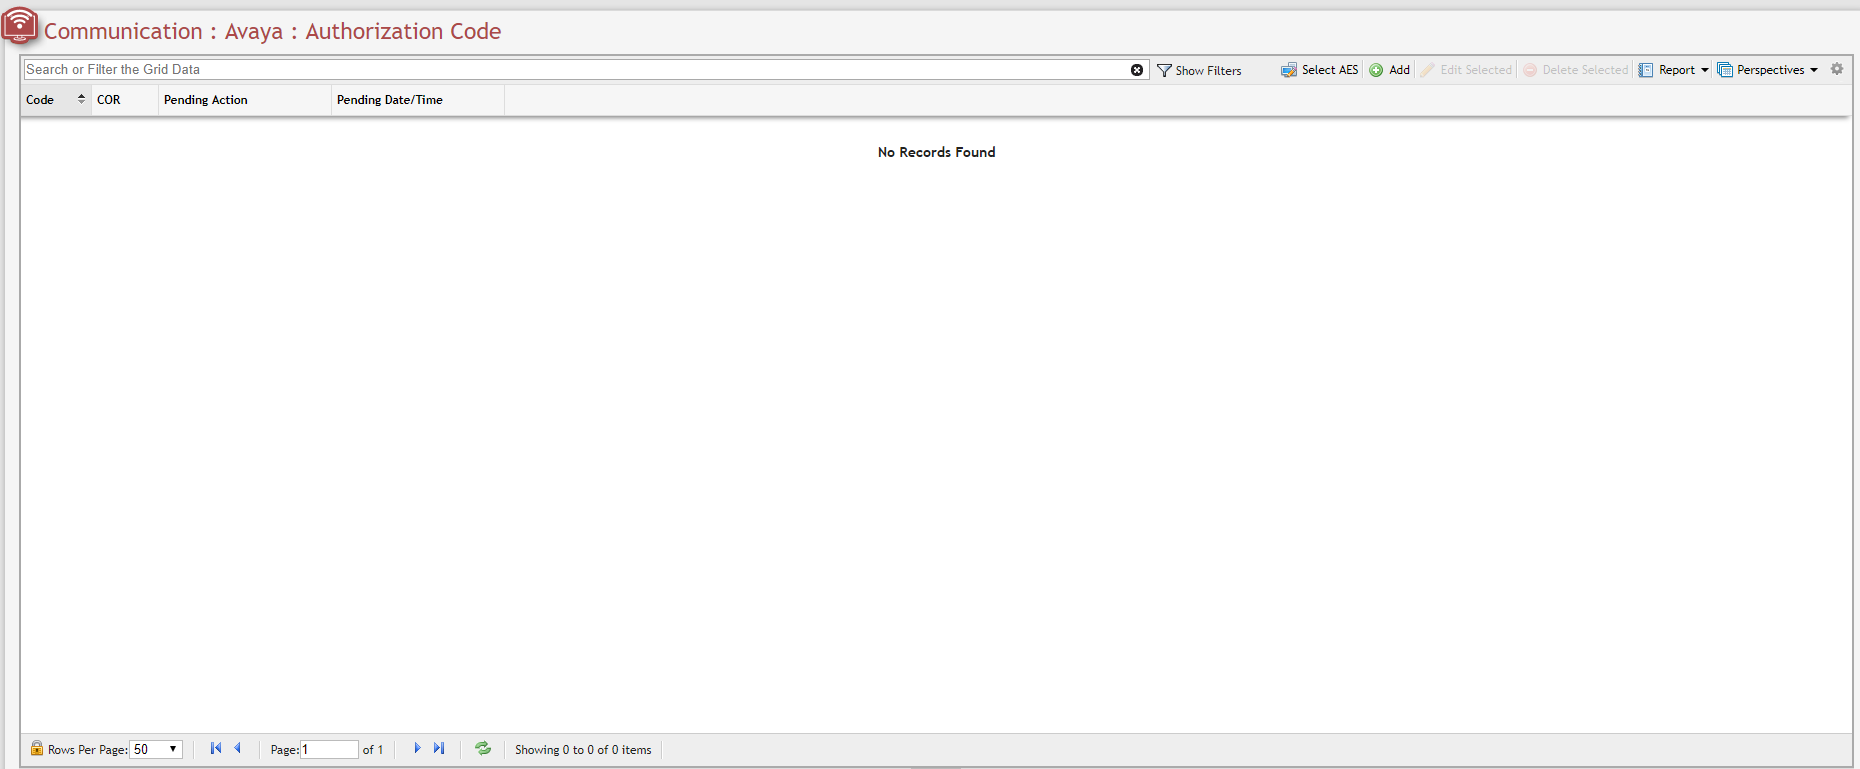
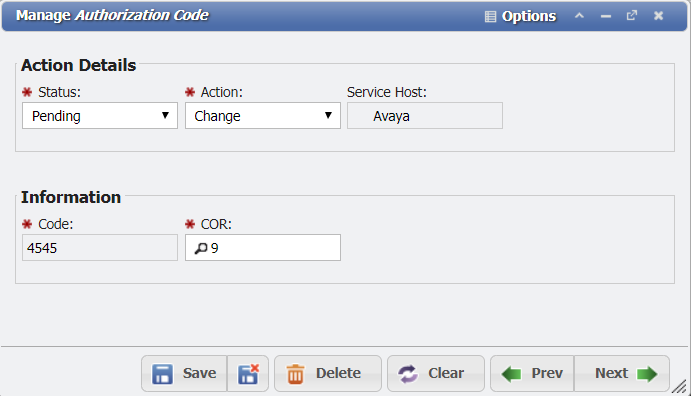
'Authorization Codes' can be added, edited and deleted by a User within PCR-360, and enable a User to be able to allow privileged individuals to use other stations for phone calls. The Authorization Code is able to override normal permissions of the station by it's associated to a 'COR (Class of Restriction)' to define the behavior expected of that station. All Authorization Codes are expected to be numeric values and the length is configured in the switch.
The Call Manager can be selected using the ![]()
Add Authorization Code
Navigate to Main > Communication > Avaya > Authorization Code and perform these steps to create a new Authorization Code from the Authorization Code Grid. This will create a new Authorization Code within PCR-360 and the switch, and relate it to a COR defined in the switch.
-
Click the

-
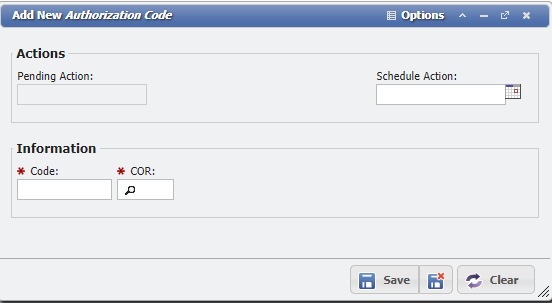
Enter the desired details for the Authorization Code and COR.
-
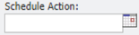
If it is desired to have this change occur at a later date or time, set the
-
If not manually set, when the Form is saved, the current date and time will be populated.
-
-
Save the Form.
-
The Authorization Code and COR appear in the grid.
Edit Authorization Code
Navigate to Main > Communication > Avaya > Authorization Code and perform these steps to update an Authorization Code from the Authorization Code Grid. The Authorization Code will be updated within PCR-360 and the switch, to the existing COR defined on the switch.
-
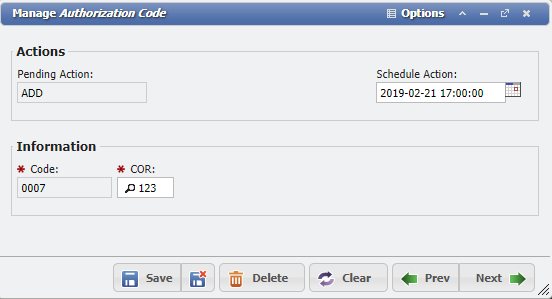
Choose an item from the grid and double click or select and click the

-
Change the details for the Authorization Code and COR.
-
If it is desired to have this change occur at a later date or time, set the
-
If not manually set, when the form is saved, the current date and time will be populated.
-
-
Save the Form.
-
The COR is now updated in the grid.
Delete Authorization Code
Navigate to Main > Communication > Avaya > Authorization Code and perform these steps to remove an Authorization Code from the Authorization Code Grid. This will remove the Authorization Code from both PCR-360 and the switch, so that it can no longer be used to grant access to Users.
-
Select an item in the Grid and click the

-
The item has been removed from the grid.
Class of Restriction (COR)
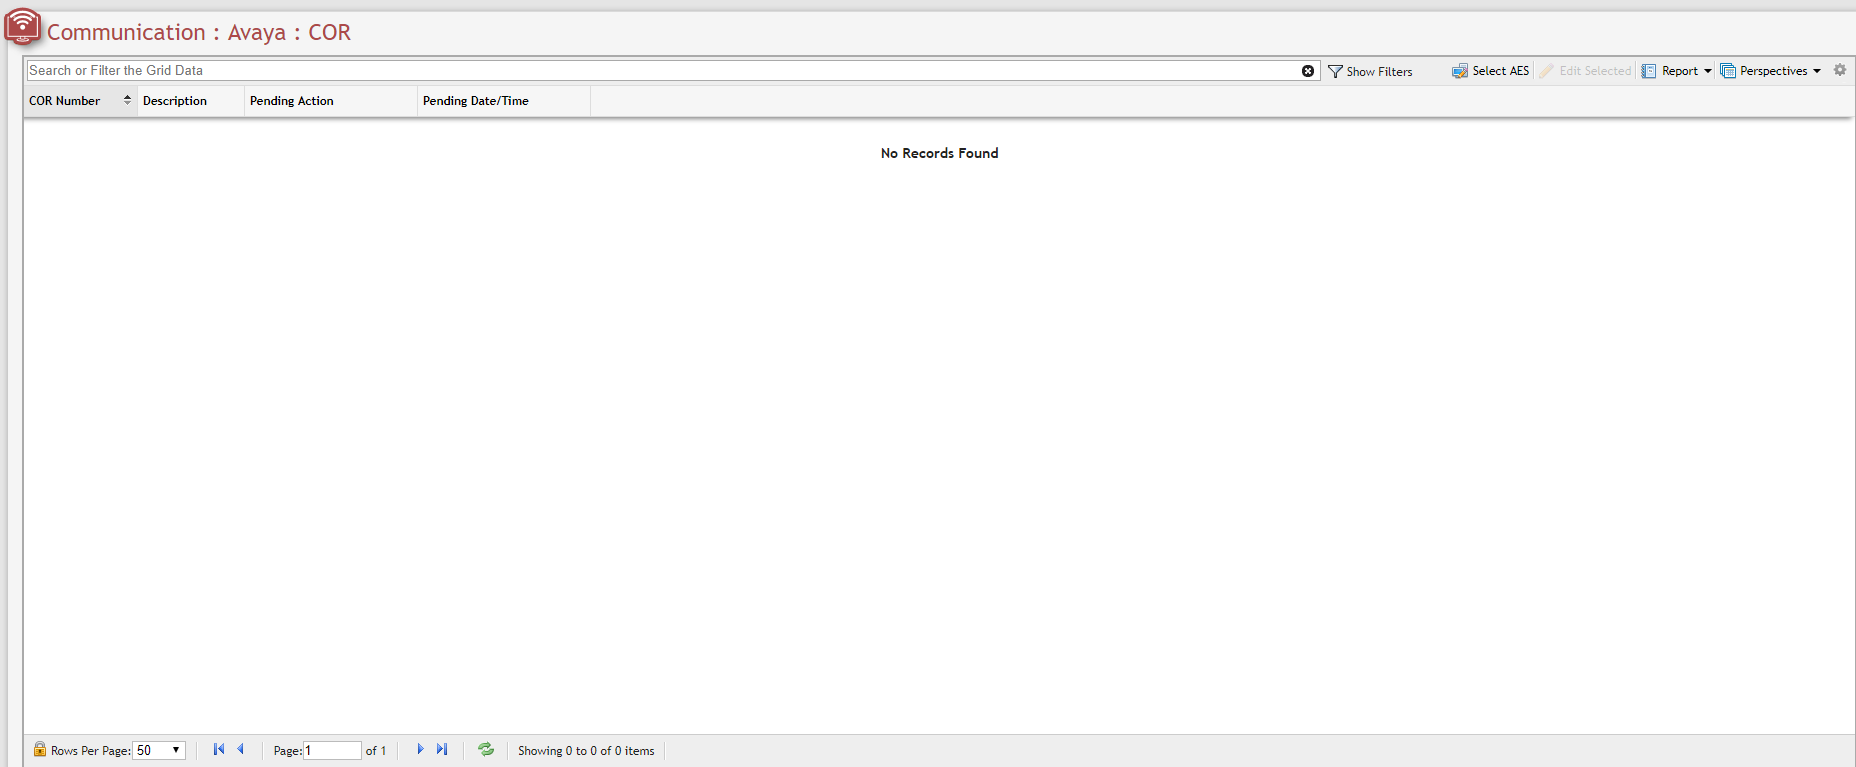
The COR grid contains a list of all CORs stored by the Call Manager. Only the description is stored within PCR-360, everything else is queried from the Call Manager which means CORs can not be 'Added' or 'Deleted', only 'Updated'. From the grid, the Call Manager can be selected using the ![]()
CORs act as blocks on a phone's capabilities to make calls. Types of things that could be manipulated by a COR include 'Calling Restrictions', 'Automatic Callback' and 'Disallowed List Assignment'. CORs allows for a more personalized level of control of individual phone stations permissions.
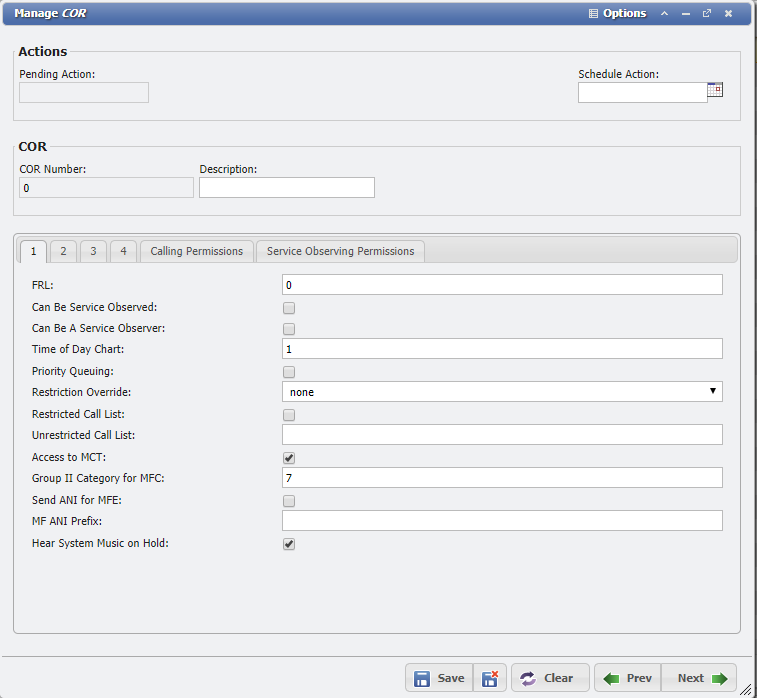
Edit a COR
In order to update a COR, a User can follow these steps to use PCR-360 to perform the update. This will make the relevant changes for the COR in the switch.
-
Open a COR by selecting it from the grid and clicking the
-
Update the COR as desired.
-
Save the COR by clicking the

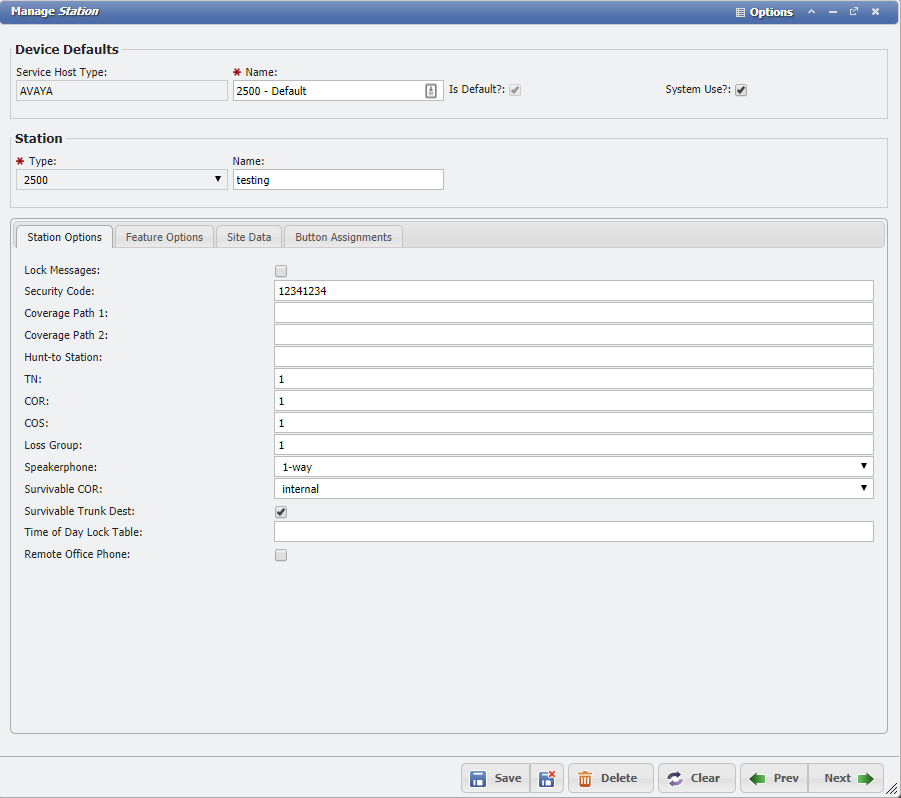
Stations
(picture of Avaya > Stations Grid, required Nav Menu to be rebuilt)
The Call Manager can be selected using the ![]()
Stations can be Added, Edited individually or in Bulk, or Deleted from the Stations grid.
Add New Station
Click the ![]()
Unknown Attachment
Edit Station
Select a Station in the grid and click the ![]()
Unknown Attachment
Bulk Update Station
To updated multiple records at once, select the desired records from the Grid, then click the ![]()
Unknown Attachment
Delete Station
Select a Station in the grid and click the ![]()
Device Defaults
Unknown Attachment
Add Station Device Defaults
To add a new record, the User first clicks the ![]()
Unknown Attachment
Edit Station Device Defaults
Select a Station in the grid and click the ![]()
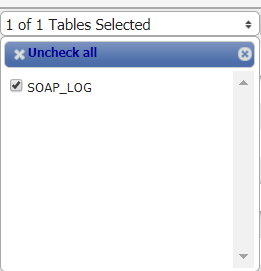
Audit Grid
Unknown Attachment
The Avaya 'Audit Log' is the primary reason to utilize the Avaya Switch Interface within PCR-360. By use of the Audit Logs, a User is able to see what updates were performed when, and who made them.
When numerous records are created, PCR-360 begins an archiving process to store the older records into other tables to improve performance. To access archived records use the Table Selector field on the grid header.
Service Desk
Avaya Integrations with Service Order Actions
A Service with the Service Host of Avaya and a Pending Service Order for that Service is Required to perform the following Actions.
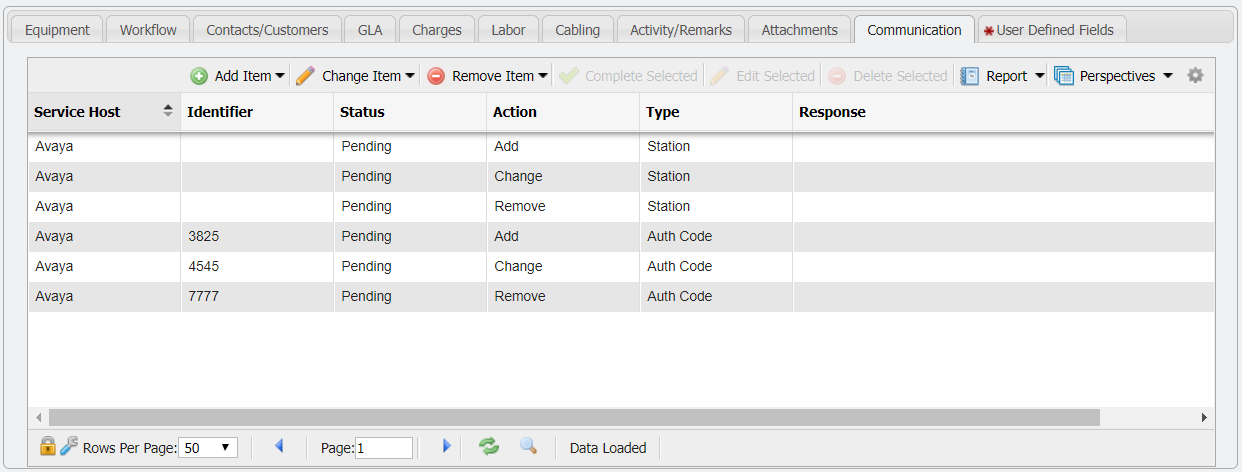
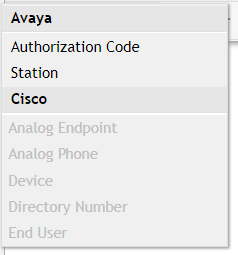
When selecting the ![]()
![]()
![]()
Add Action
Authorization Codes
In order to add a new Authorization Code to a Service, perform for following steps:
-
Add an Action within Service Desk, for the desired Service.
-
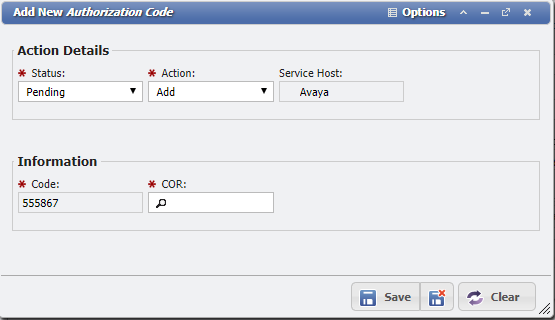
On the Communication Tab of the Service Order Action, add an Authorization Code by clicking the
-
Fill in the Code and COR so that the system knows it is desired to add a new Authorization Code.
-
-
'Complete' and 'Finalize' the Service Order to persist the change throughout PCR-360 and the switch.
Stations

In order to add a new Authorization Code to a Service, perform for following steps:
-
Add an Action within Service Desk, for the desired Service.
-
On the Communication Tab of the Service Order Action, add a Station by clicking the
-
Fill in the details for the new Station so that the system knows what is desired to be created.
-
-
'Complete' and 'Finalize' the Service Order to persist the change throughout PCR-360 and the switch.
Change Action
Authorization Codes
In order to update an existing Authorization Code on a Service, perform for following steps:
-
Add an Action within Service Desk, for the desired Service.
-
On the Communication Tab of the Service Order Action, add an Authorization Code by clicking the
-
Select the Authorization Code to be updated in the Select an Existing form.
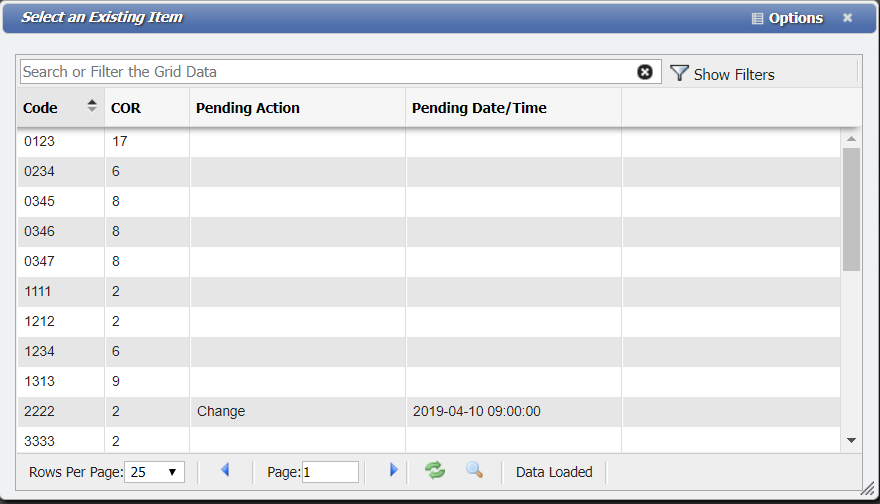
Select an Existing Item form example -
Fill in the Code and COR so that the system knows it is desired to update an existing Authorization Code.
-
'Complete' and 'Finalize' the Service Order to persist the change throughout PCR-360 and the switch.
Stations
Unknown Attachment
In order to update an existing Station on a Service, perform for following steps:
-
Add an Action within Service Desk, for the desired Service.
-
On the Communication Tab of the Service Order Action, add a Station by clicking the
-
Select the Station to be updated in the Select an Existing form.

Select an Existing Item form example -
Fill in the Code and COR so that the system knows it is desired to update an existing Station.
-
'Complete' and 'Finalize' the Service Order to persist the change throughout PCR-360 and the switch.
Remove Action
Authorization Codes
In order to remove an existing Authorization Code from a Service, perform for following steps:
-
Add an Action within Service Desk, for the desired Service.
-
On the Communication Tab of the Service Order Action, add an Authorization Code by clicking the
-
Select the Authorization Code to be removed in the Select an Existing form.
Select an Existing Item form example -
'Complete' and 'Finalize' the Service Order to persist the change throughout PCR-360 and the switch.
Station
In order to remove an existing Station from a Service, perform for following steps:
-
Add an Action within Service Desk, for the desired Service.
-
On the Communication Tab of the Service Order Action, add a Station by clicking the
-
Select the Station to be removed in the Select an Existing form.
Select an Existing Item form example -
'Complete' and 'Finalize' the Service Order to persist the change throughout PCR-360 and the switch.