The Data Entry Form
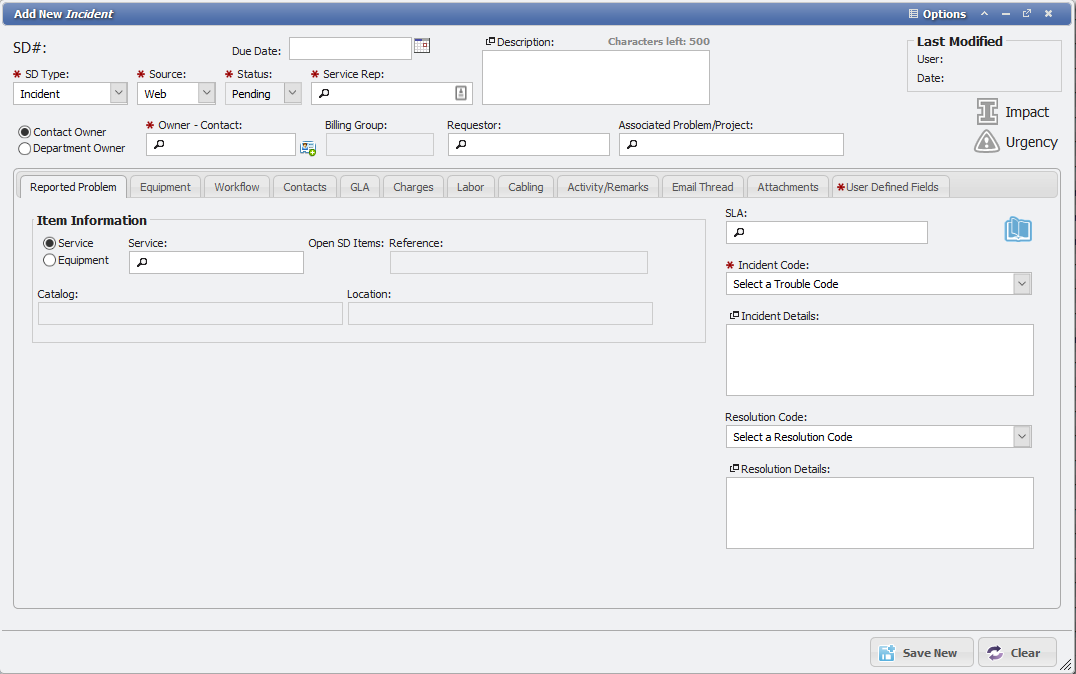
When an item on a Grid is opened, the User is presented with the Data Entry Form for that particular item. In this form (see above), Users can view and edit the item's data. This is perhaps the most important tool for Users in terms of managing the finer details of their organization's data.
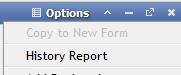
Save, Delete, and Clear
Any time an existing item is altered in the data entry form, the User must click the ![]()
Likewise, an item can be deleted by clicking the ![]()
Located beside the Save and Delete buttons is the ![]()
Data Warning

When Saving data on a data entry form, the application checks to make sure you are not overwriting changes that may have been made since you opened the data entry form. When this data is detected, you are presented with a Data Warning message.
The message gives three options:
-
Reload the Record - this closes the form with the outdated data (including any changes you've made) and reopens it with current data.
-
Show History - this opens a new browser tab with change history from the Audit table
-
Cancel - this simply closes the prompt, leaving the outdated form open.
To preserve changes when you see this prompt, we recommend option 3, following these steps:
-
Click the Cancel button on the yellow prompt.
-
Leave the old form open and reopen the same record. This leaves you looking at the same record, but the new form has current data.
-
Compare your changes in the older form with the current data and copy/paste changes you need to preserve.
-
Save the updated form.
Required Fields
Whenever a red asterisk accompanies a data field or box, this field must contain data in order for the item to be saved successfully. If a User attempts to save the data entry form without addressing each Required field, the User is prompted to do so before proceeding.
Prev and Next
The ![]()
![]()
Search Icon
The appearance of a 'Search Icon' ( ![]()
Typing in this field and then pressing the 'Enter' or 'Tab' key, clicking the icon, or clicking elsewhere presents the list with a search by the text entered. If there is only one matching result, the field is populated with the matching item.
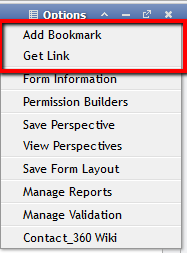
Options Menu
The ![]()
Copy to New Form

The 'Copy to New Form' menu takes all the information from the top part of the form and copy it to a new, blank form that the User can add information to and save. No information in the Tabs on the form carries over to the new form and needs to be populated with fresh data.
History Report
The 'History Report' is a list of all changes that have occurred on a record in PCR-360. The record-keeping allows for the tracking of individual changes on a record for audits. To open, click History Reports in the Options Menu. This opens the History Report for that record. Users can toggle between 'Show Full History' and 'Show Only Recent History' (a three-month time frame). The items are presented in expandable rows.
If a User receives a Permissions Error when attempting to view the record, this problem can be easily corrected.Add Bookmark/Get Link
Add Bookmark
This option creates a Bookmark for easy navigation. Once created, it appears in the bottom bar with the rest of the Bookmarks.
How to create a Browser Bookmark:
-
Navigate to the Form with the Perspective you wish to Bookmark
-
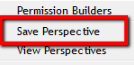
Click the View Perspective link in the Options menu
-
Select your Perspective and click the

Perspectives Bookmark Form example -
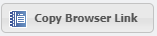
Click the
-
In your browser create a new Bookmark; the link location should have been copied to your clipboard
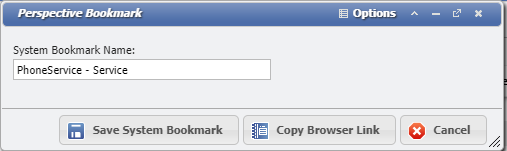
How to create a System Bookmark:
-
Navigate to the Form with the Perspective you wish to Bookmark
-
Click the View Perspective link in the Options menu
-
Select your Perspective and click the
Perspectives Bookmark Form example -
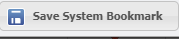
On the form enter a Bookmark name
-
Click the
Get Link
This Option creates a form with a link for the Users to copy. This link can then be sent to other Users and acts as a way to share forms easily. Not every form has a link associated with it. For instance, forms that are purely for data entry or selection does not have a link.

Permission Builders
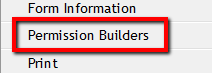
This Option allows the User to utilize Permission Builders without leaving the current form.
Print
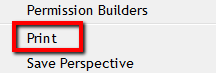
This Option prints the current form. This form opens in a new tab and displays the current Grid or Form in a printable format.
Perspectives
If the User clicks the 'Save Perspective' menu option, they open the 'Perspective' form.
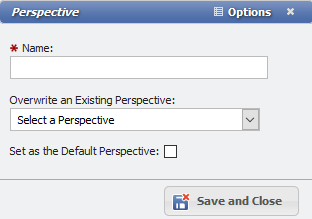
From here, the User can name their current Perspective, choose to overwrite an Existing Perspective (if any exist), and choose to Set as the Default Perspective. This functionality extends the capabilities of the Perspectives to make it easy to create them.
Additionally, there is a Menu option to 'View Perspectives' that opens the 'View Saved Perspectives' form.
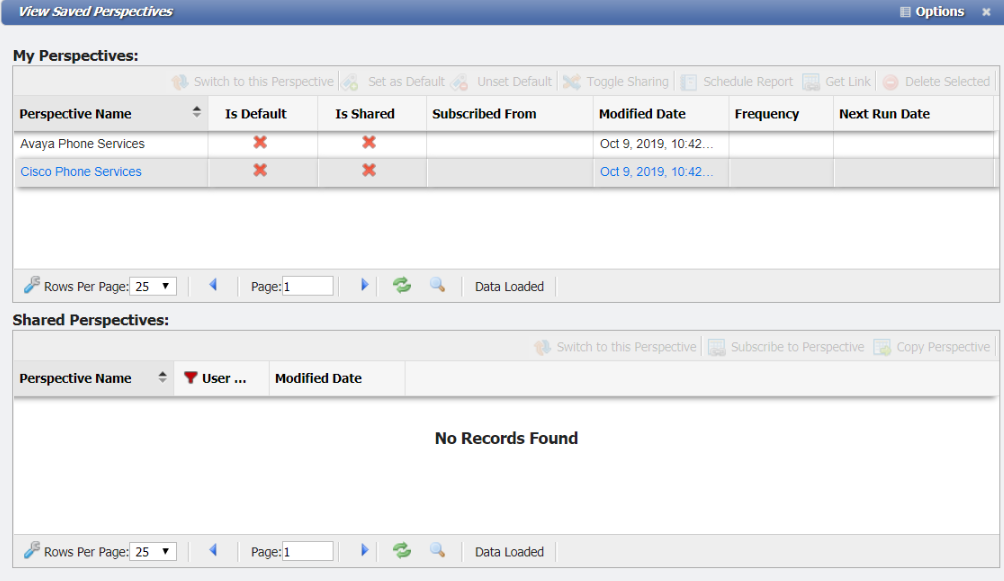
Note: This form can also be opened by clicking on the Perspectives button.
Form Layout
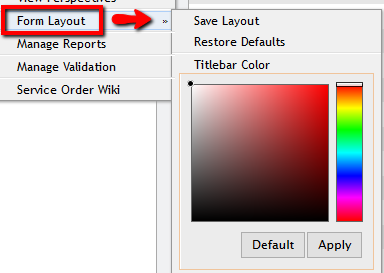
The Form Layout menu has several options.
-
Save Layout - After adjusting the size of a form, the User can click Save Layout. The form is always that size from then on.
-
Restore Defaults - Resets the size of the form to its original size.
-
Titlebar Color - Allows the User to change the Color of a form's title bar.
-
Default - This is the Default color of the title bars.

-
Apply - The

-
To set the color, first pick a color from the field. The slider on the right of the color picker (see below) can change the primary color while the large field on the left lets the User select the hue.
Once the color desired is chosen, the User can now click the ![]()
Reports
PCR-360 has two different types of Reports that can be added to forms. Crystal Reports and The Data Entry Form. Each Report has its Menu Option.
Crystal Reports
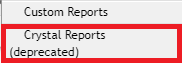
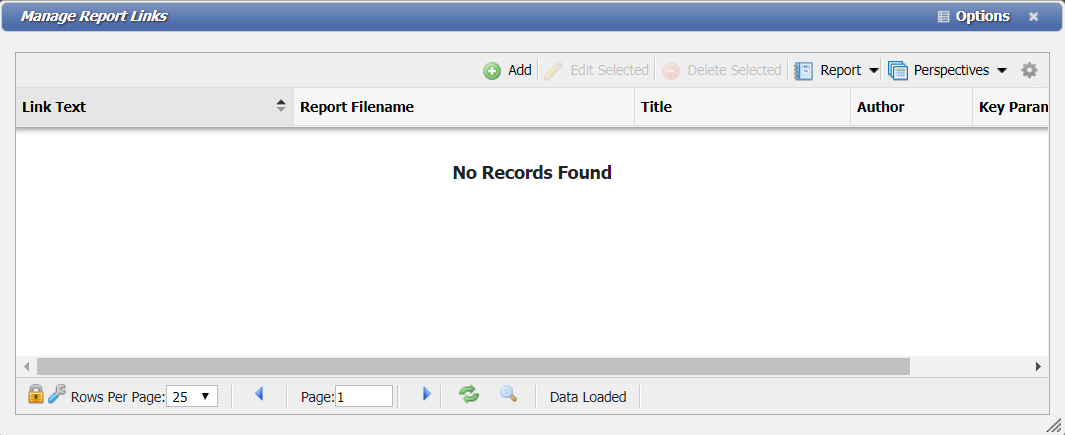
The Form Options Menu selection of Crystal Reports opens the 'Manage Report Links' form. This form will only display linked Crystal Reports.
Custom Reports
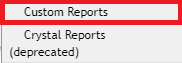
The Form Options Menu selection of Custom Reports opens the 'Manage Report Links' form. This form will only display linked Custom Reports.
Manage Validation
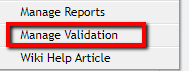
The 'Manage Validation' menu option opens the 'Manage Form Validation' form.
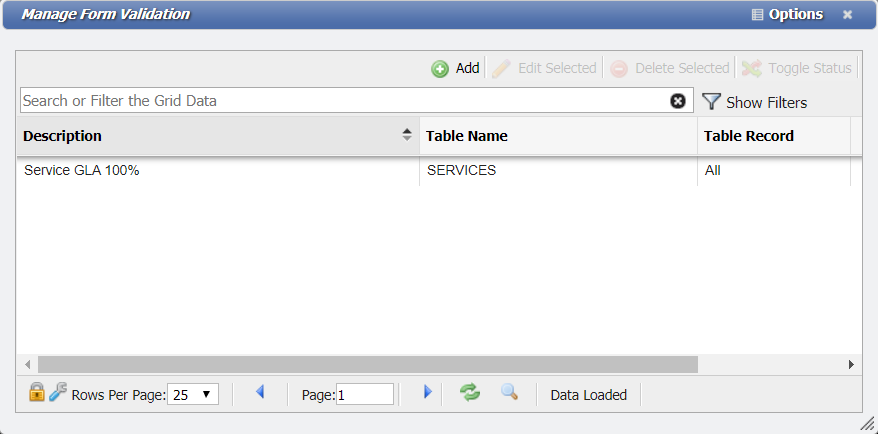
From this form, an Admin can Add, Edit, or Delete Selected Custom Validation routines for the given record. These Validation routines are very high level and should be reserved to System Administrators or PCR staff. The routines involve PHP programming knowledge and can be toggled on or off. The benefit of these routines is that certain records can be locked down from being changed, edited, or deleted without prior authorization from the SysAdmin.
Wiki
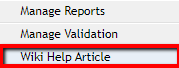
If a given form in the above example 'Service Order' has a Wiki associated with it, a User can navigate to that Wiki using this option. The Wiki page/section opens in a new tab and serves as a quick point of reference for potentially confusing materials.
Reports Menu
The ![]()
Reports that have been associated with a form using one of the Reports menu options.