Communication
For Details on how Switches Work, please see your Organizations Switch Technicians. The Switch Interface Modules for PCR-360 for Avaya and Cisco are designed to Emulate Switch Operations and sync values entered directly with the Switch.
Note: when using Chrome, the autofill feature can commonly prepopulate fields with values that trigger the opening of other forms, or may trigger errors. To avoid this, please clear the autofill settings in your browser.
Avaya
System Requirements
The Avaya Communication Interface is not a part of general PCR-360 functionality and requires the purchase of a license.
Please contact Professional Services to request a license, and confirm your system meets all requirements.
Authorization Codes
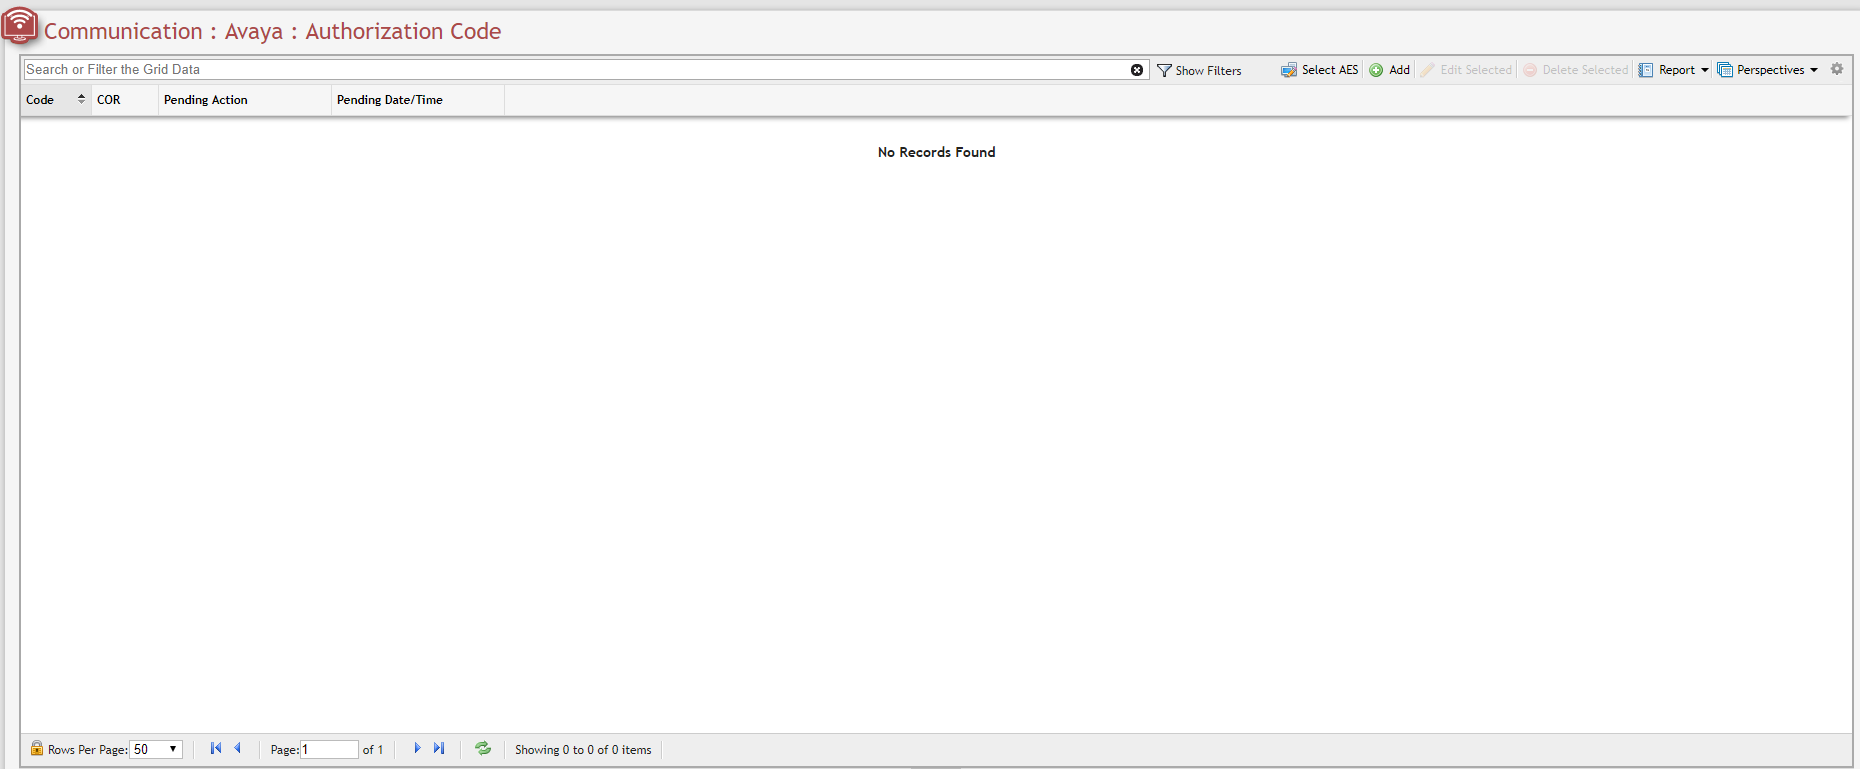
Avaya Authorization Code Grid example
'Authorization Codes' can be added, edited and deleted by a User within PCR-360, and enable a User to be able to allow privileged individuals to use other stations for phone calls. The Authorization Code is able to override normal permissions of the station by it's associated to a 'COR (Class of Restriction)' to define the behavior expected of that station. All Authorization Codes are expected to be numeric values and the length is configured in the switch.
The Call Manager can be selected using the ![]() button on the Authorization Code grid.
button on the Authorization Code grid.
Add Authorization Code
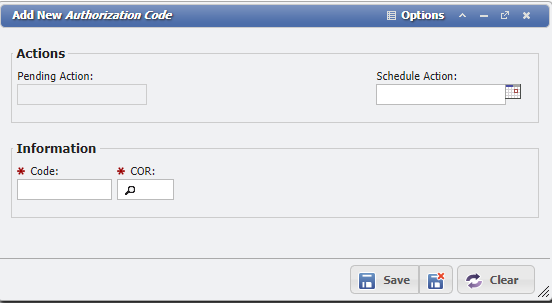
Add New Authorization Code Form
Navigate to Main > Communication > Avaya > Authorization Code and perform these steps to create a new Authorization Code from the Authorization Code Grid. This will create a new Authorization Code within PCR-360 and the switch, and relate it to a COR defined in the switch.
Click the
 button.
Enter the desired details for the Authorization Code and COR.
If it is desired to have this change occur at a later date or time, set the
 field to the desired date and time.
If not manually set, when the Form is saved, the current date and time will be populated.
Save the Form.
The Authorization Code and COR appear in the grid.
Edit Authorization Code
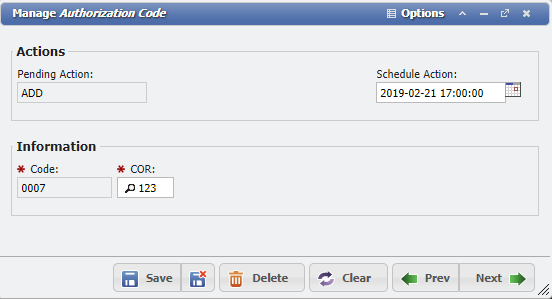
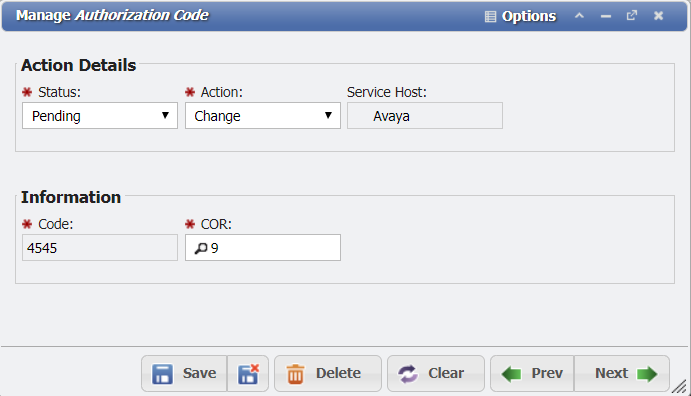
Manage Authoriztion Code Form
Navigate to Main > Communication > Avaya > Authorization Code and perform these steps to update an Authorization Code from the Authorization Code Grid. The Authorization Code will be updated within PCR-360 and the switch, to the existing COR defined on the switch.
Choose an item from the grid and double click or select and click the
 button.
Change the details for the Authorization Code and COR.
If it is desired to have this change occur at a later date or time, set the
 field to the desired date and time.
If not manually set, when the form is saved, the current date and time will be populated.
Save the Form.
The COR is now updated in the grid.
Delete Authorization Code
Navigate to Main > Communication > Avaya > Authorization Code and perform these steps to remove an Authorization Code from the Authorization Code Grid. This will remove the Authorization Code from both PCR-360 and the switch, so that it can no longer be used to grant access to Users.
Select an item in the Grid and click the
 button.
The item has been removed from the grid.
Class of Restriction (COR)
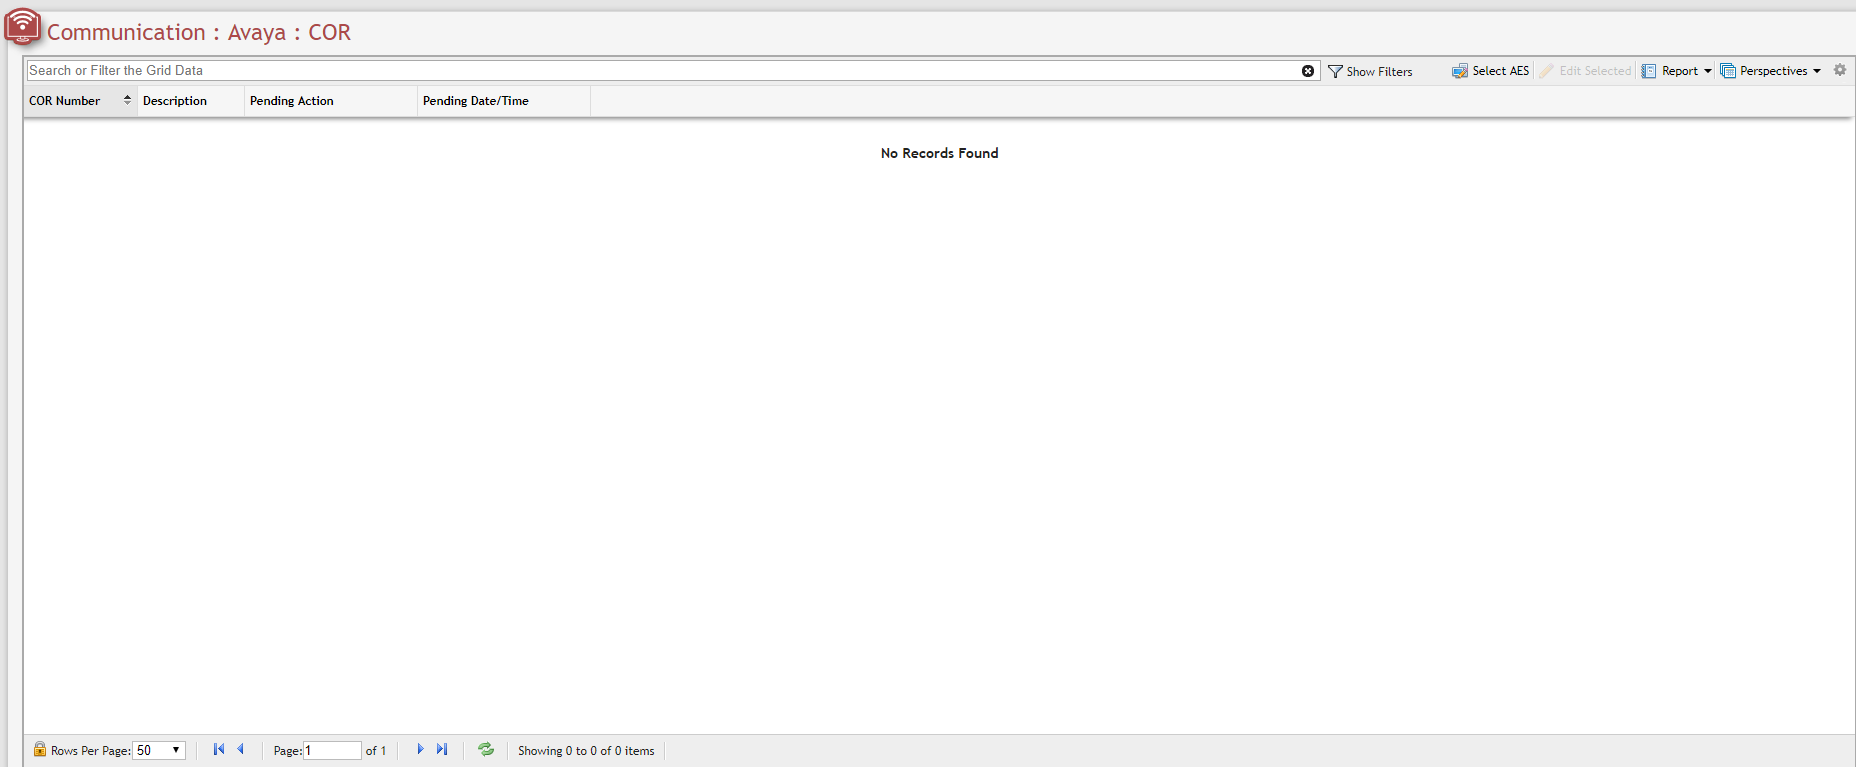
Avaya COR Grid example
The COR grid contains a list of all CORs stored by the Call Manager. Only the description is stored within PCR-360, everything else is queried from the Call Manager which means CORs can not be 'Added' or 'Deleted', only 'Updated'. From the grid, the Call Manager can be selected using the ![]() button.
button.
CORs act as blocks on a phone's capabilities to make calls. Types of things that could be manipulated by a COR include 'Calling Restrictions', 'Automatic Callback' and 'Disallowed List Assignment'. CORs allows for a more personalized level of control of individual phone stations permissions.
Edit a COR
In order to update a COR, a User can follow these steps to use PCR-360 to perform the update. This will make the relevant changes for the COR in the switch.
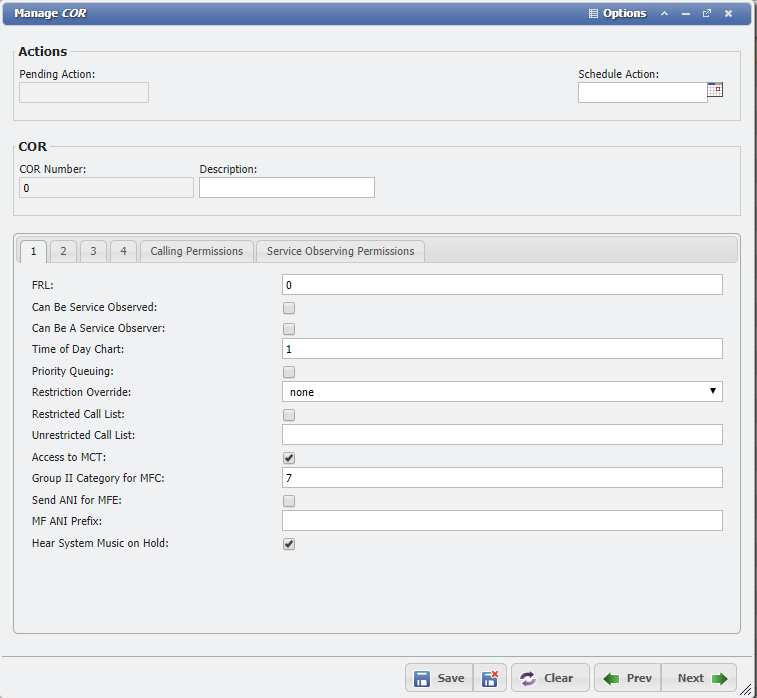
Manage COR Form
Open a COR by selecting it from the grid and clicking the
button.Update the COR as desired.
Save the COR by clicking the
 button .
Stations
(picture of Avaya > Stations Grid, required Nav Menu to be rebuilt)
The Call Manager can be selected using the ![]() button on the Stations grid.
button on the Stations grid.
Stations can be Added, Edited individually or in Bulk, or Deleted from the Stations grid.
Add New Station
Click the ![]() button to open the Add New Station form to create a new Station.
button to open the Add New Station form to create a new Station.
Add New Station form example
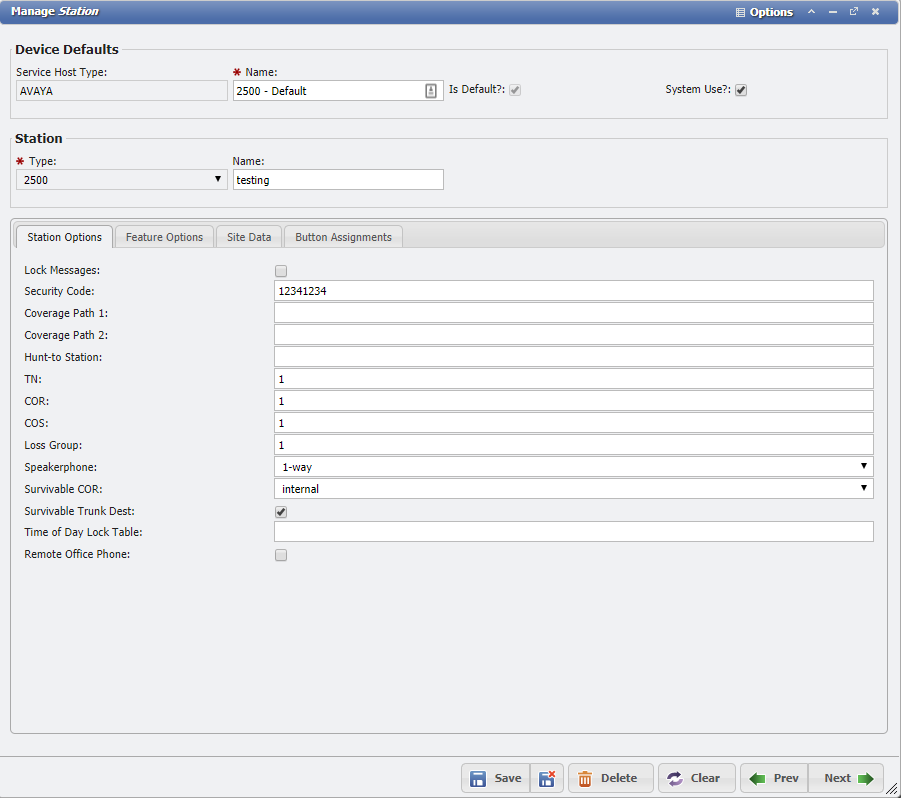
Edit Station
Select a Station in the grid and click the ![]() button to update the Station.
button to update the Station.
Manage Station form example
Bulk Update Station
To updated multiple records at once, select the desired records from the Grid, then click the ![]() button, to open the Bulk Update form.
button, to open the Bulk Update form.
Bulk Update Station form example
Delete Station
Select a Station in the grid and click the ![]() button to remove the Station.
button to remove the Station.
Device Defaults
Avaya Device Default Grid example
Add Station Device Defaults
To add a new record, the User first clicks the ![]() button, and selects the desired device to set a default for.
button, and selects the desired device to set a default for.
Add New Station Device Default form example
Edit Station Device Defaults
Select a Station in the grid and click the ![]() button to update the Station's Default Devices.
button to update the Station's Default Devices.
Manage Station Device Default form example
Audit Grid
Avaya Audit Log Grid example
The Avaya 'Audit Log' is the primary reason to utilize the Avaya Switch Interface within PCR-360. By use of the Audit Logs, a User is able to see what updates were performed when, and who made them.
When numerous records are created, PCR-360 begins an archiving process to store the older records into other tables to improve performance. To access archived records use the Table Selector field on the grid header.
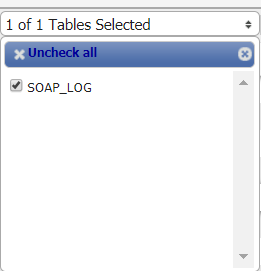
Table Selector dropdown example
Service Desk
Avaya Integrations with Service Order Actions
A Service with the Service Host of Avaya and a Pending Service Order for that Service is Required to perform the following Actions.
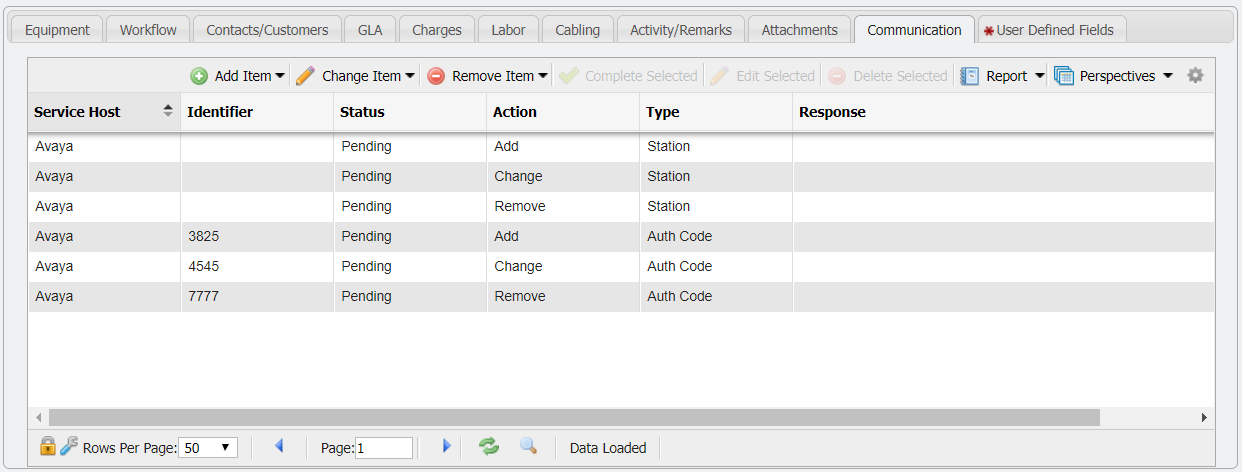
Service Desk Communication Tab with Example Avaya Actions
When selecting the ![]() ,
, ![]() or
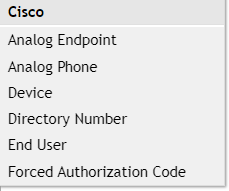
or ![]() buttons the User will be presented with the list of available. PCR-360 supports integration with Avaya Authorization Codes and Stations.
buttons the User will be presented with the list of available. PCR-360 supports integration with Avaya Authorization Codes and Stations.
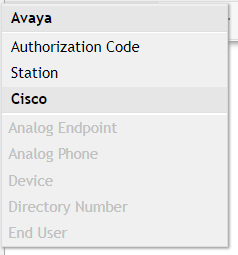
Avaya Authorization Codes and Stations Menu
Add Action
Authorization Codes
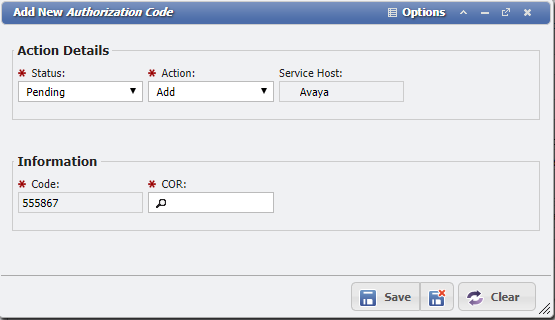
Add New Authorization Code Form - Add
In order to add a new Authorization Code to a Service, perform for following steps:
Add an Action within Service Desk, for the desired Service.
On the Communication Tab of the Service Order Action, add an Authorization Code by clicking the
 button, and selecting Authorization Code.
Fill in the Code and COR so that the system knows it is desired to add a new Authorization Code.
'Complete' and 'Finalize' the Service Order to persist the change throughout PCR-360 and the switch.
Stations
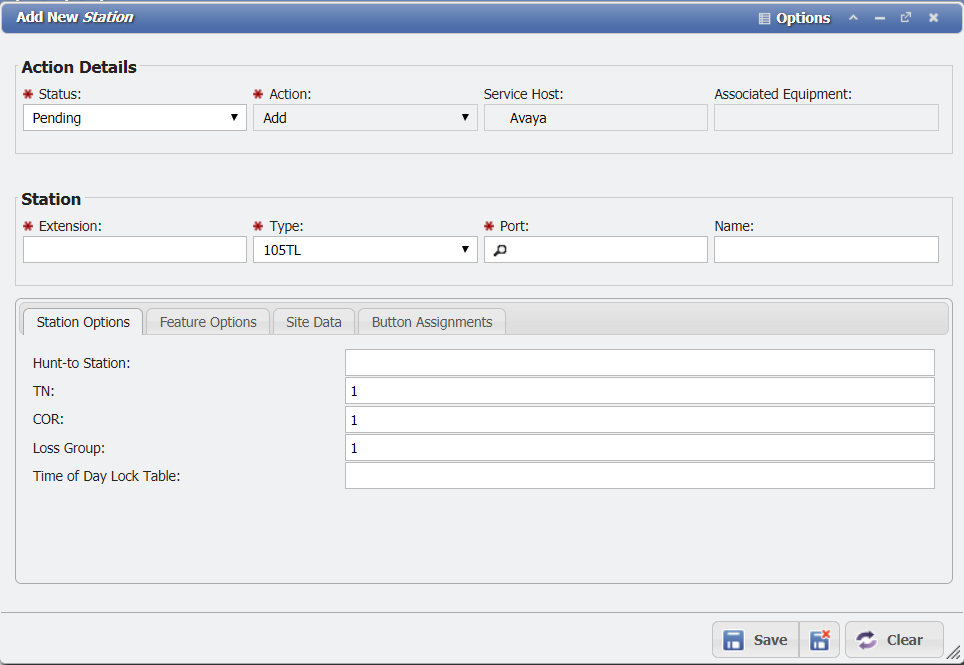
Add New Station form example
In order to add a new Authorization Code to a Service, perform for following steps:
Add an Action within Service Desk, for the desired Service.
On the Communication Tab of the Service Order Action, add a Station by clicking the
button, and selecting Station.Fill in the details for the new Station so that the system knows what is desired to be created.
'Complete' and 'Finalize' the Service Order to persist the change throughout PCR-360 and the switch.
Change Action
Authorization Codes
Manage Authorization Code form example
In order to update an existing Authorization Code on a Service, perform for following steps:
Add an Action within Service Desk, for the desired Service.
On the Communication Tab of the Service Order Action, add an Authorization Code by clicking the
 button, and selecting Authorization Code.
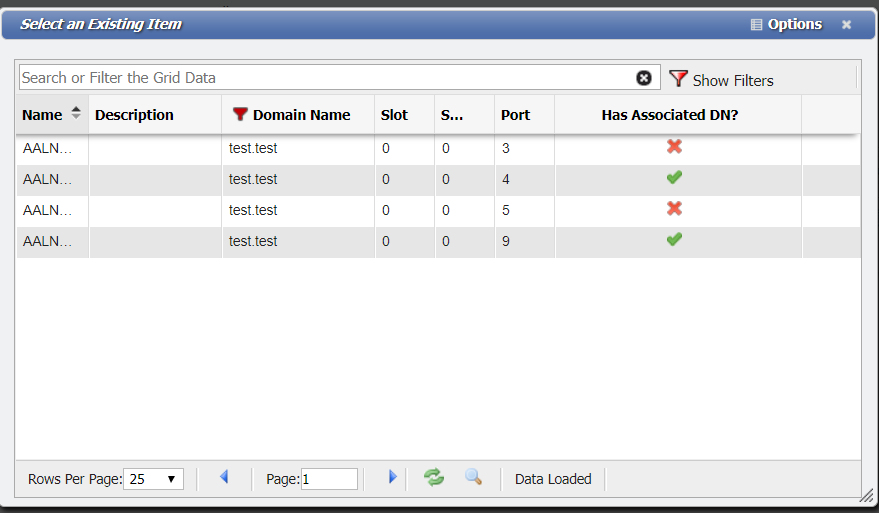
Select the Authorization Code to be updated in the Select an Existing form.
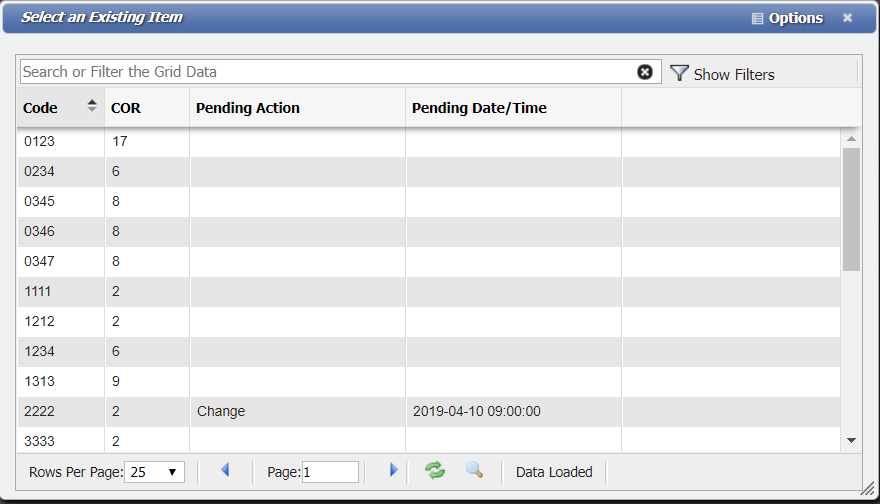
Select an Existing Item form example
Fill in the Code and COR so that the system knows it is desired to update an existing Authorization Code.
'Complete' and 'Finalize' the Service Order to persist the change throughout PCR-360 and the switch.
Stations
Manage Station Form
In order to update an existing Station on a Service, perform for following steps:
Add an Action within Service Desk, for the desired Service.
On the Communication Tab of the Service Order Action, add a Station by clicking the
button, and selecting Station.Select the Station to be updated in the Select an Existing form.

Select an Existing Item form example
Fill in the Code and COR so that the system knows it is desired to update an existing Station.
'Complete' and 'Finalize' the Service Order to persist the change throughout PCR-360 and the switch.
Remove Action
Authorization Codes
In order to remove an existing Authorization Code from a Service, perform for following steps:
Add an Action within Service Desk, for the desired Service.
On the Communication Tab of the Service Order Action, add an Authorization Code by clicking the
 button, and selecting Authorization Code.
Select the Authorization Code to be removed in the Select an Existing form.
Select an Existing Item form example
'Complete' and 'Finalize' the Service Order to persist the change throughout PCR-360 and the switch.
Station
In order to remove an existing Station from a Service, perform for following steps:
Add an Action within Service Desk, for the desired Service.
On the Communication Tab of the Service Order Action, add a Station by clicking the
button, and selecting Station.Select the Station to be removed in the Select an Existing form.
Select an Existing Item form example
'Complete' and 'Finalize' the Service Order to persist the change throughout PCR-360 and the switch.
Cisco
Functionality Across Cisco Interface Grids
All grids that are present in the Cisco Interface with PCR-360 allow for:
Selecting the Call Manager with the
 button.
Add new records with the
 button.
Note: the 'Gateway' grid can not add new records.
Update existing records with the
 button.
Remove existing records with the
 button.
Note: the 'Gateway' grid can not add new records.
The 'Cisco Audit Log' can only view records of when updates were made.
This interface module emulates what is already available on the Call Manager. As such much of this Article will just provide an example of what the Grids and Forms look like.
System
Server
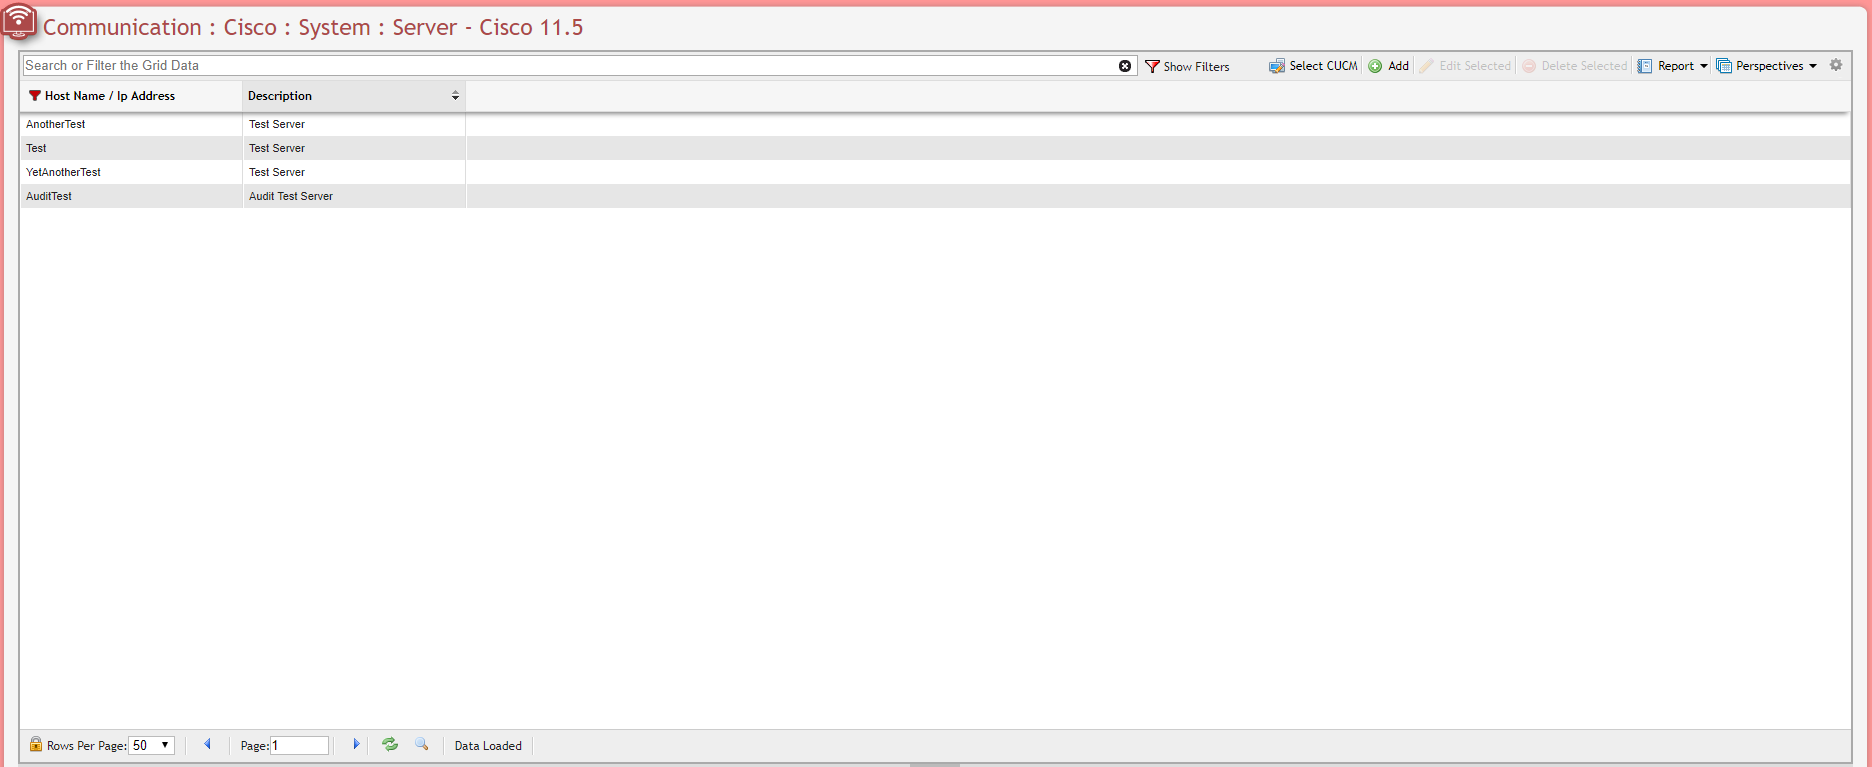
Cisco Server Grid example
Add New Server Form example
Phone NTP Reference
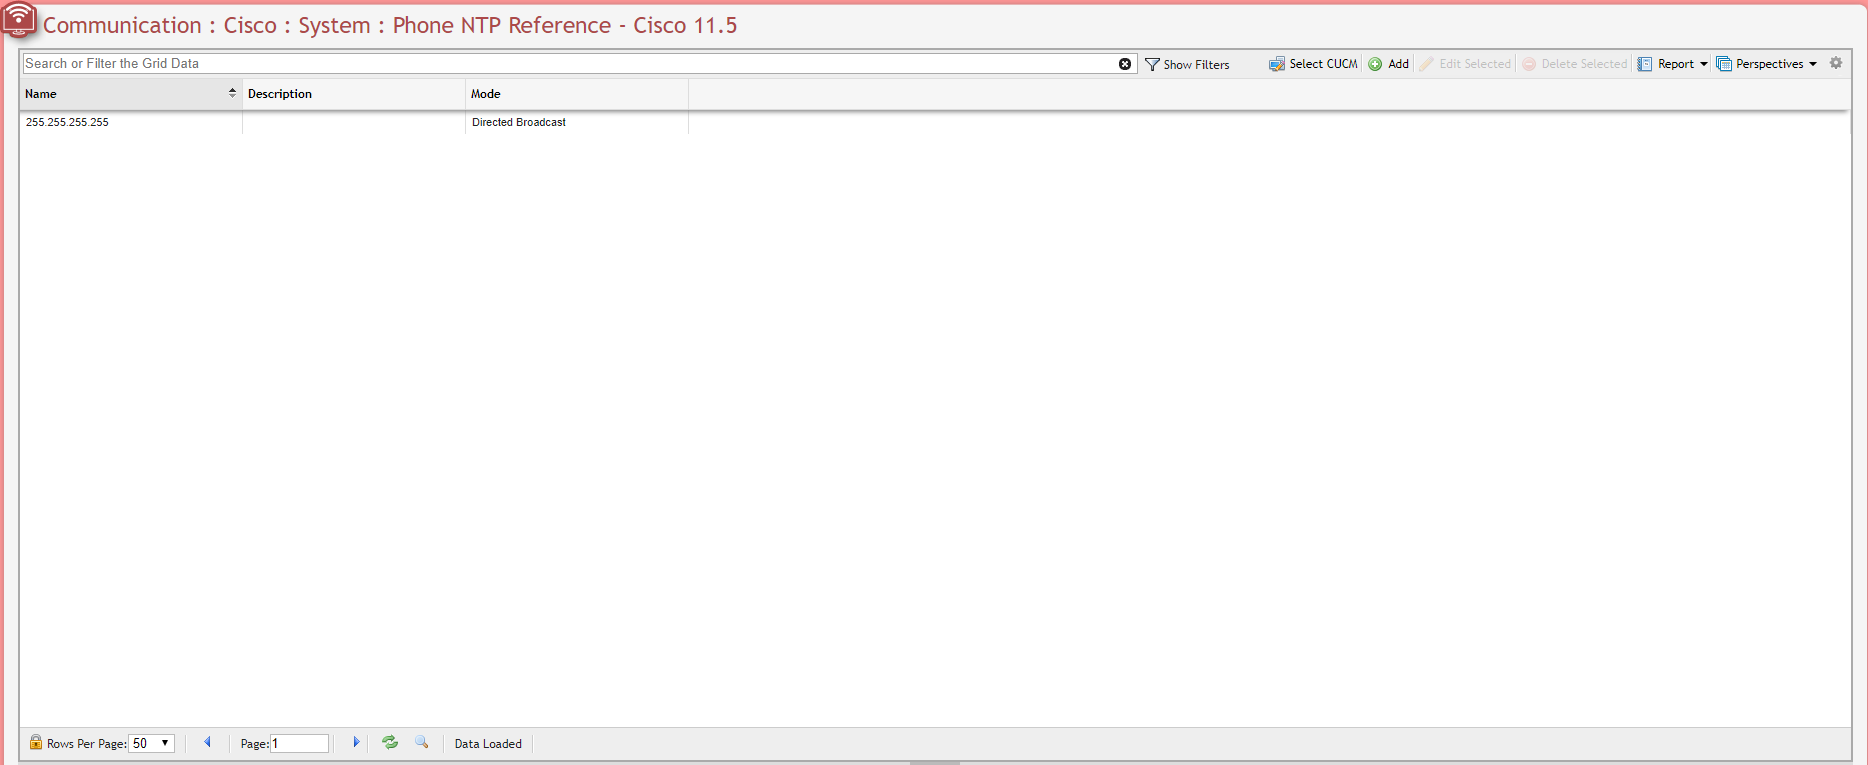
Cisco Phone NTP Reference Grid example
Add New Phone NTP Reference Form example
Physical Location
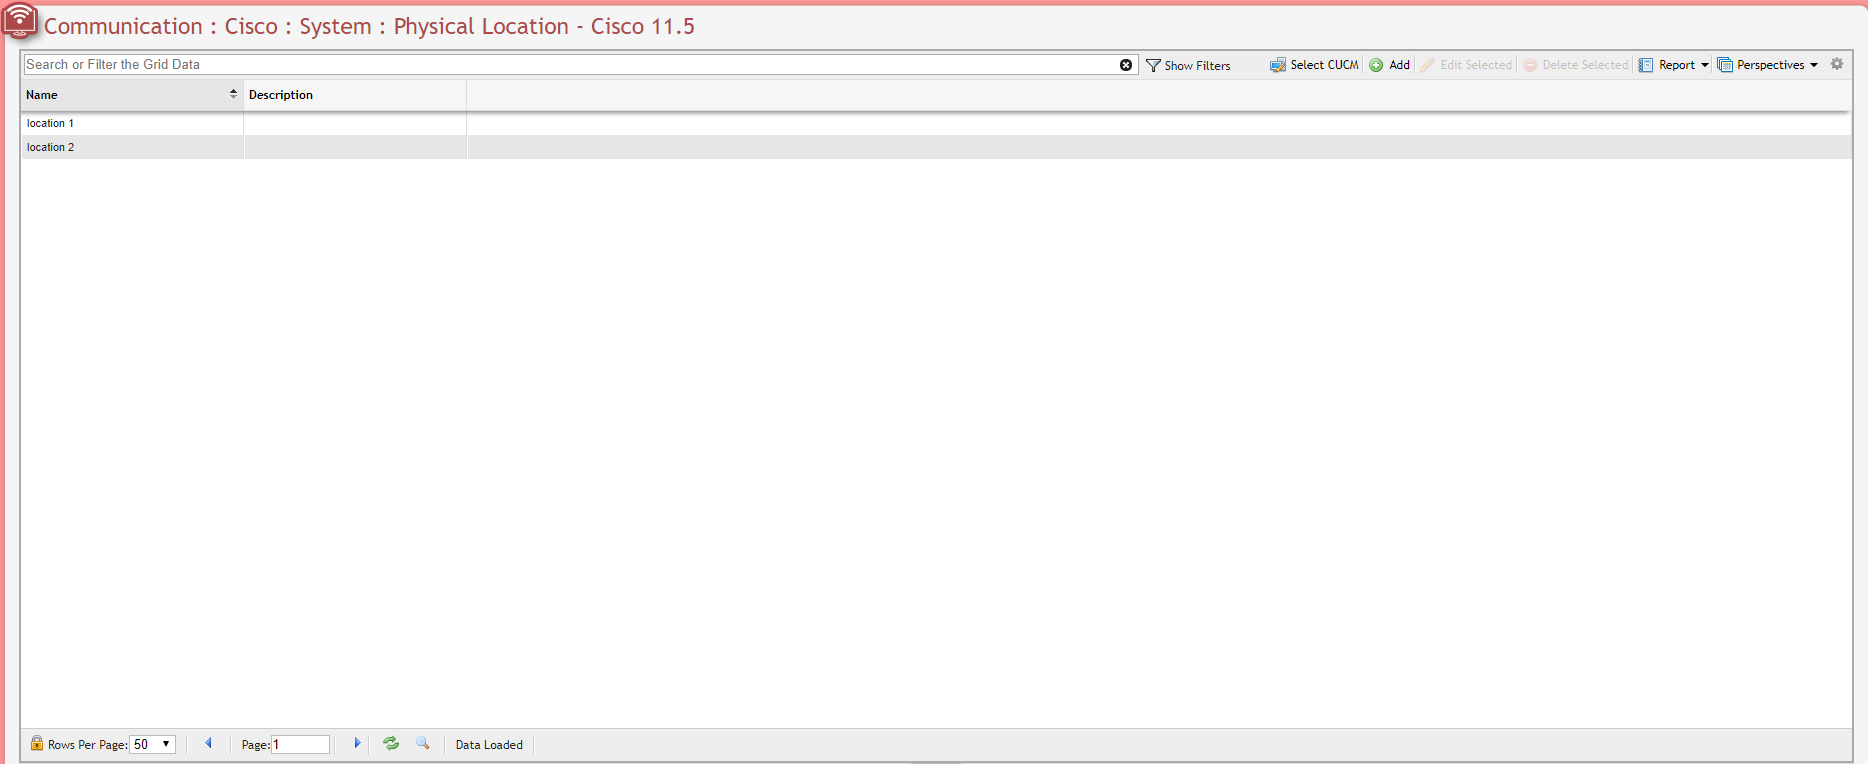
Cisco Physical Location Grid example
Add New Physical Location Form example
MLPP
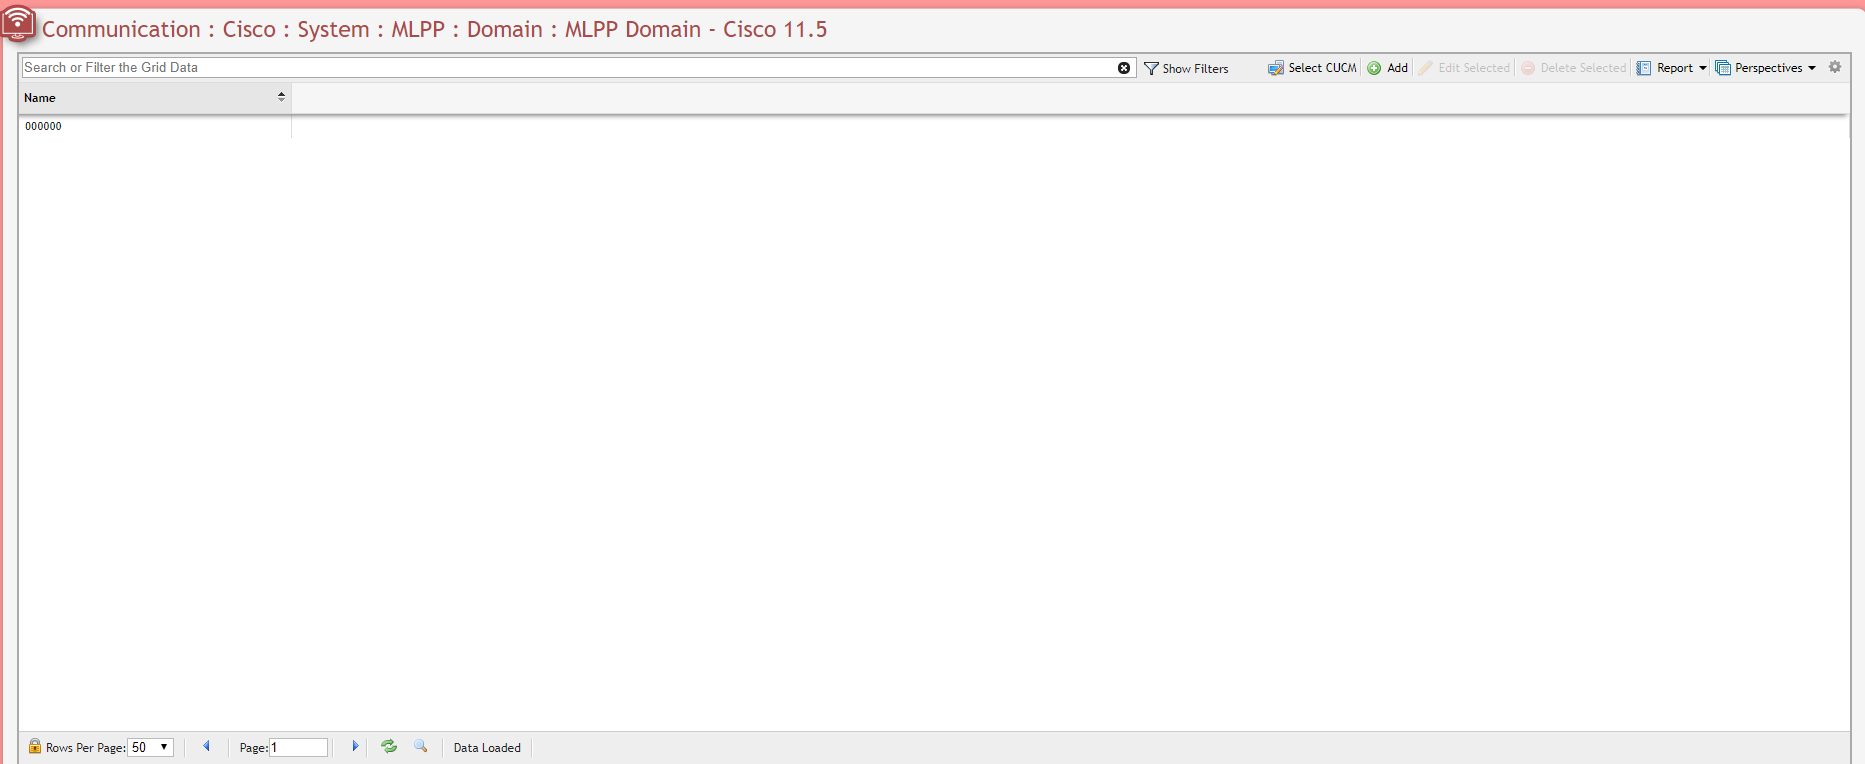
Cisco MLPP Domain Grid example
Add New MLPP Domain Form example
Security
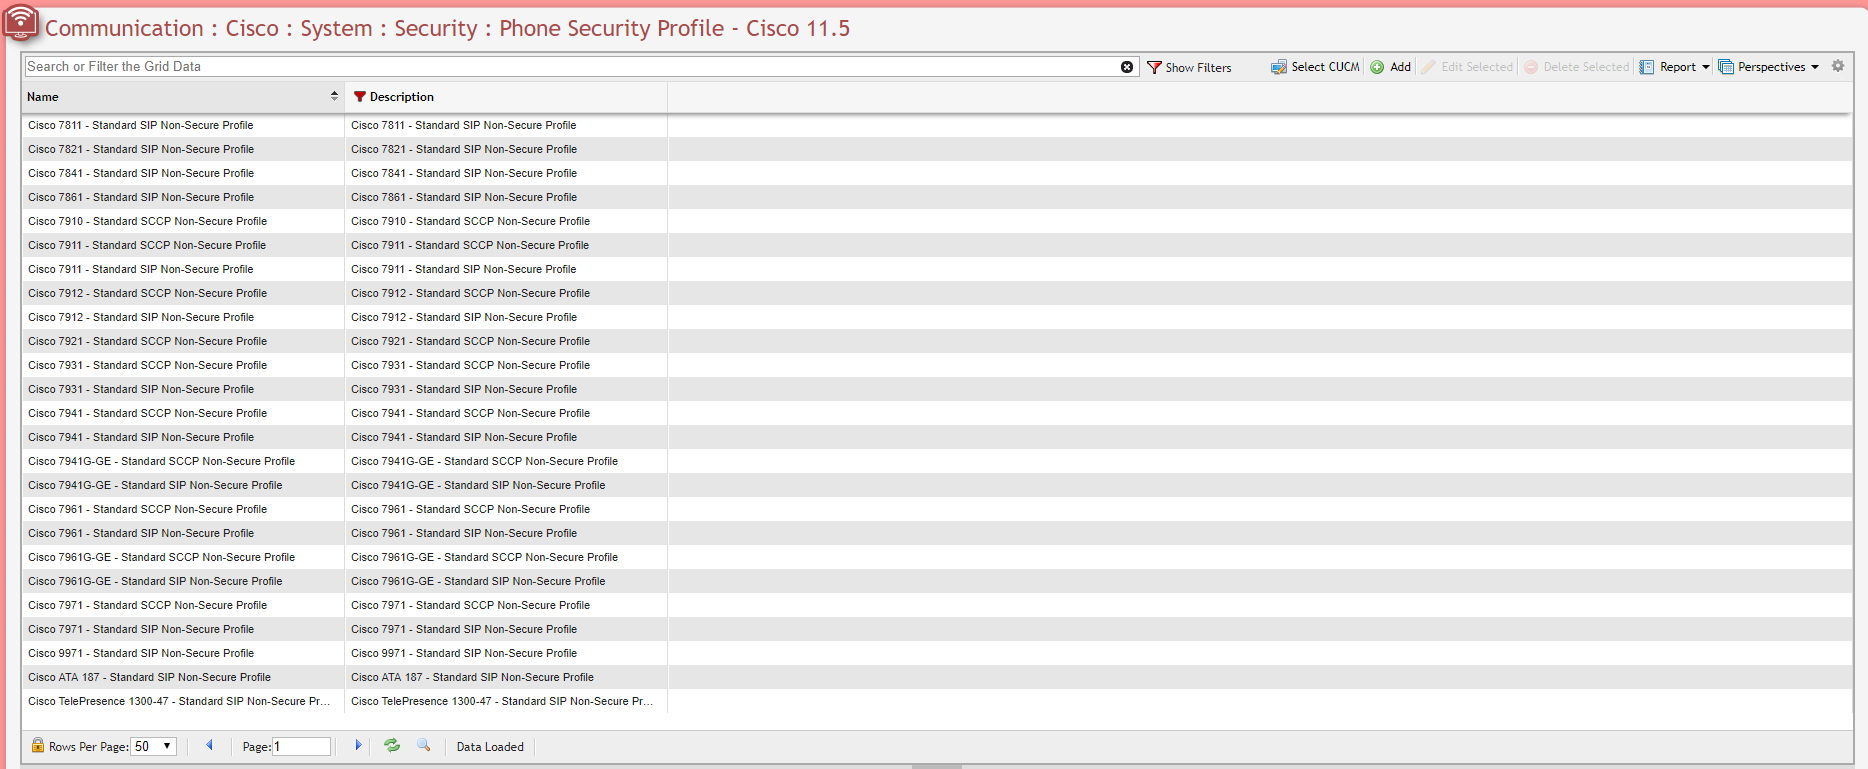
Cisco Phone Security Profile Grid example
Add New Security Profile Form example
Geolocation Configuration

Cisco Geolocation Configuration Grid example
Add New Geolocation Form example
Call Routing
AAR Group
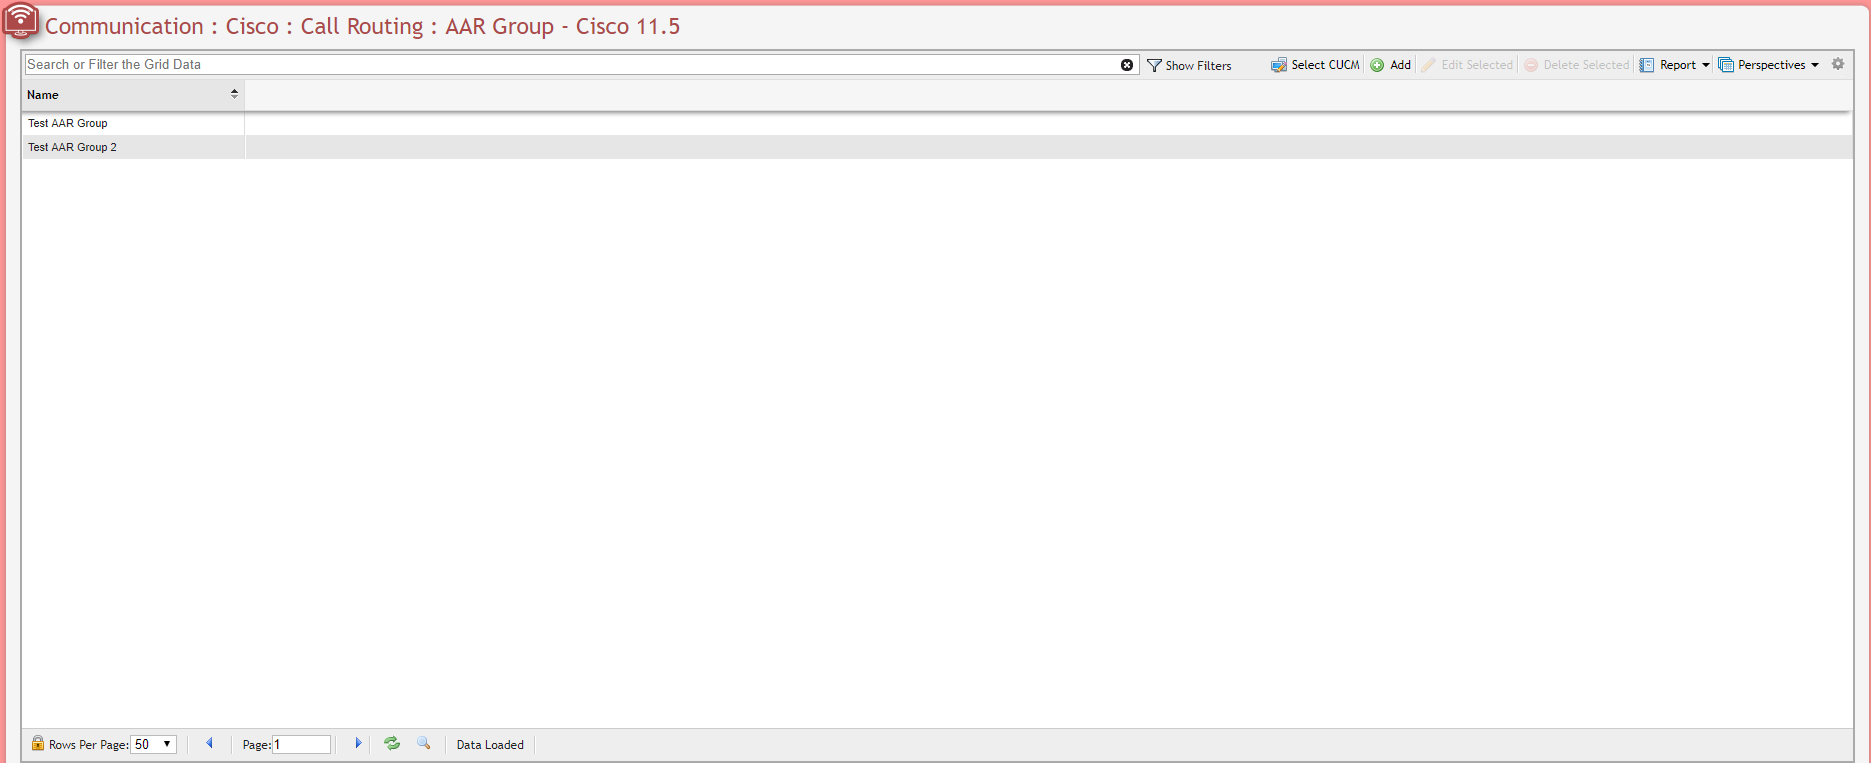
Cisco AAR Group Grid example
Add New AAR Group Form example
Intercom
Route Partition

Cisco Intercom Route Partition Grid example
Add New Route Partition Form example
Calling Search Space
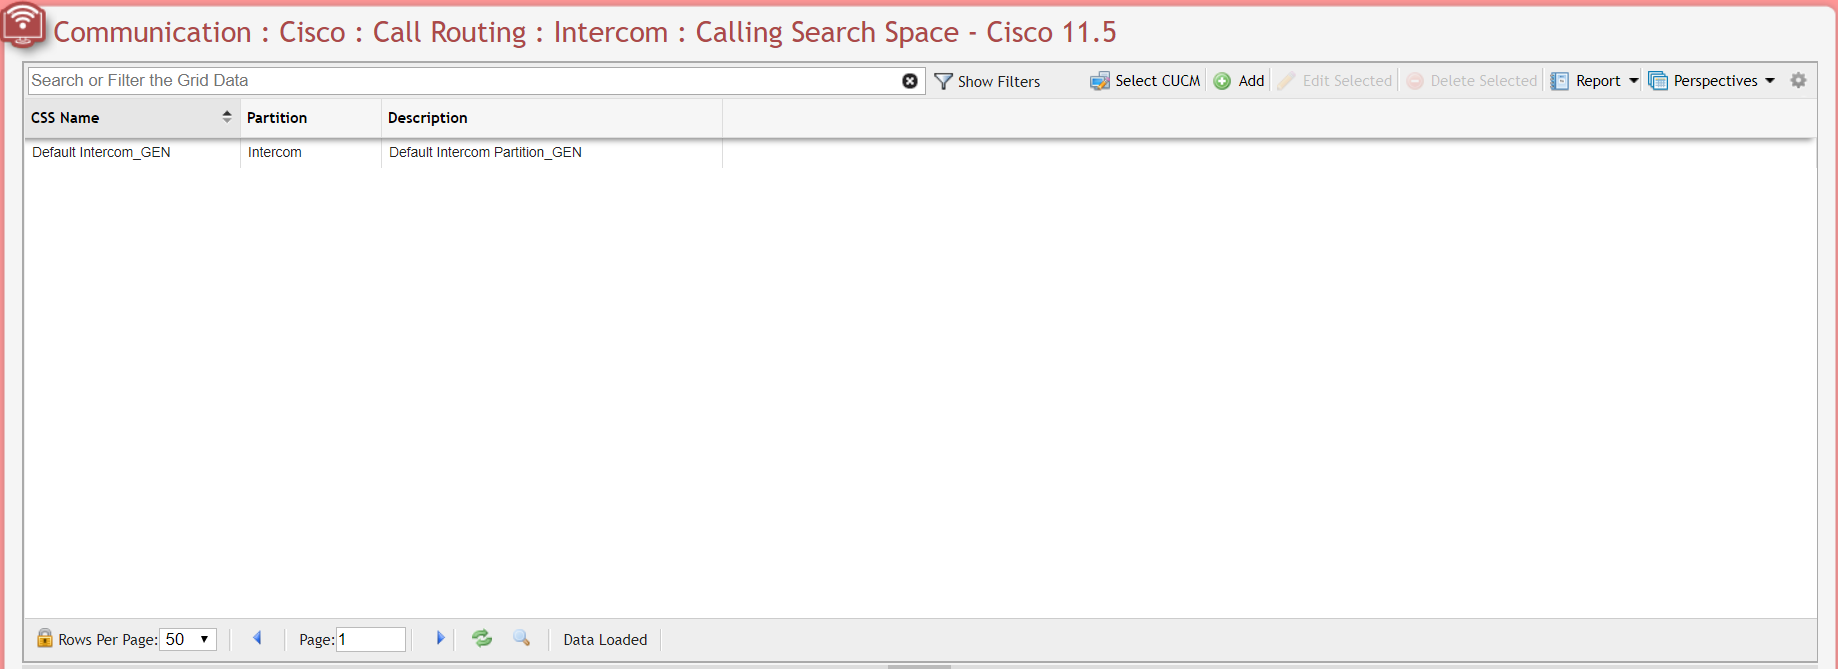
Cisco Intercom Calling Search Space Grid example
Add New Calling Search Space Form example
Directory Number
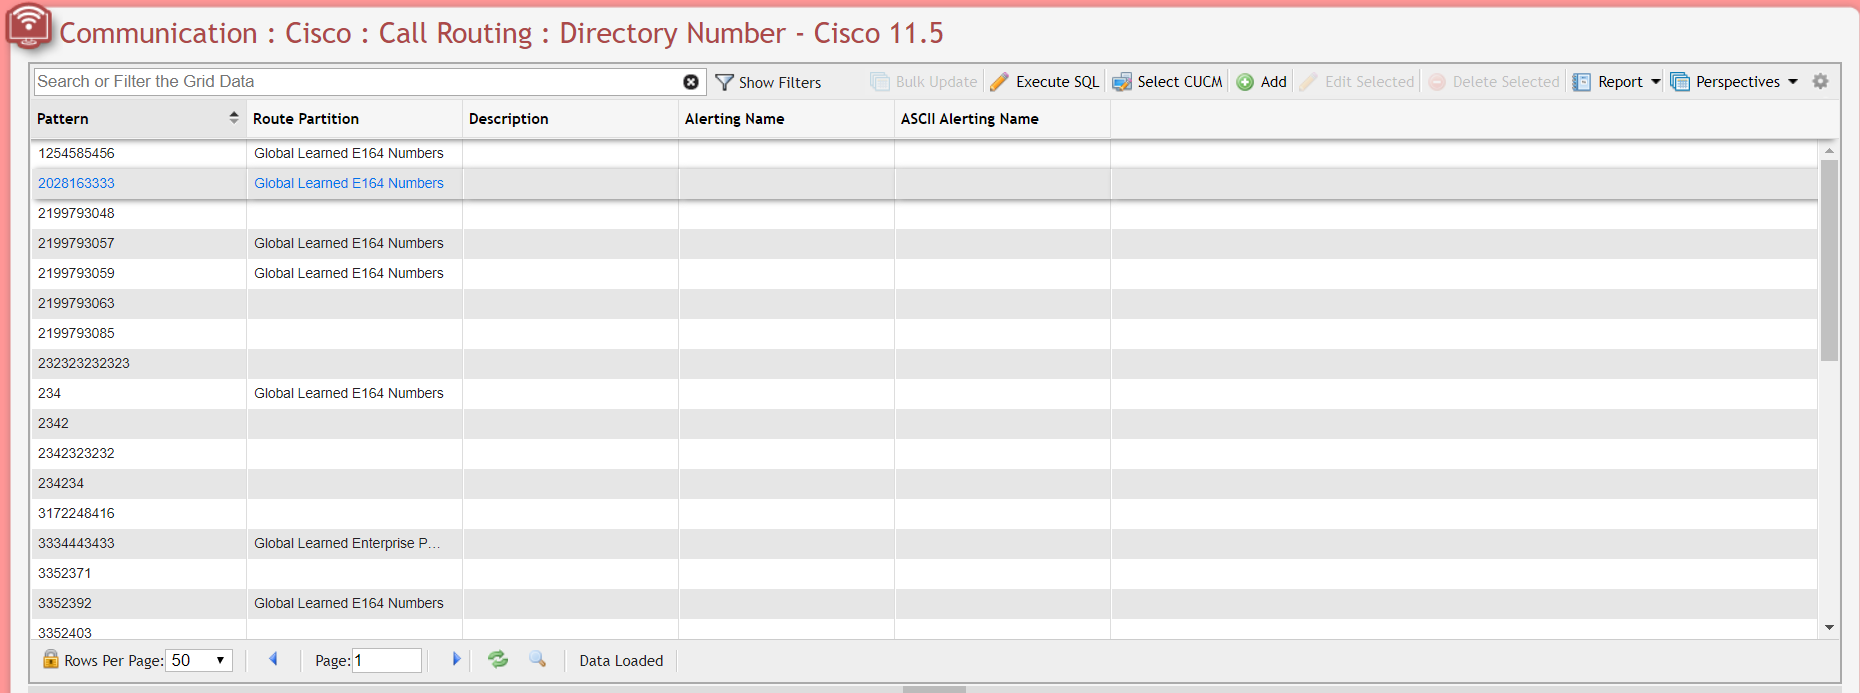
Cisco Intercom Directory Number Grid example
Add New Intercom Directory Number Form example
To updated multiple records at once, select the desired records from the Grid, then click the ![]() button, to open the Bulk Update form.
button, to open the Bulk Update form.
Cisco Intercom Bulk Update form example
Click the ![]() button to begin the 'Bulk Update' process.
button to begin the 'Bulk Update' process.
Class of Control
Partition
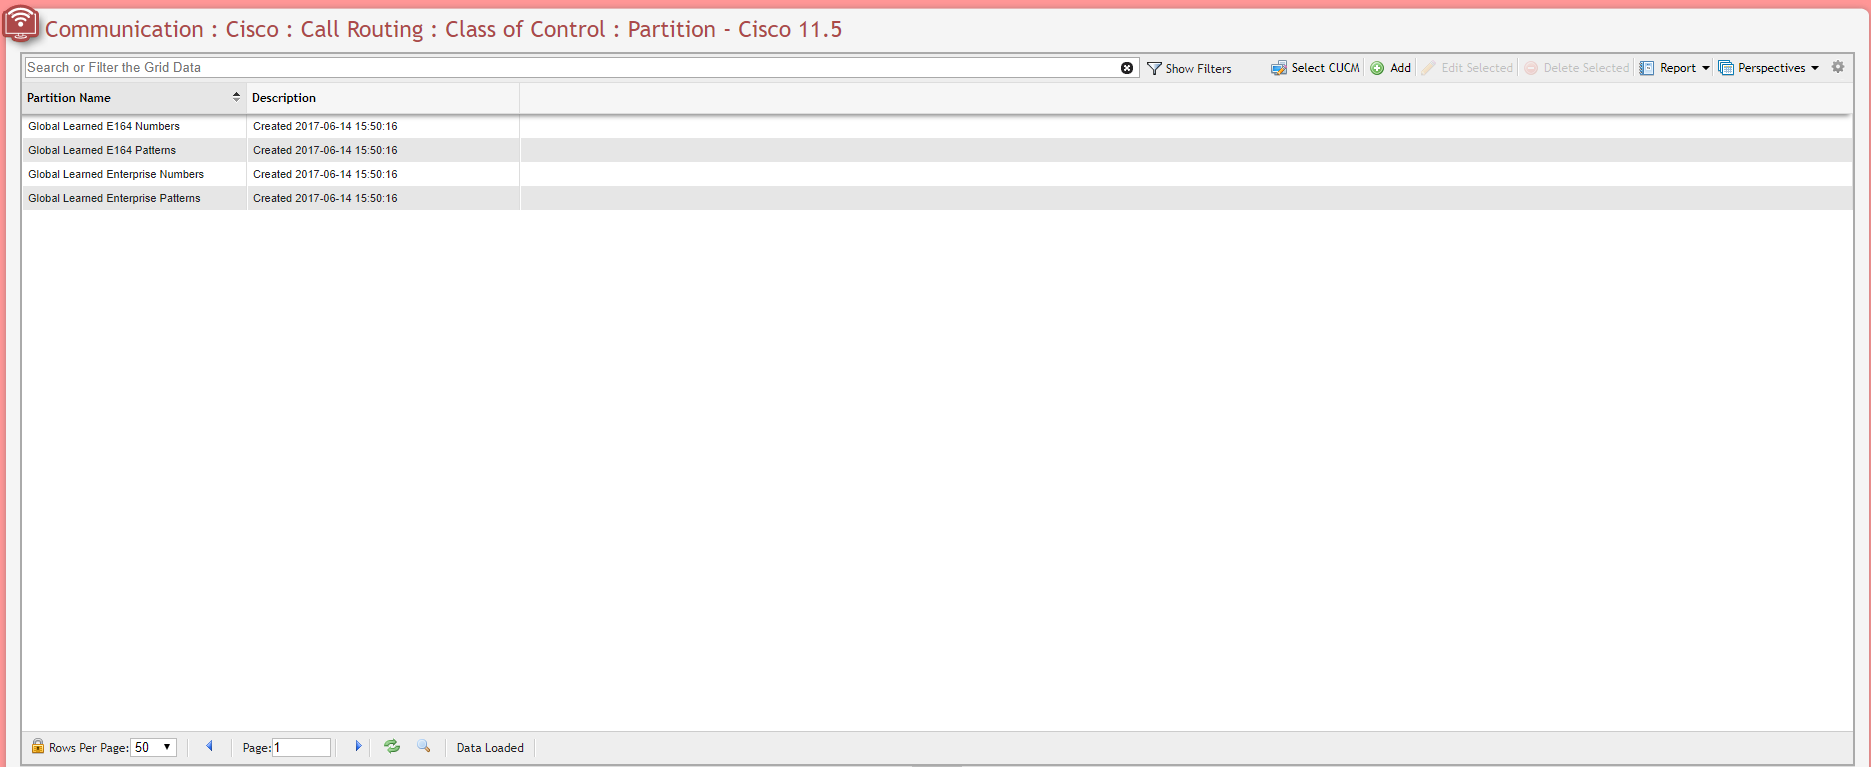
Cisco Class of Control Partition Grid example
Add New Route Partition Form example
Calling Search Space
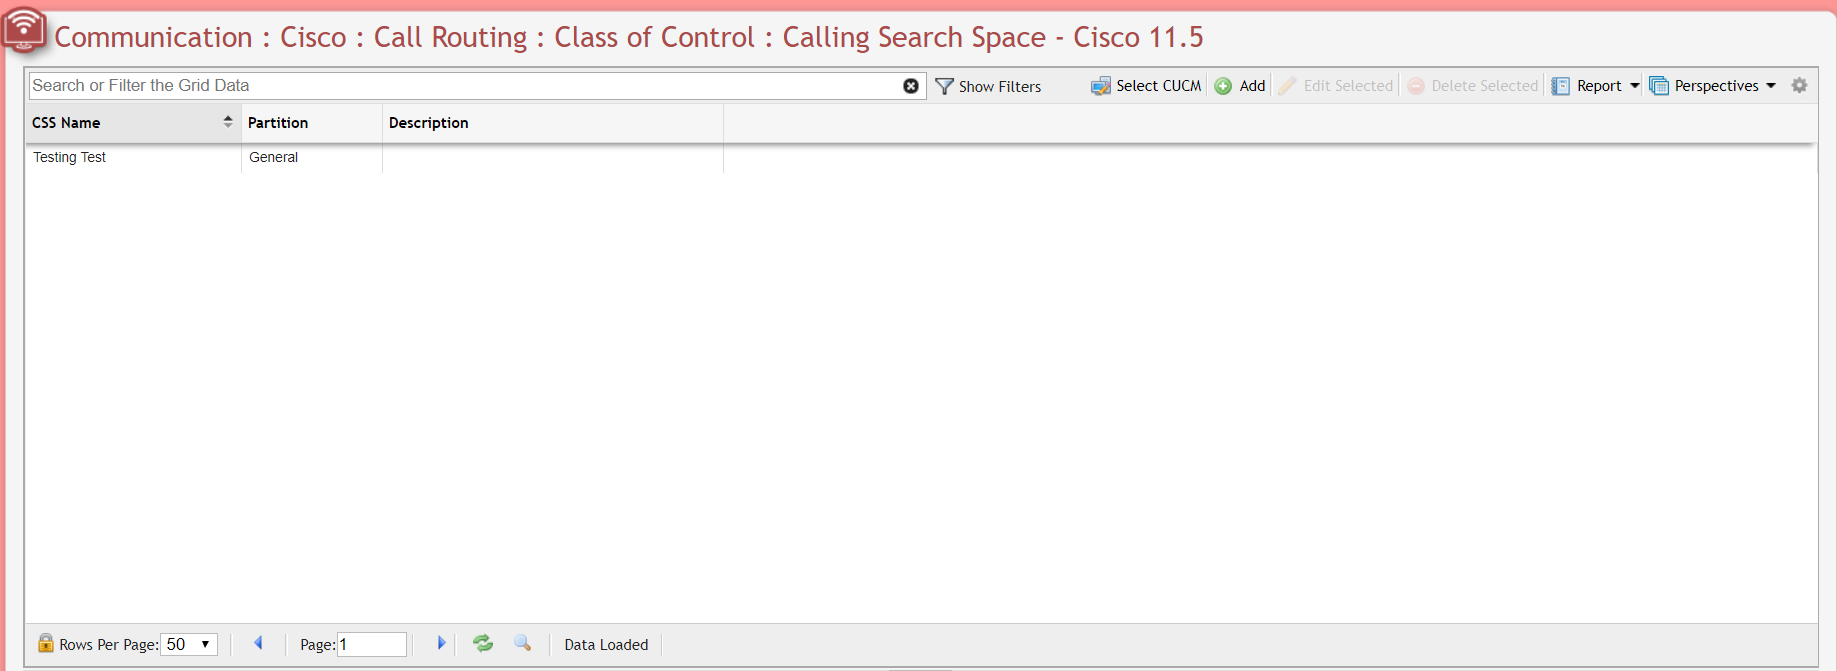
Cisco Class of Control Calling Search Space Grid example
Add New Calling Search Space Form example
Forced Authorization Codes
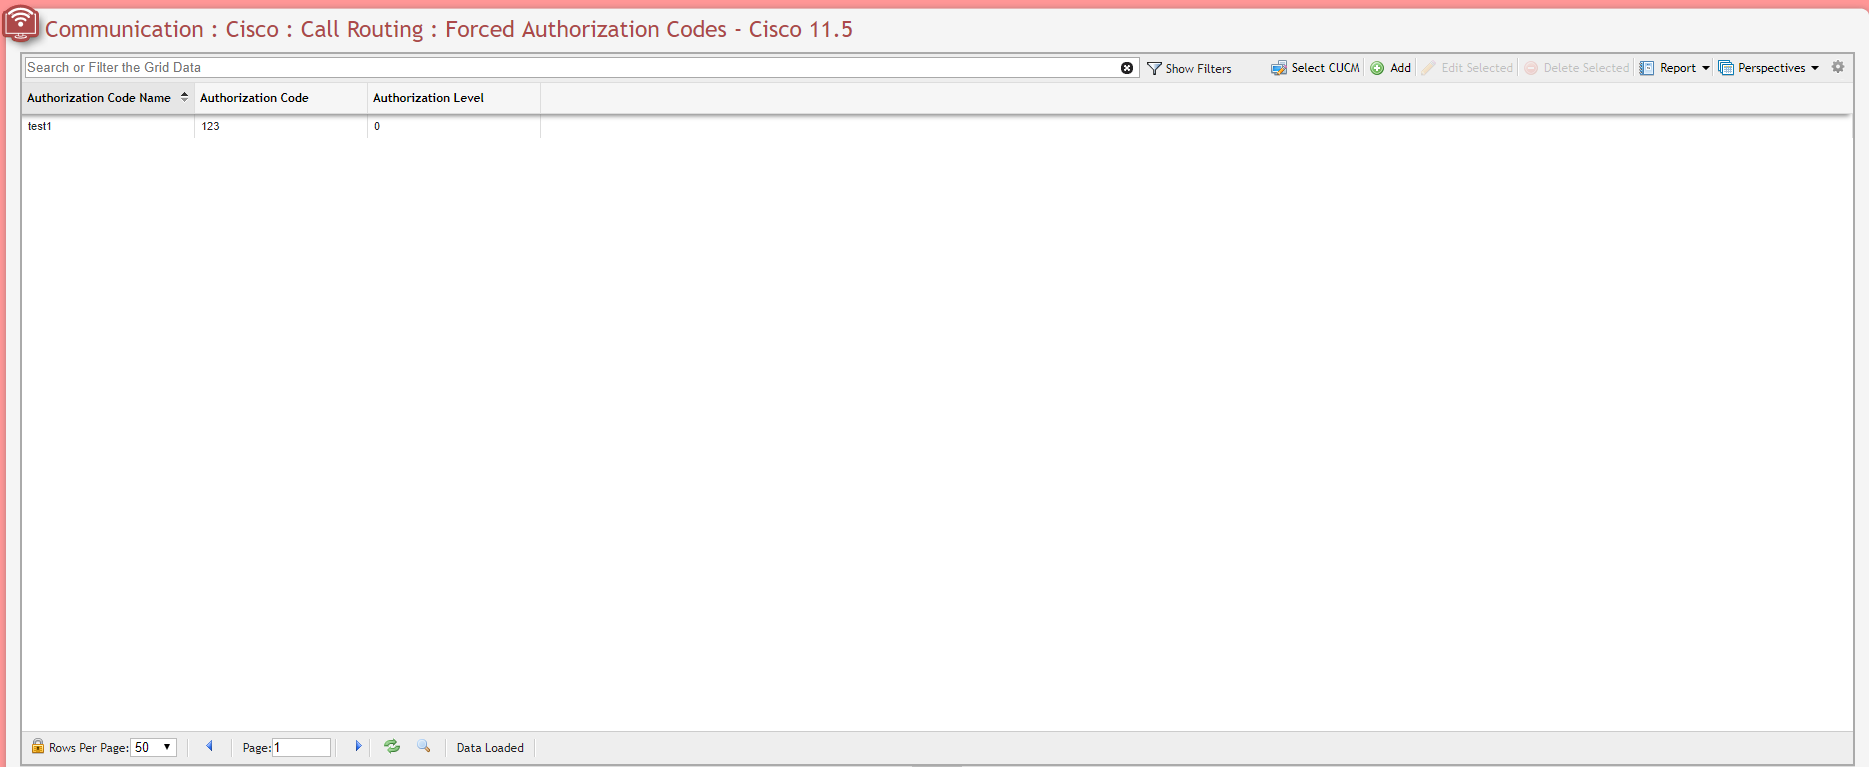
Cisco Forced Authorization Codes Grid example
Add New Forced Authorization Code Form example
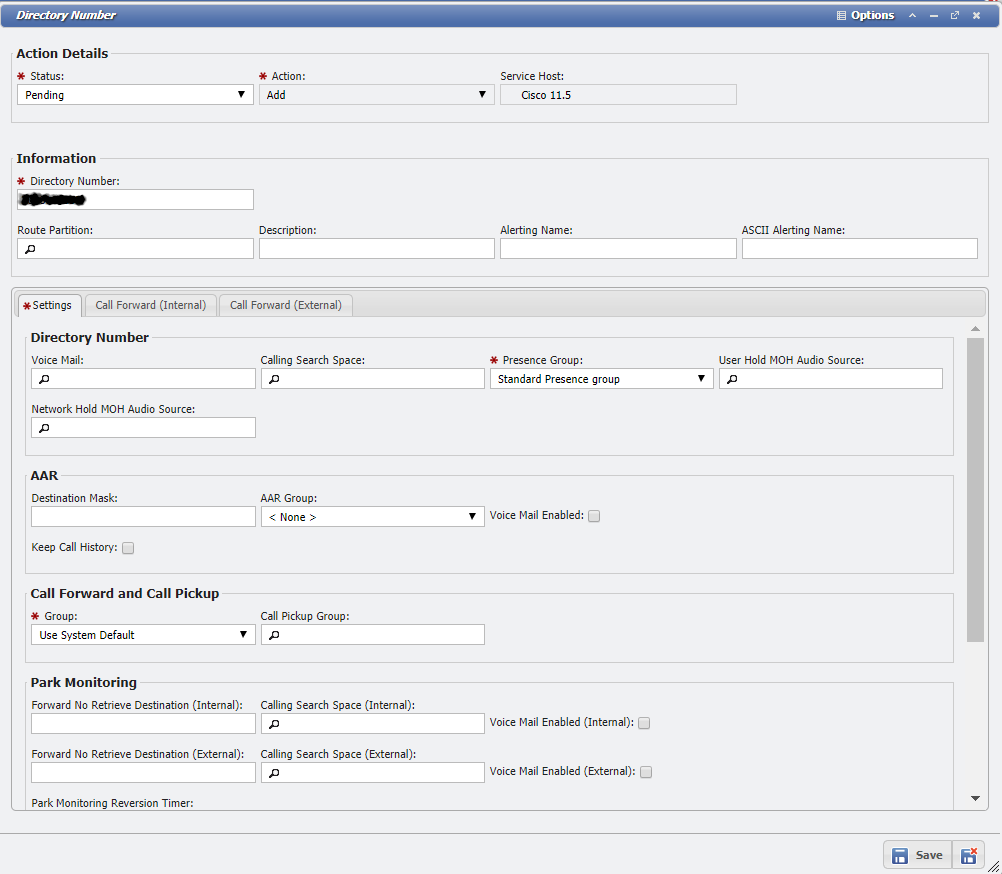
Directory Number
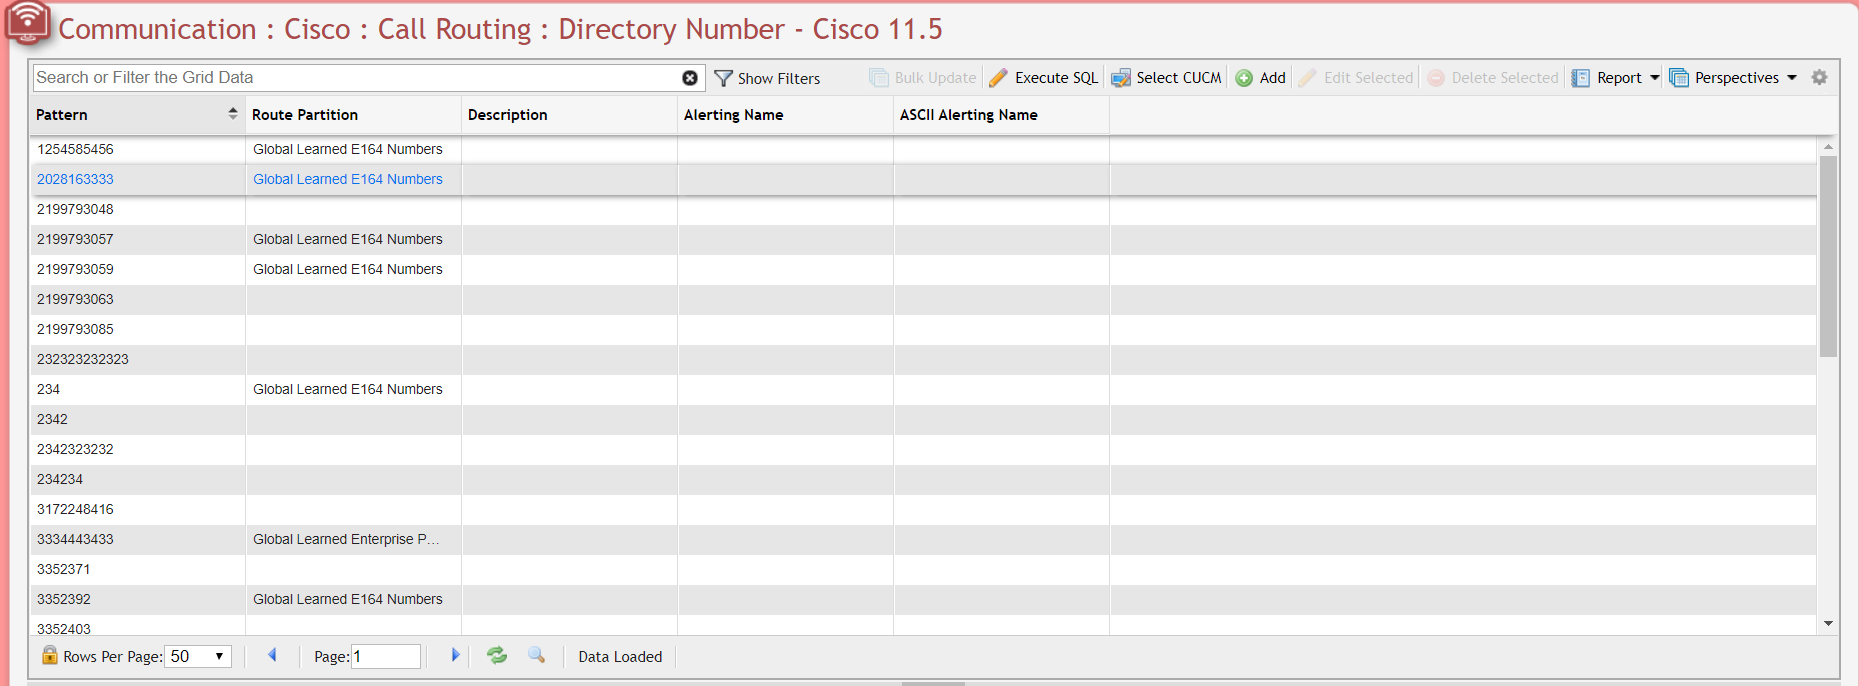
Cisco Directory Number Grid example
Add New Directory Number Form example
To updated multiple records at once, select the desired records from the Grid, then click the ![]() button, to open the Bulk Update form.
button, to open the Bulk Update form.
Cisco Call Routing Directory Number Bulk Update form example
Click the ![]() button to begin the 'Bulk Update' process.
button to begin the 'Bulk Update' process.
Advanced Features
Voice Mail
Voice Mail Pilot
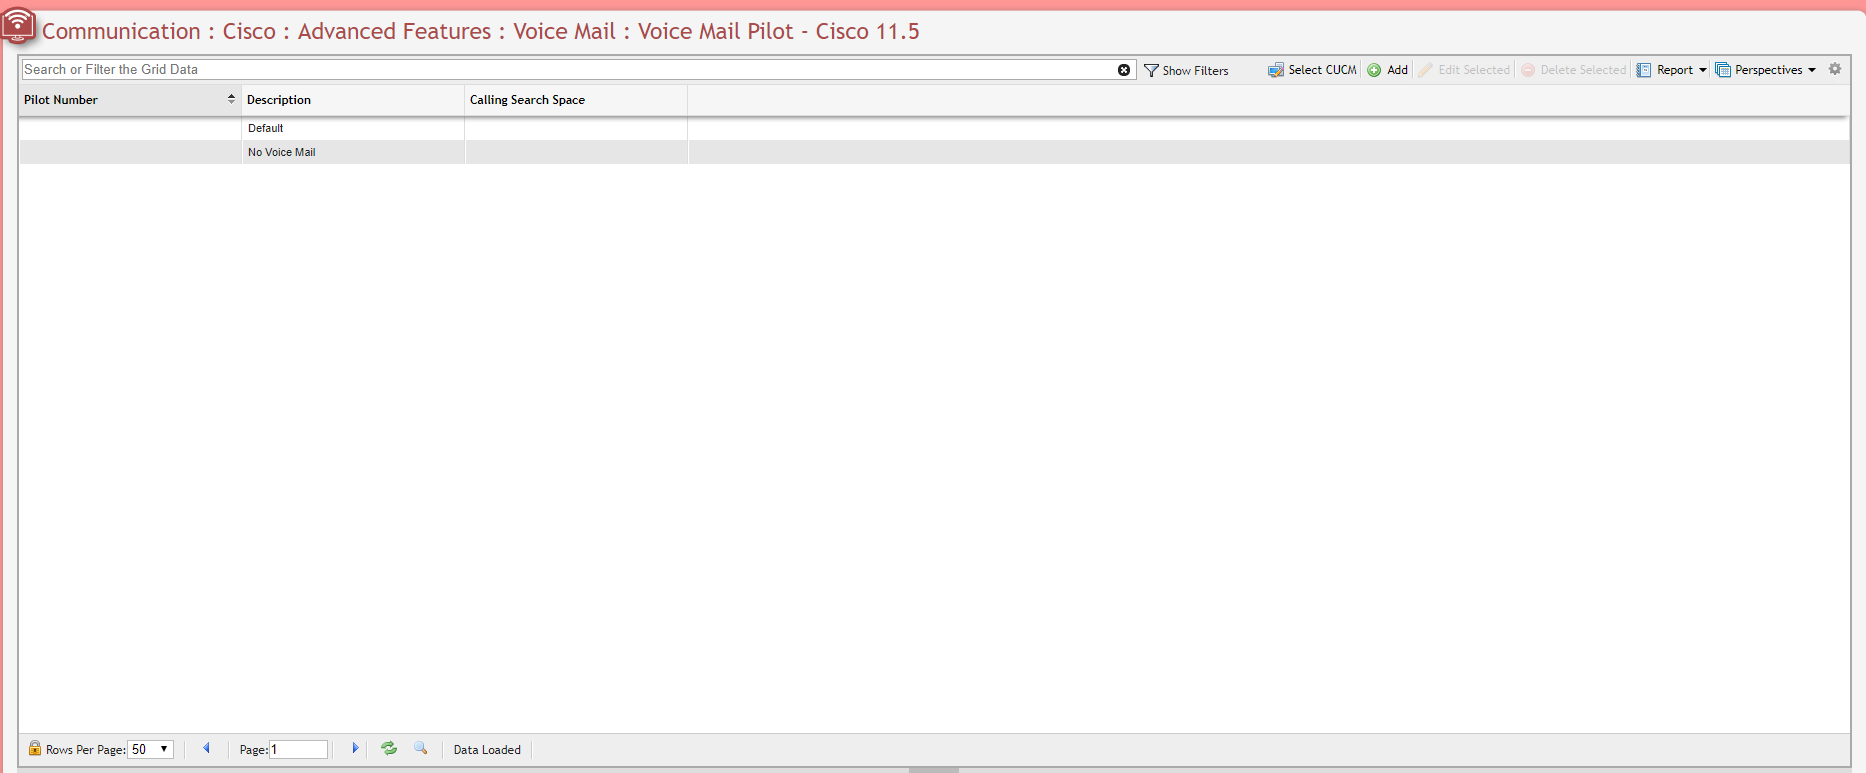
Cisco Voice Mail Pilot Grid example
Add New Voice Mail Pilot Form example
Voice Mail Profile
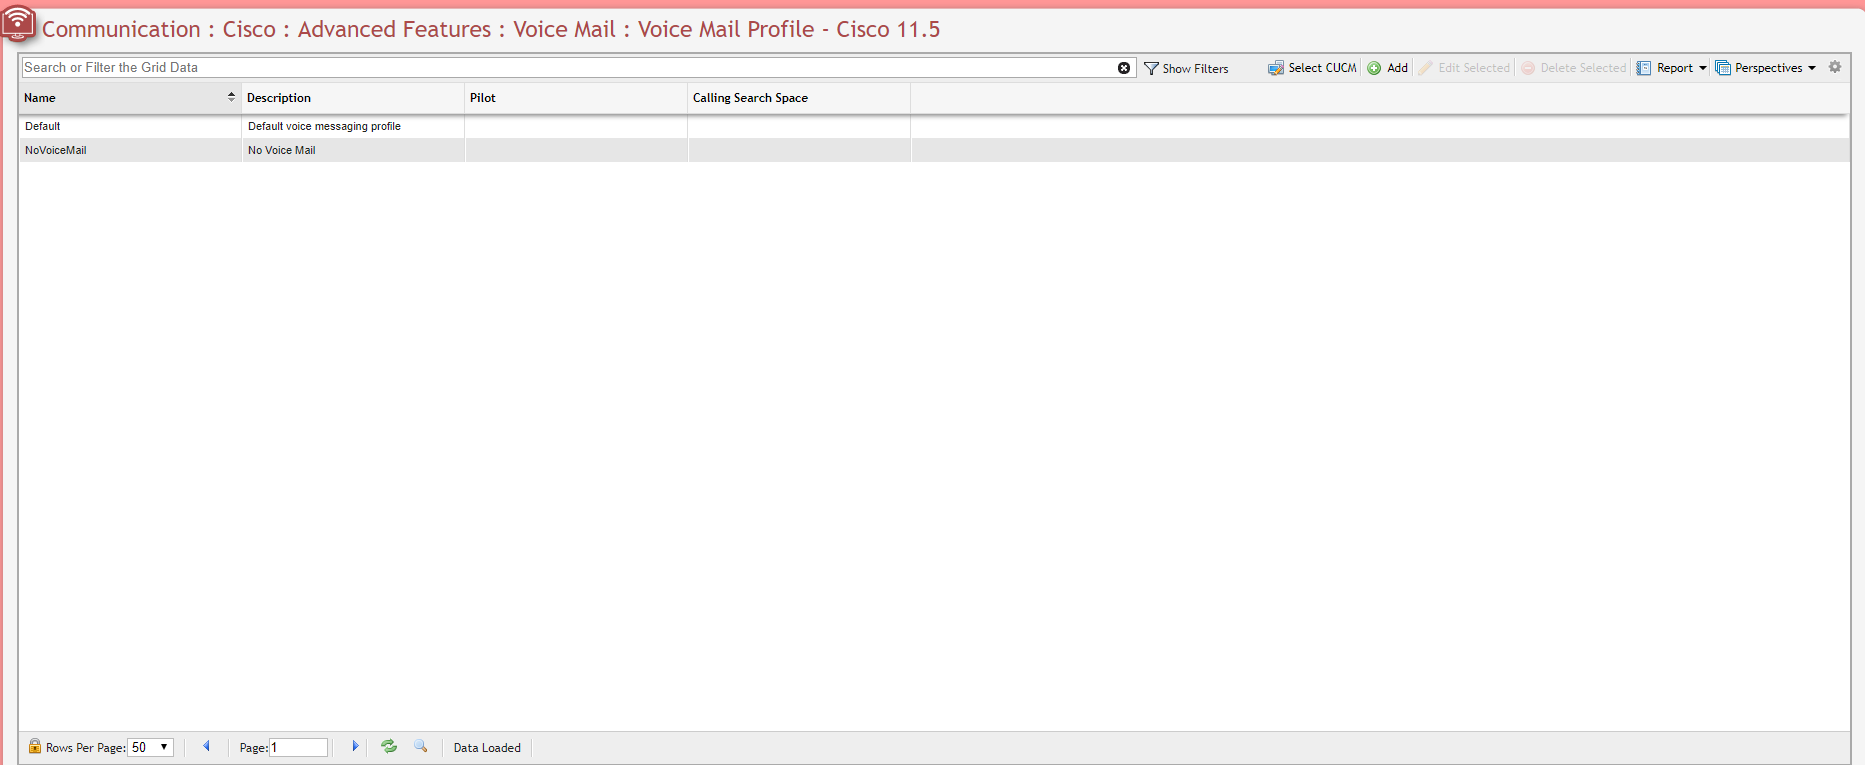
Cisco Voice Mail Profile Grid example
Add New Voice Mail Profile Form example
SAF
SAF Security Profile
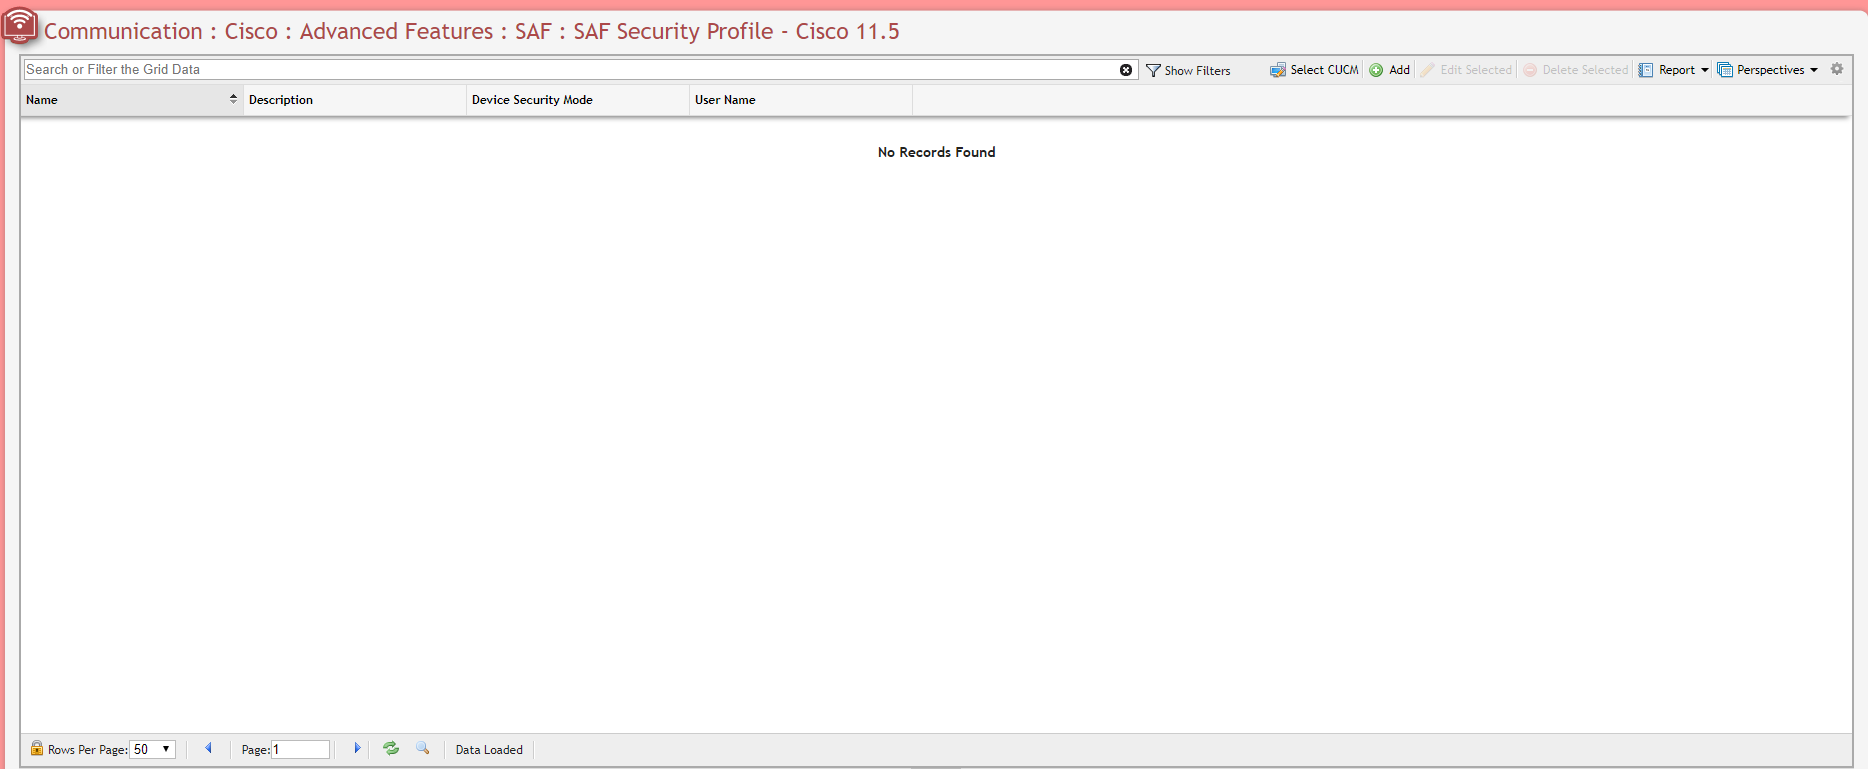
Cisco SAF Security Profile Grid example
Add New SAF Security Profile Form example
SAF Forwarder
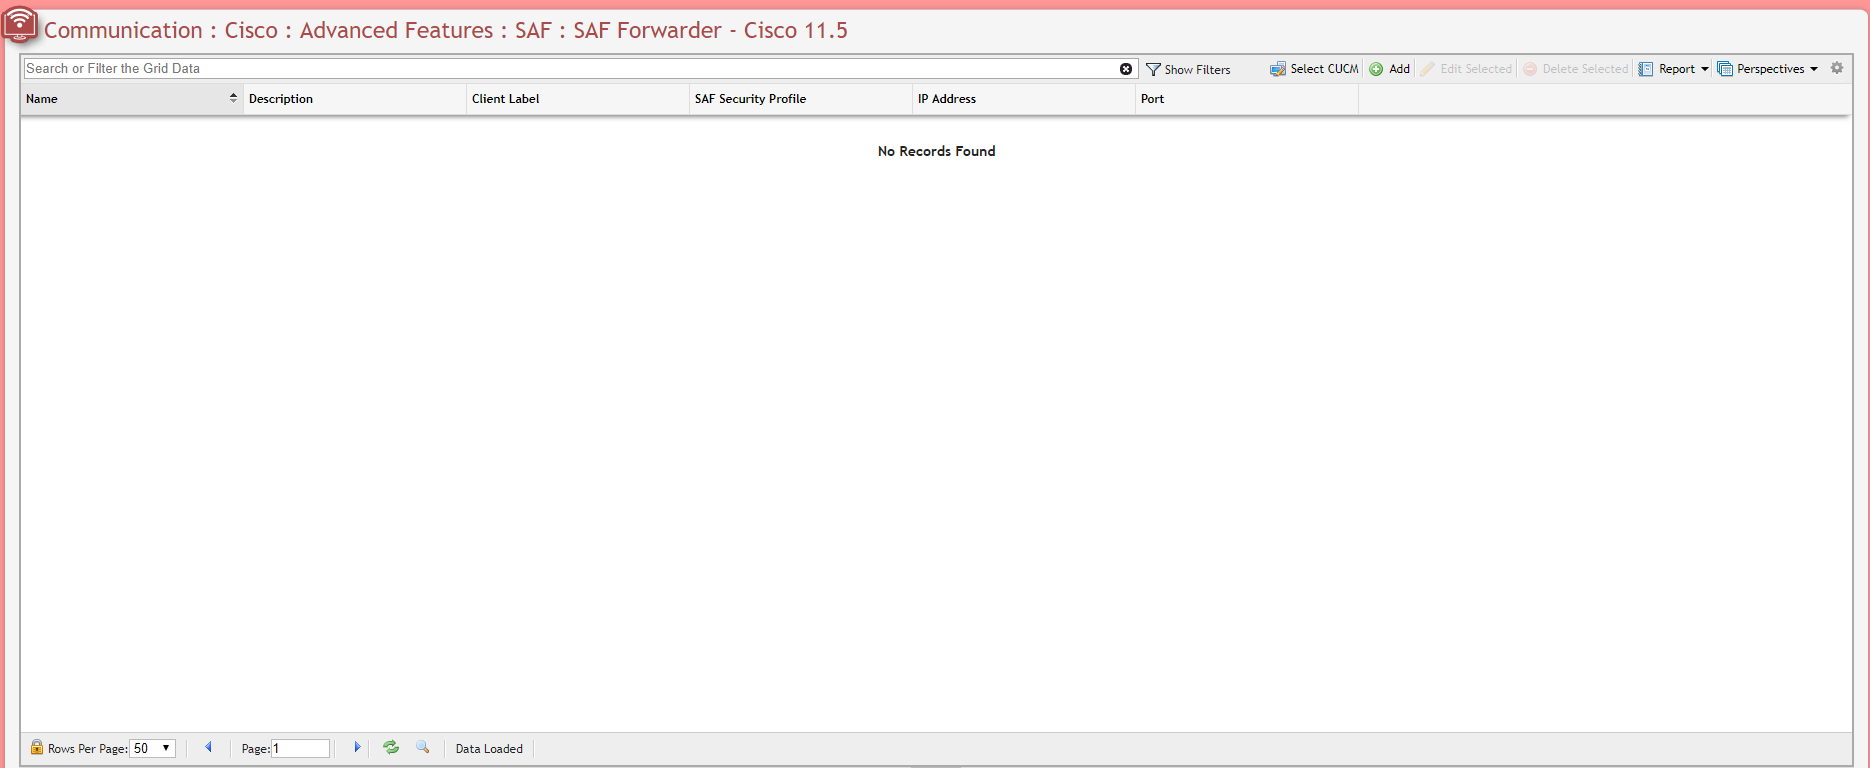
Cisco SAF Forwarder Grid example
Add New SAF Forwarder Form example
Device
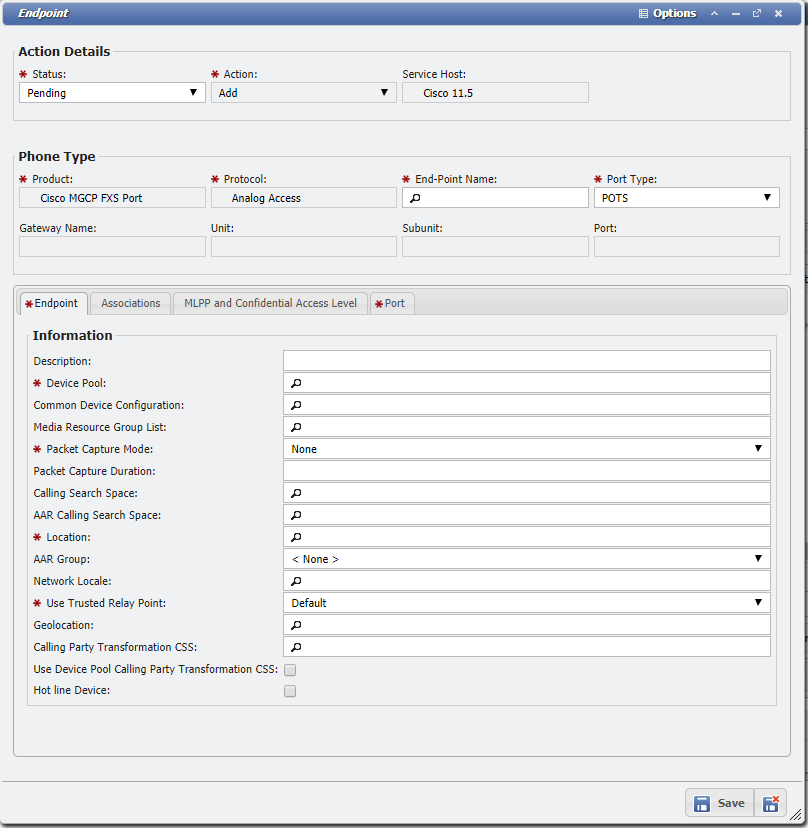
Gateway
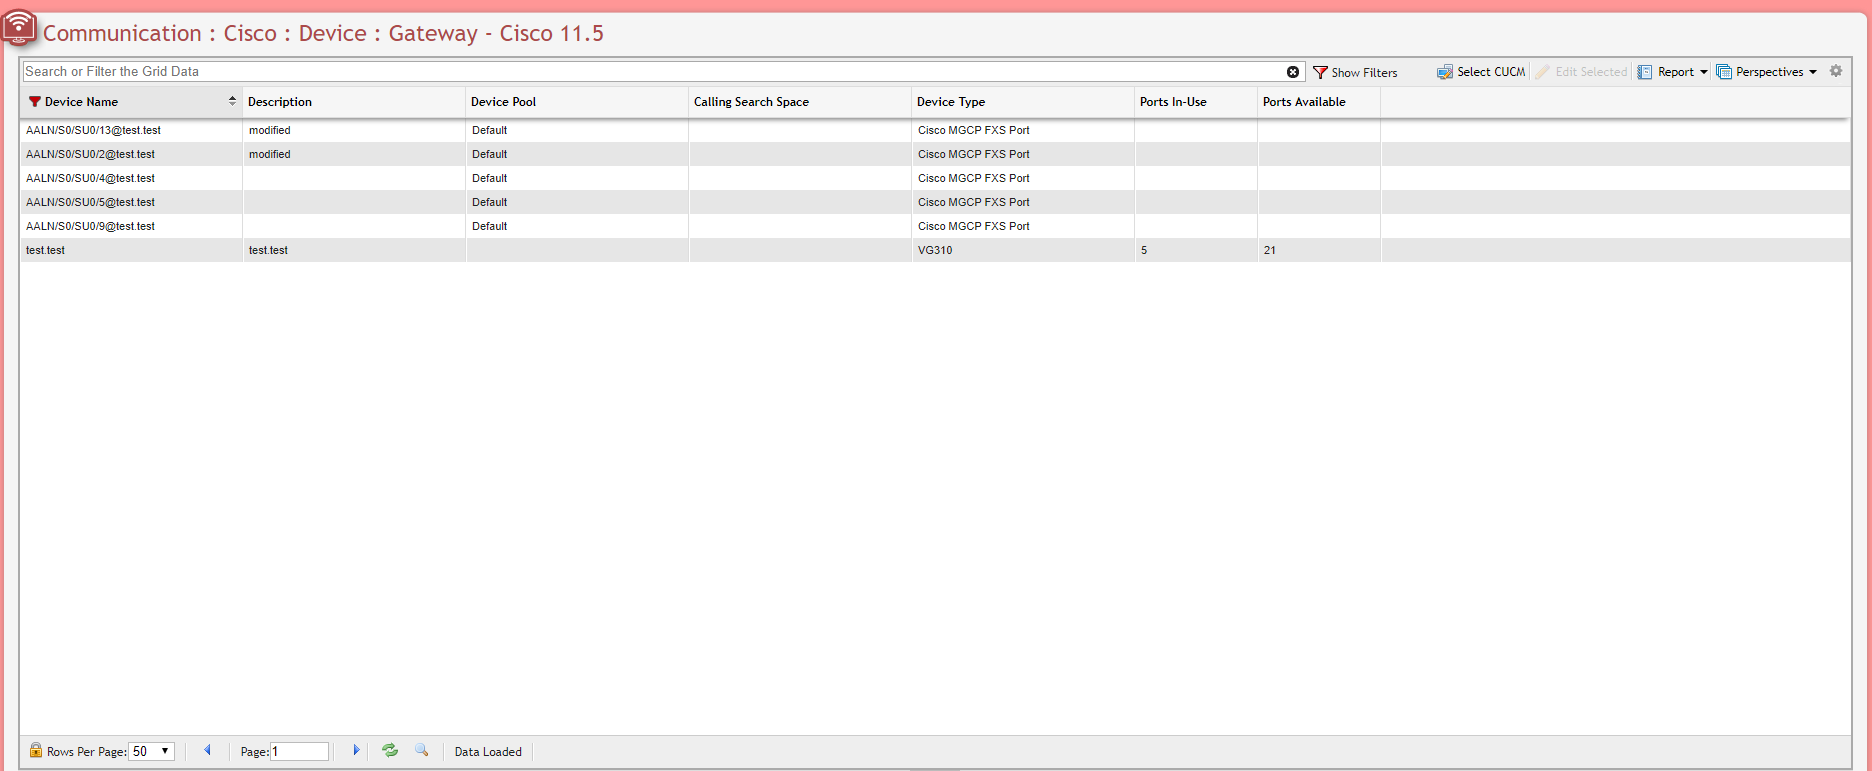
Cisco Gateway Grid example
Manage Endpoint Form example
Phone
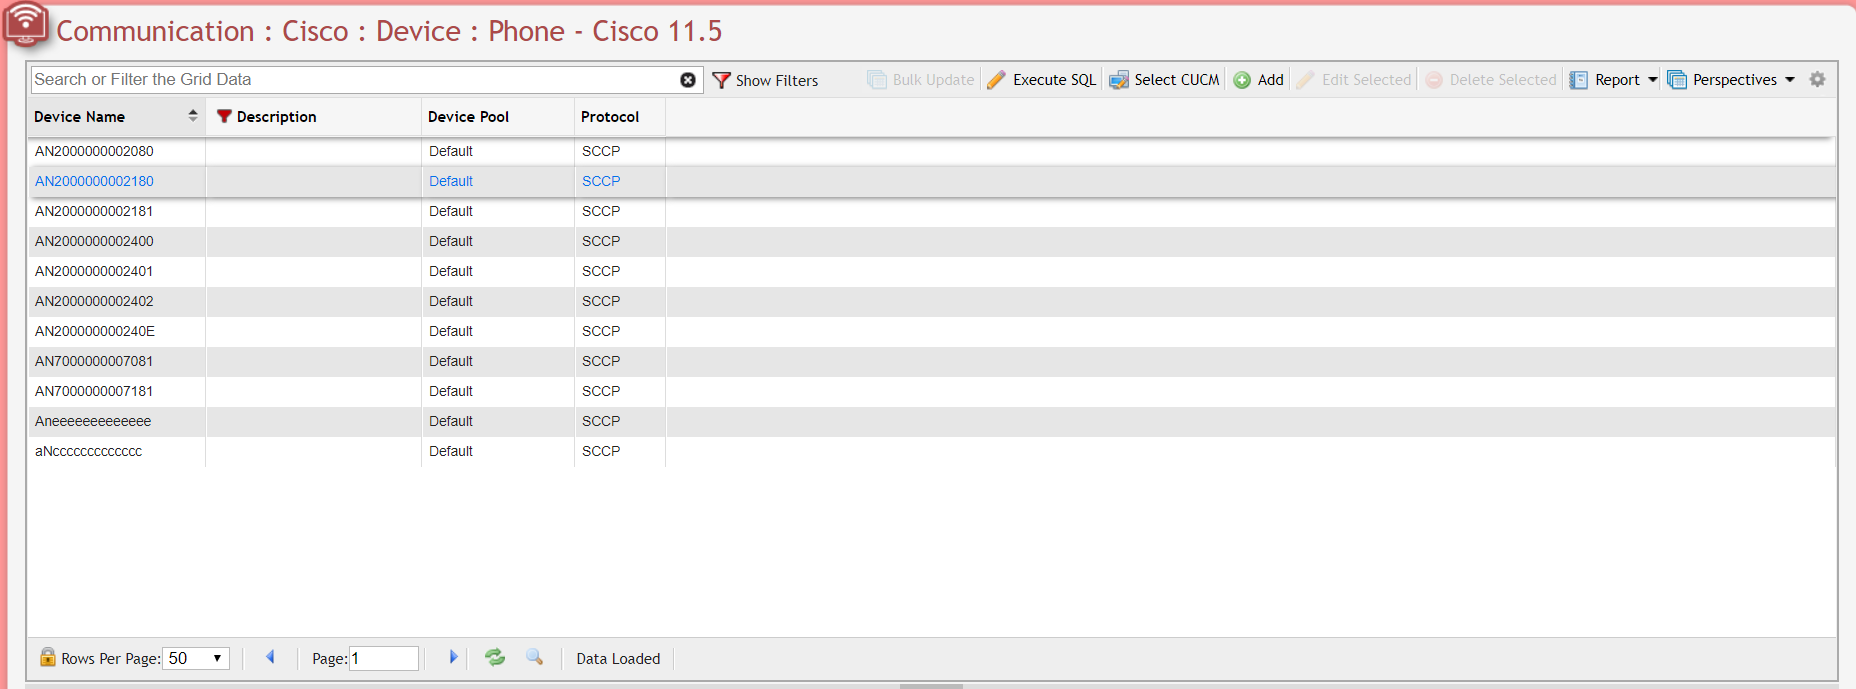
Cisco Phone Grid example
Add New Phone Form example
To updated multiple records at once, select the desired records from the Grid, then click the ![]() button, to open the Bulk Update form.
button, to open the Bulk Update form.
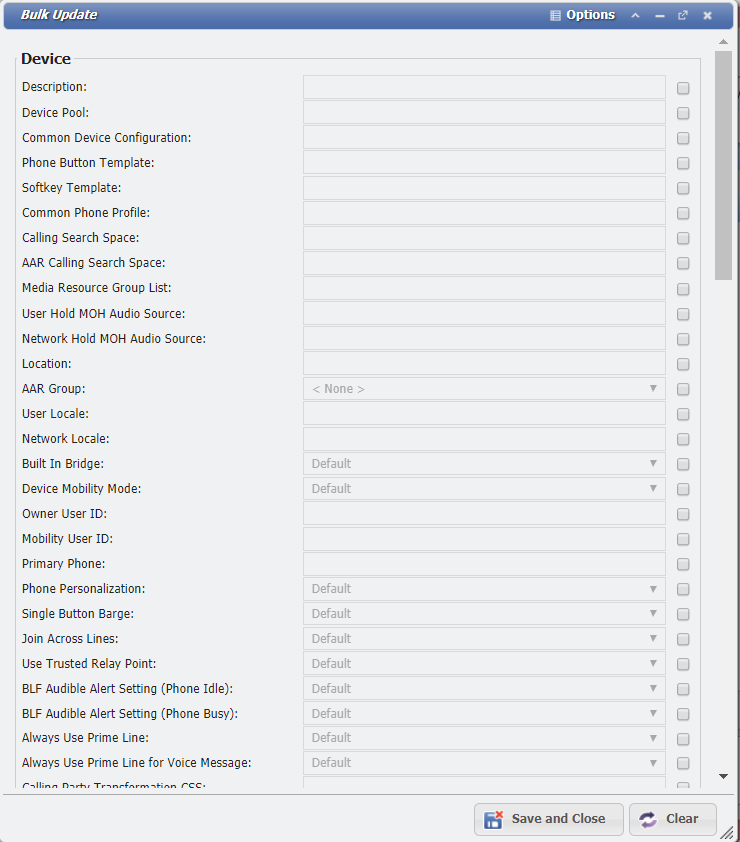
Cisco Phone Bulk Update form example
Click the ![]() button to begin the 'Bulk Update' process.
button to begin the 'Bulk Update' process.
Remote Destination
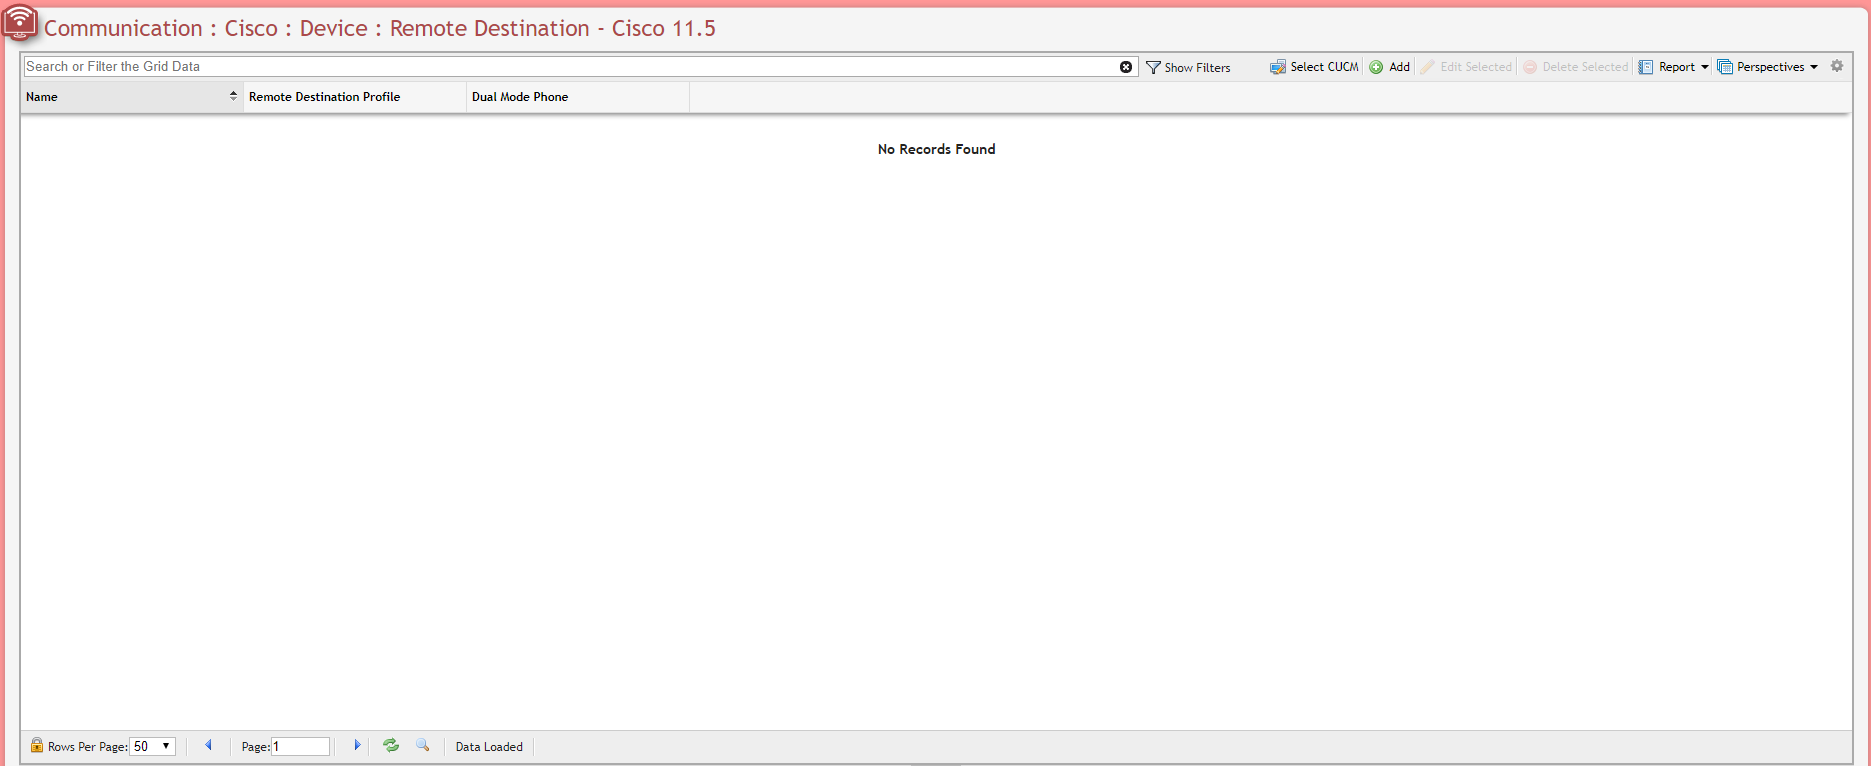
Cisco Remote Destination Grid example
Add New Remote Destination Form example
Device Settings
Phone Button Templates
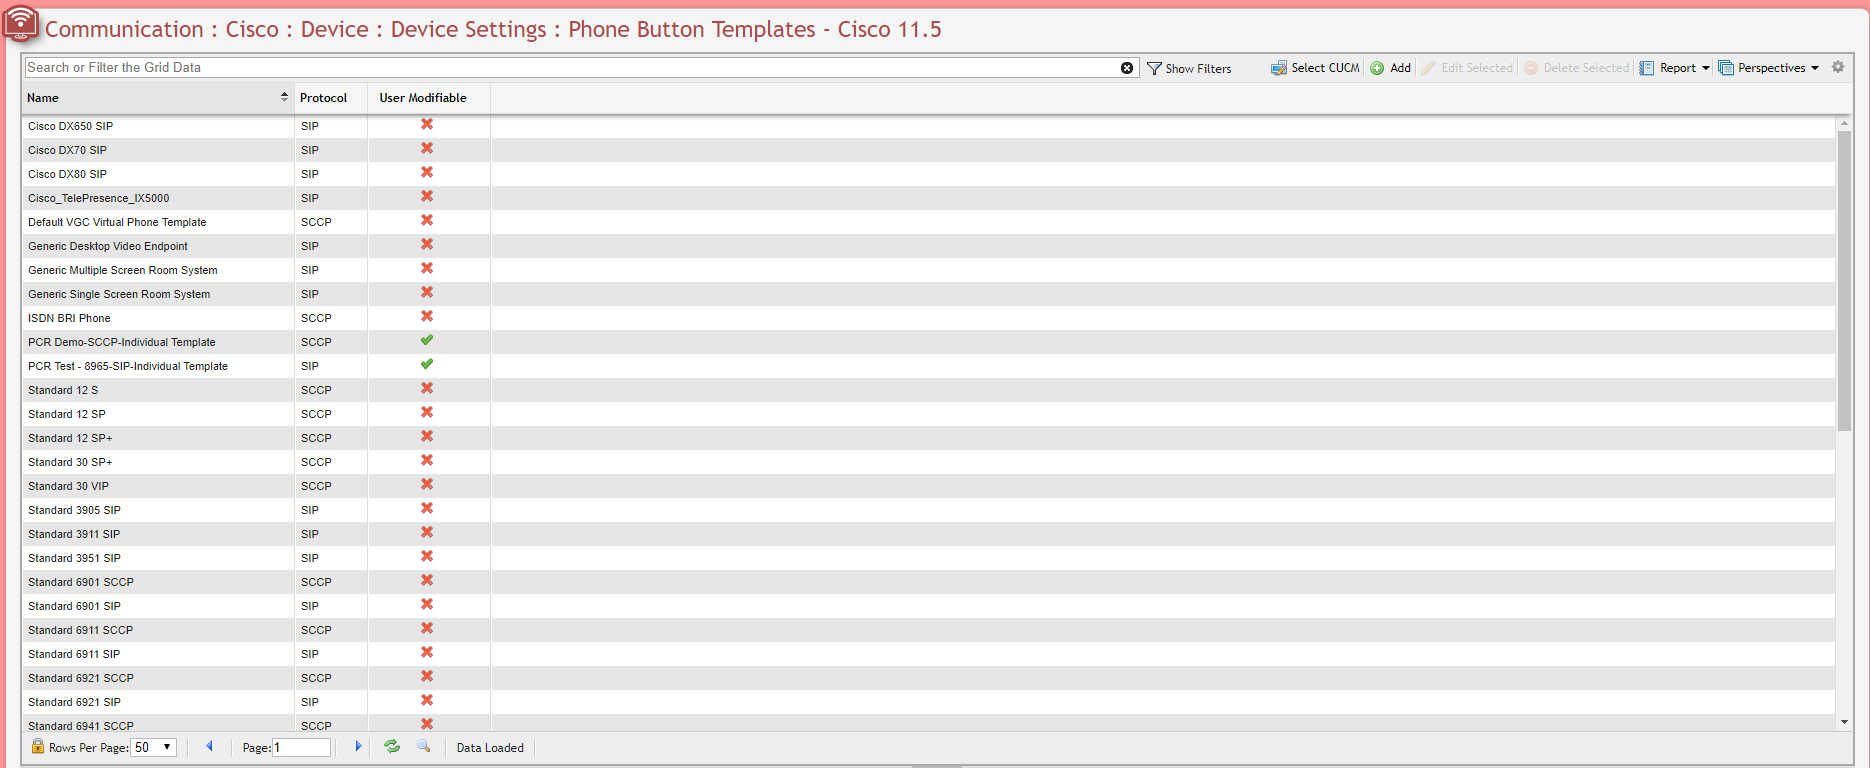
Cisco Phone Button Templates Grid example
Add New Phone Button Template Form example
Common Device Configurations
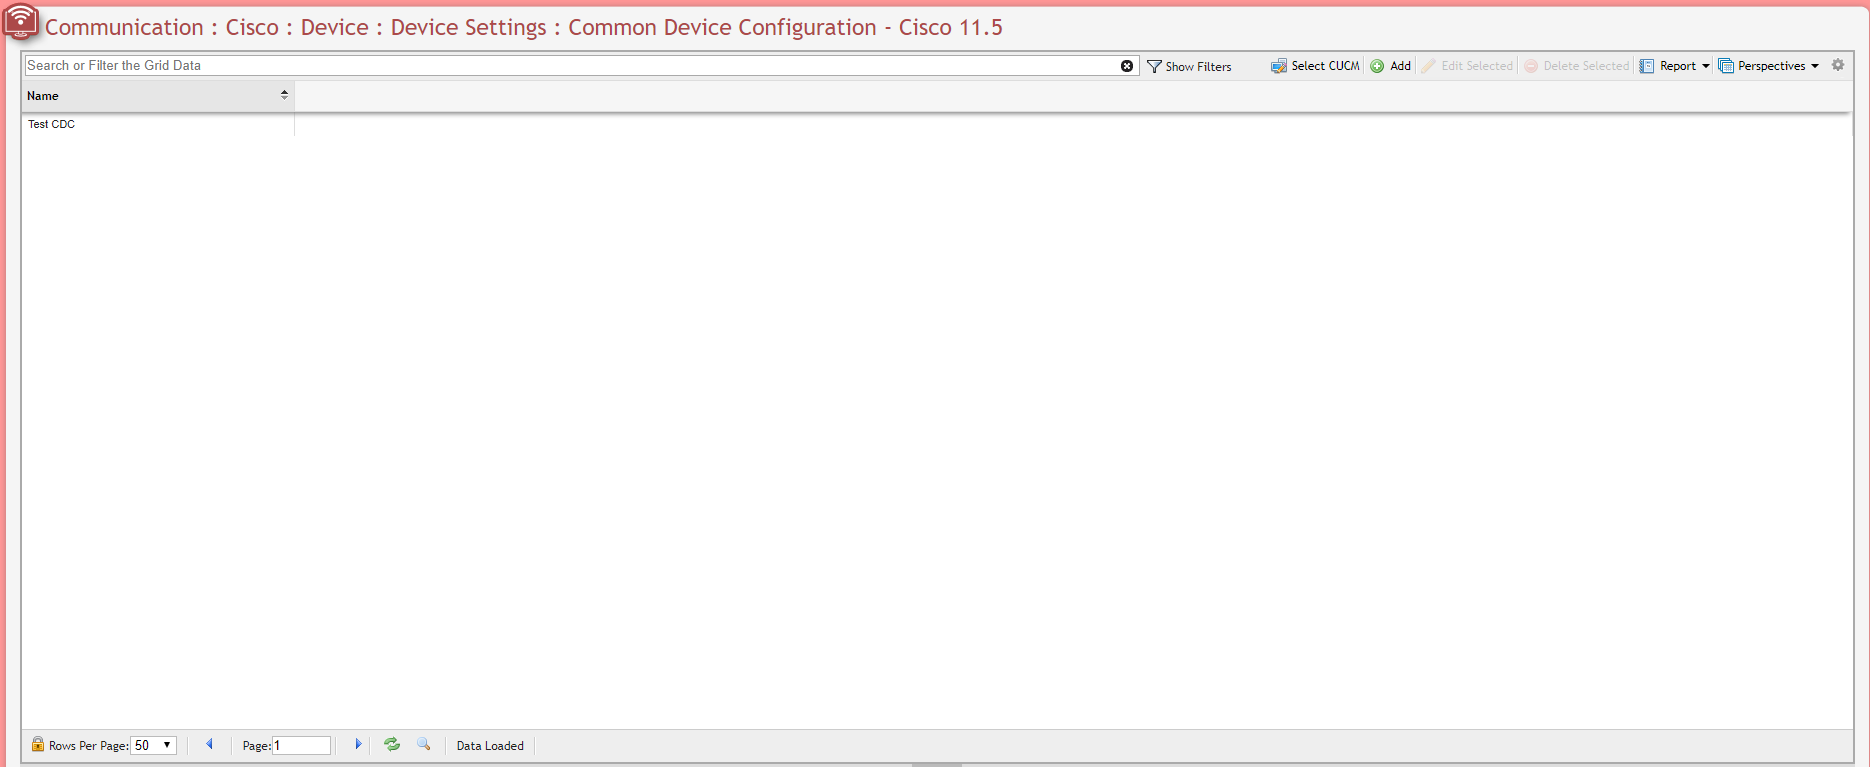
Cisco Common Device Configurations Grid example
Add New Common Device Config Form example
Device Defaults
Communication Cisco Device Settings Defaults Grid example
Device Defaults are specific Service Host Type, not a specific Service Host.
Analog Endpoint
Analog Phone
User Management
Application User
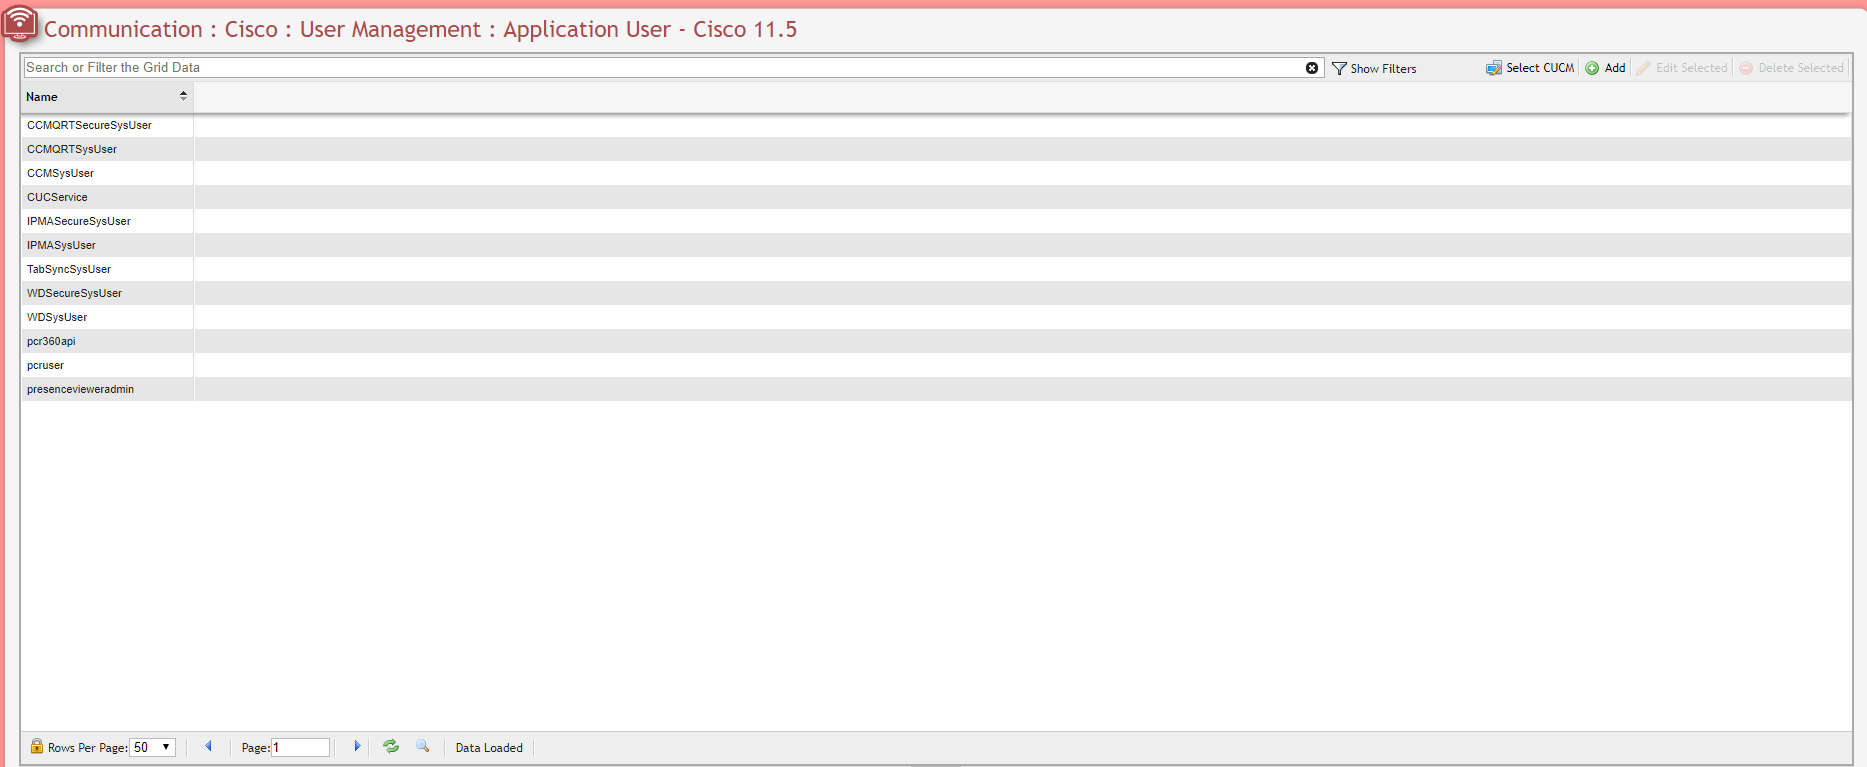
User Management Application User Grid example
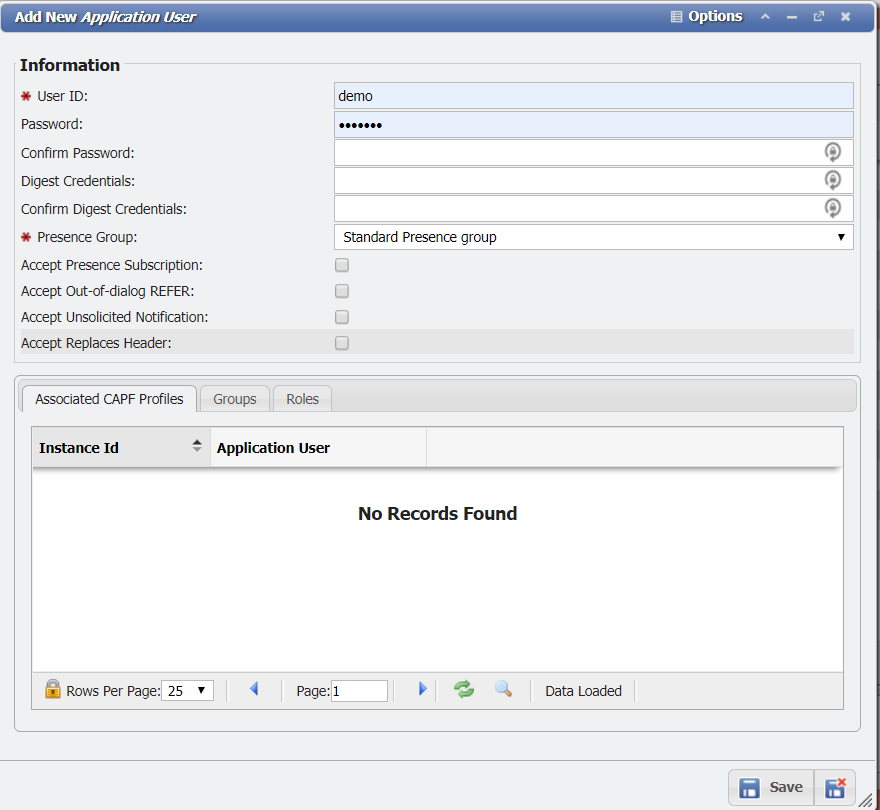
Add New Application User Form example
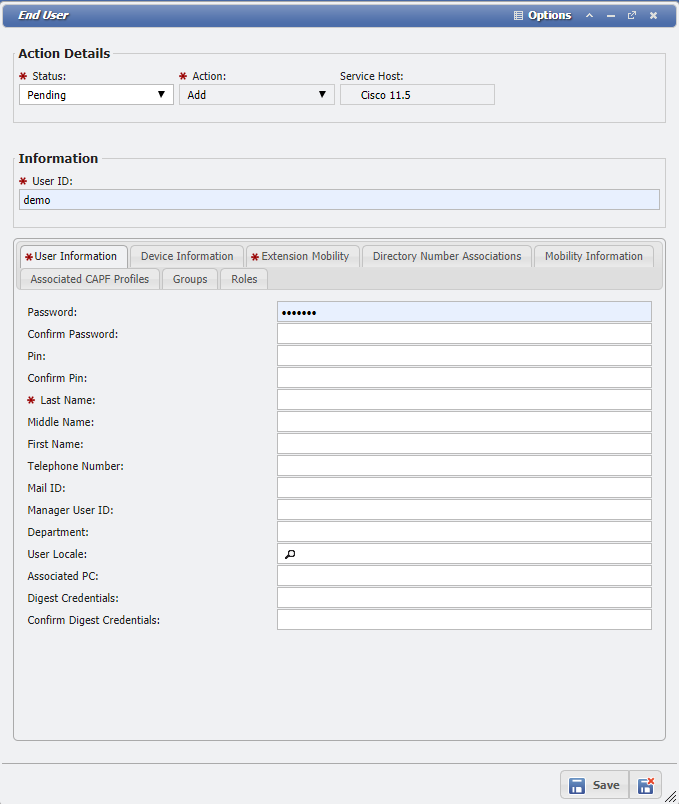
End User
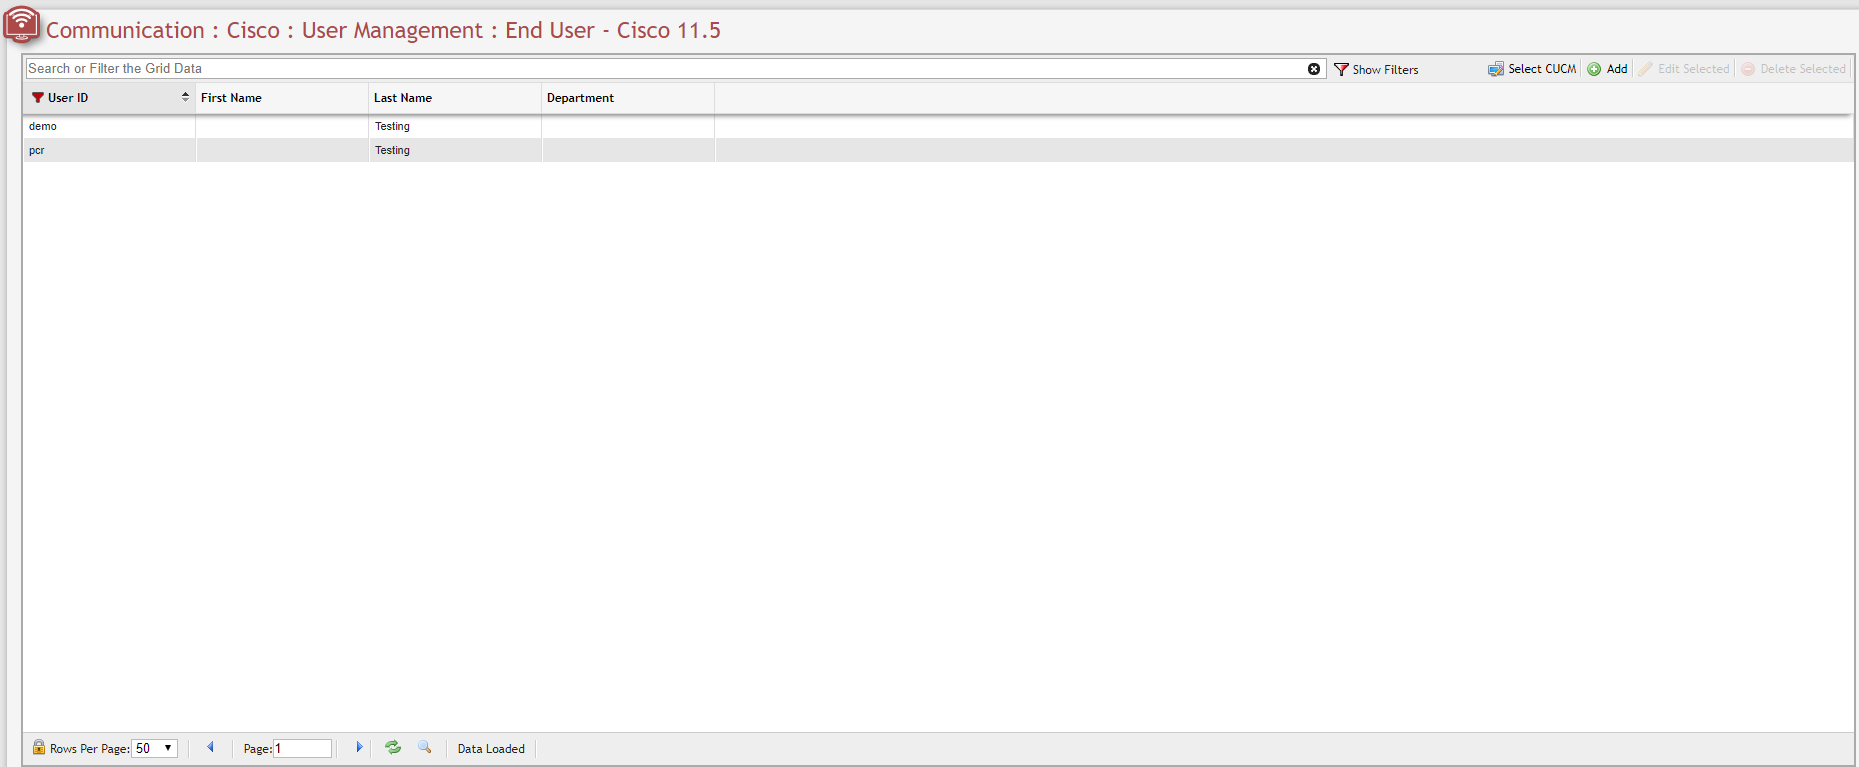
User Management End User Grid example
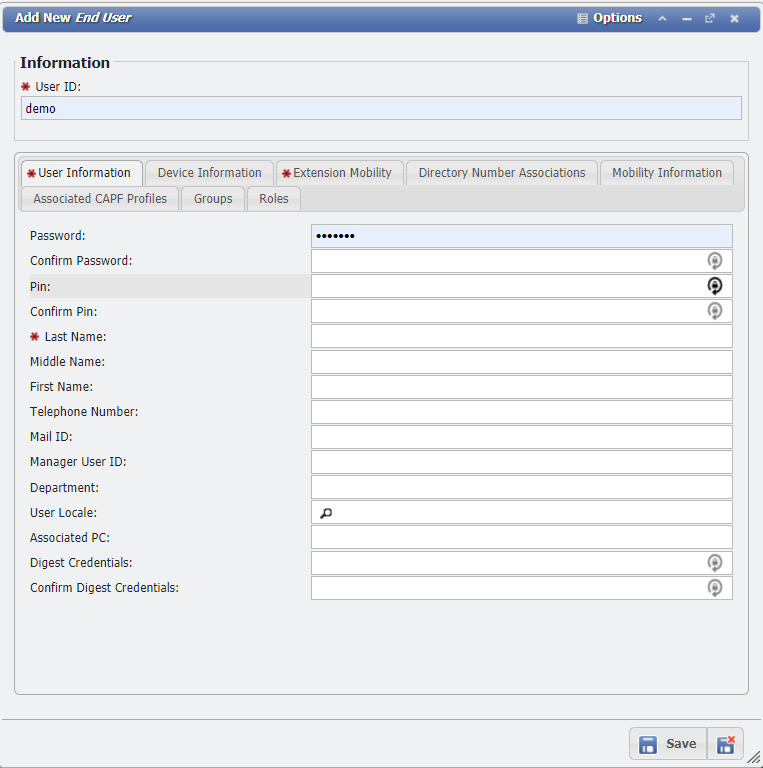
Add New End User Form example
User Group
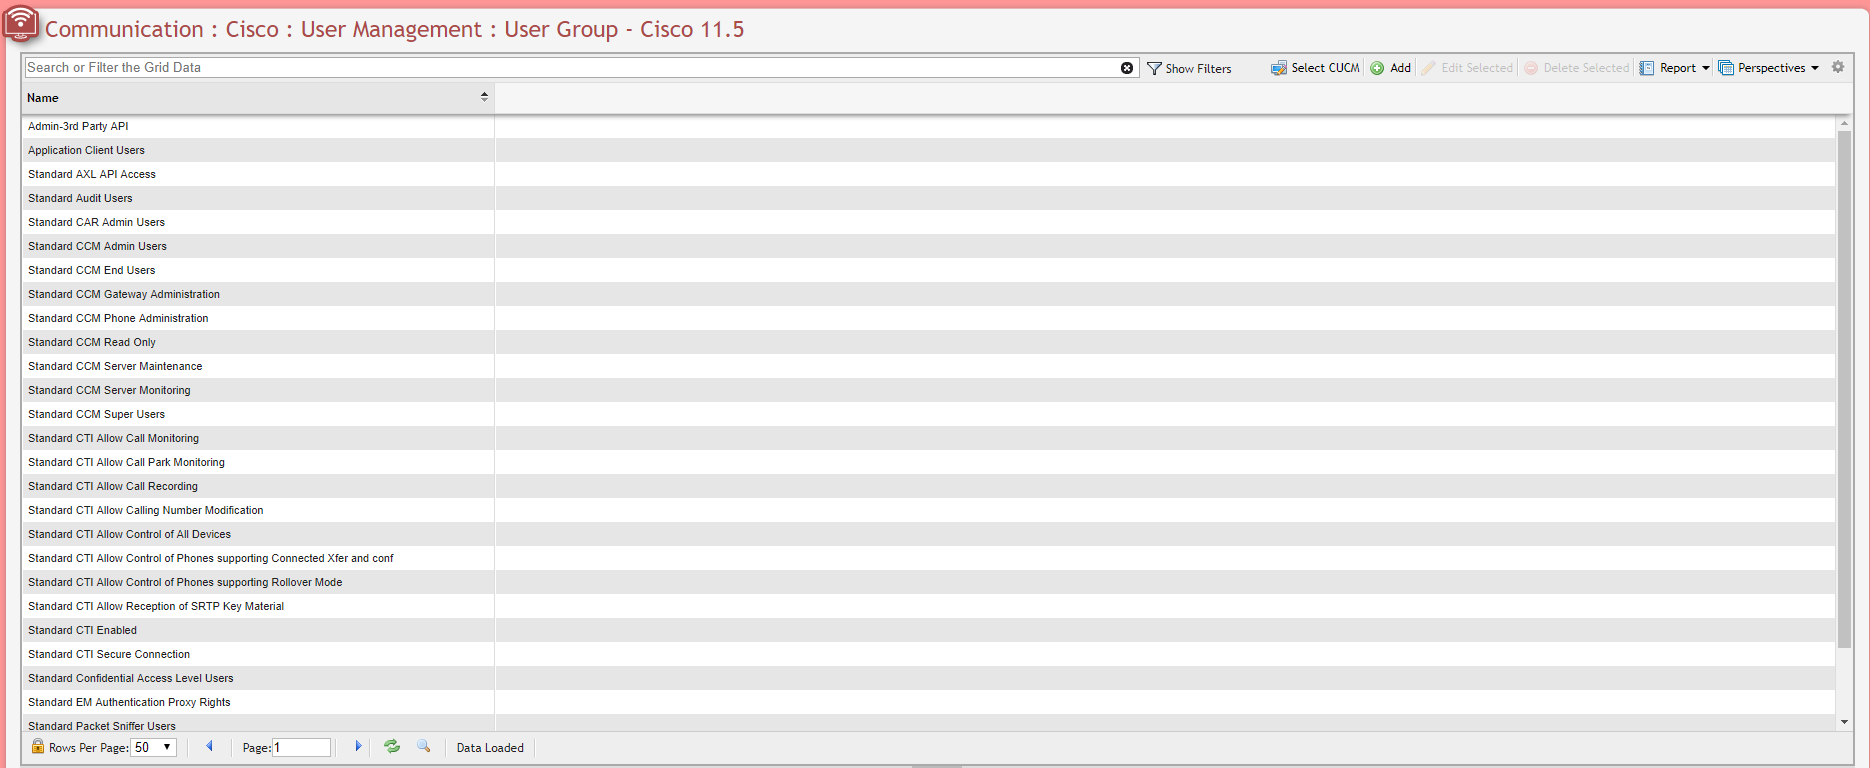
User Management User Group Grid example
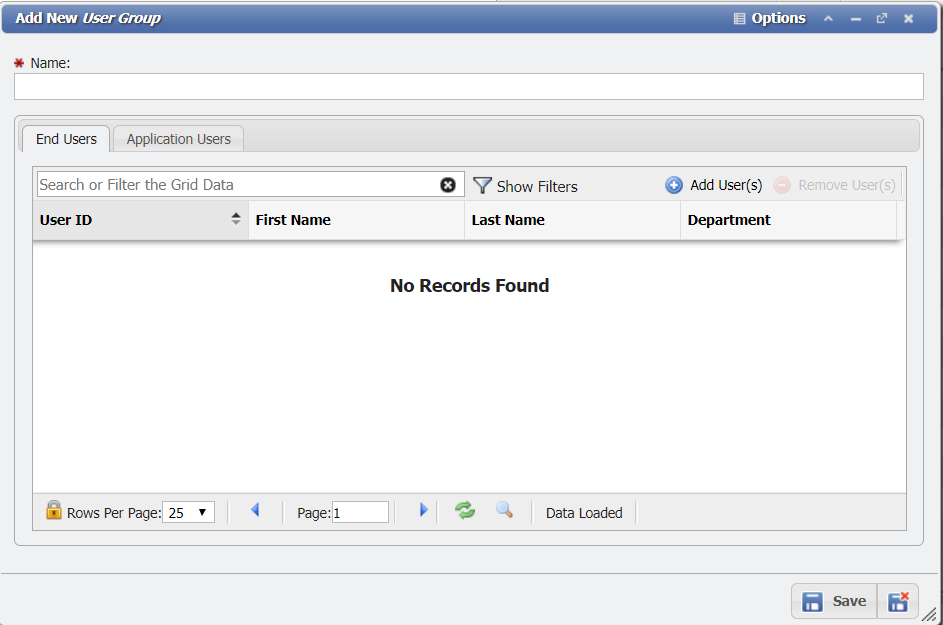
Add New User Group Form example
SIP Realm
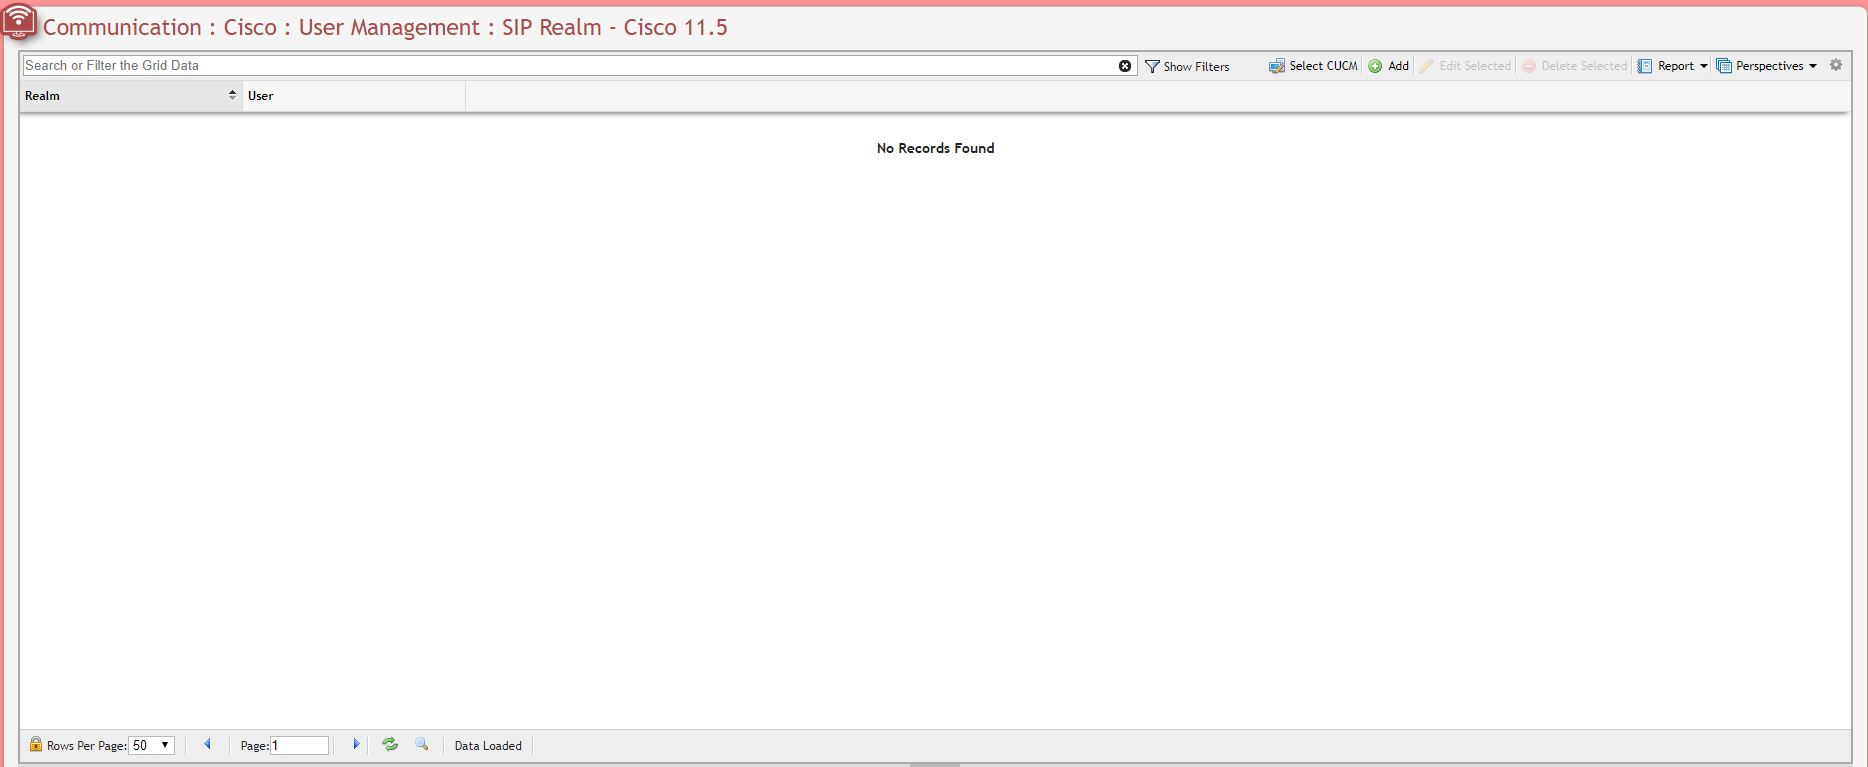
User Management SIP Realm Grid example
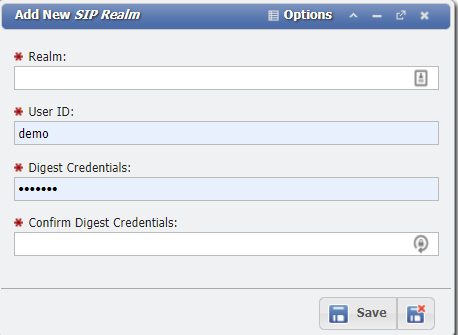
Add New SIP Realm Form example
Audit Log
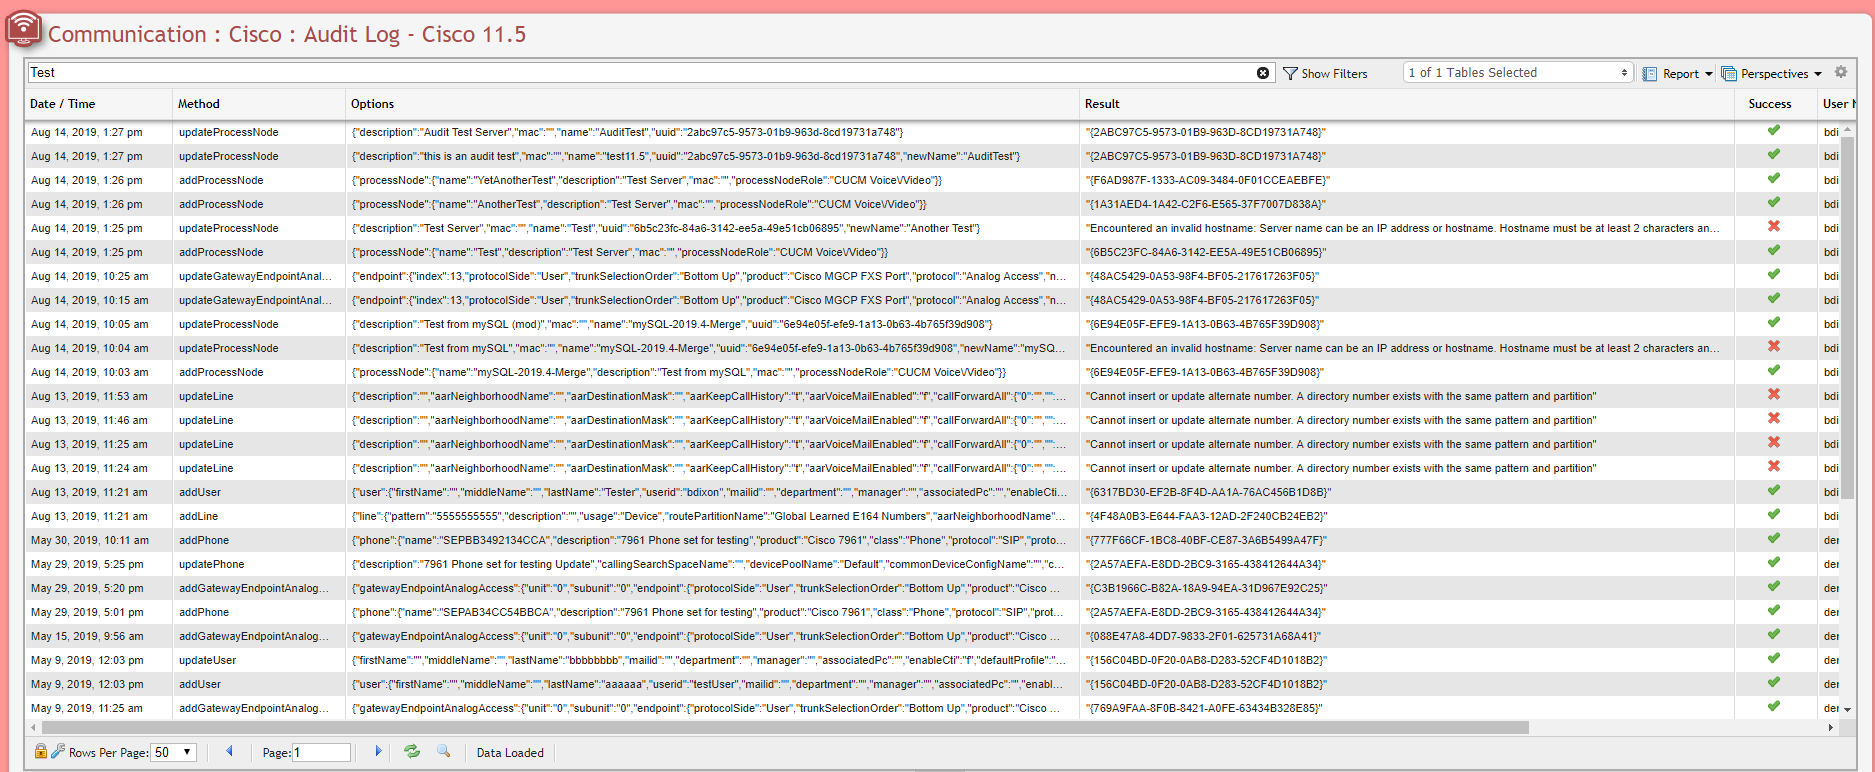
Cisco Audit Log Grid example
The Cisco 'Audit Log' is the primary reason to utilize the Cisco Switch Interface within PCR-360. By use of the Audit Logs, a User is able to see what updates were performed when, and who made them.
When numerous records are created, PCR-360 begins an archiving process to store the older records into other tables to improve performance. To access archived records use the Table Selector field on the grid header.

Table Selector dropdown example
Cisco Switch Interfacing with Service Desk
A 'Service' with the Service Host of Cisco and a Pending Service Order for the Service are Required to perform the following Action.
Service Desk can appropriate a number of different types of items on the Cisco switch:
'Analog Endpoints' and 'Analog Phones'
Analog Endpoints/Phones example form
'Devices'
'Devices' example
'Directory Numbers'
Directory Number example
'End Users'
End User example
'Forced Authorization Code'
Forced Authorization Code Example
Add Item
When adding new Analog Endpoints and Analog Phones, depending on the CISCO_AUTO_ASSIGN_ENDPOINT configuration, the Endpoint will be automatically assigned depending on available Servicing Equipment for the Service Desk Action's Location.
If a new item is needed to be provisioned on the switch, perform the following actions:
Add an Action of type: Miscellaneous within Service Desk, for the desired Service.
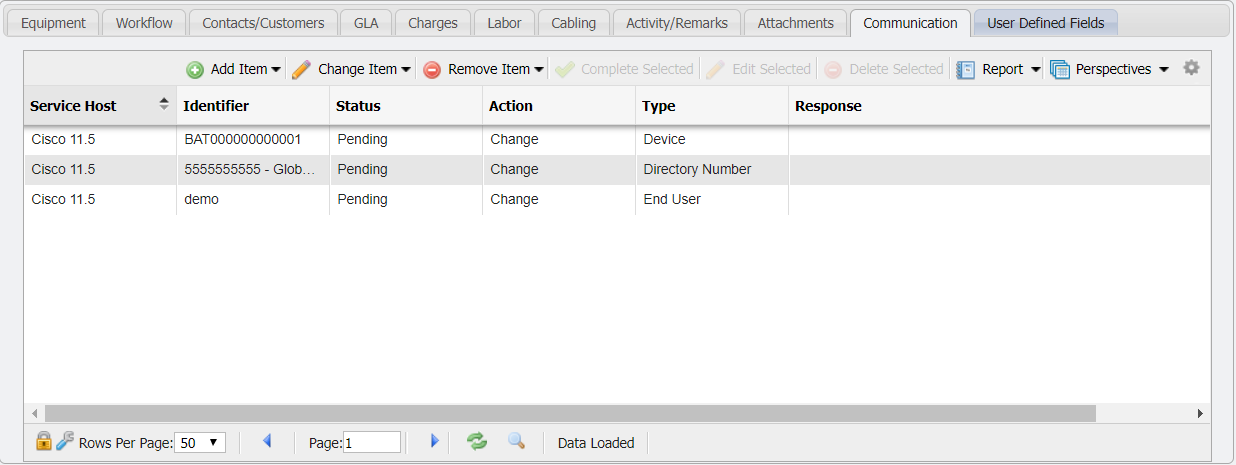
Service Desk Action - Communication Tab example
On the Communication Tab of the Service Order Action, click the
 button.
From the dropdown menu of the button, select the type of Item desired.
Cisco SD Communication Menu
Fill out the details for the selected item.
'Complete' the Service Order to persist the change throughout PCR-360 and the switch.
Change Item
If an existing item is needed to be updated on the switch, perform the following actions:
Add an Action of type: Miscellaneous within Service Desk, for the desired Service.
Service Desk Action - Communication Tab example
On the Communication Tab of the Service Order Action, click the
 button.
From the dropdown menu of the button, select the type of Item desired.
Cisco SD Communication Menu
Select the existing item from the form.
Select an Existing Item form example
Fill out the details for the selected item.
'Complete' the Service Order to persist the change throughout PCR-360 and the switch.
Remove Item
If an existing item is needed to be removed from the switch, perform the following actions:
Add an Action of type: Miscellaneous within Service Desk, for the desired Service.
Service Desk Action - Communication Tab example
On the Communication Tab of the Service Order Action, click the
 button.
From the dropdown menu of the button, select the type of Item desired.
Cisco SD Communication Menu
Select the existing item from the form.
Select an Existing Item form example
'Complete' the Service Order to persist the change throughout PCR-360 and the switch.
Service Hosts
Service Hosts
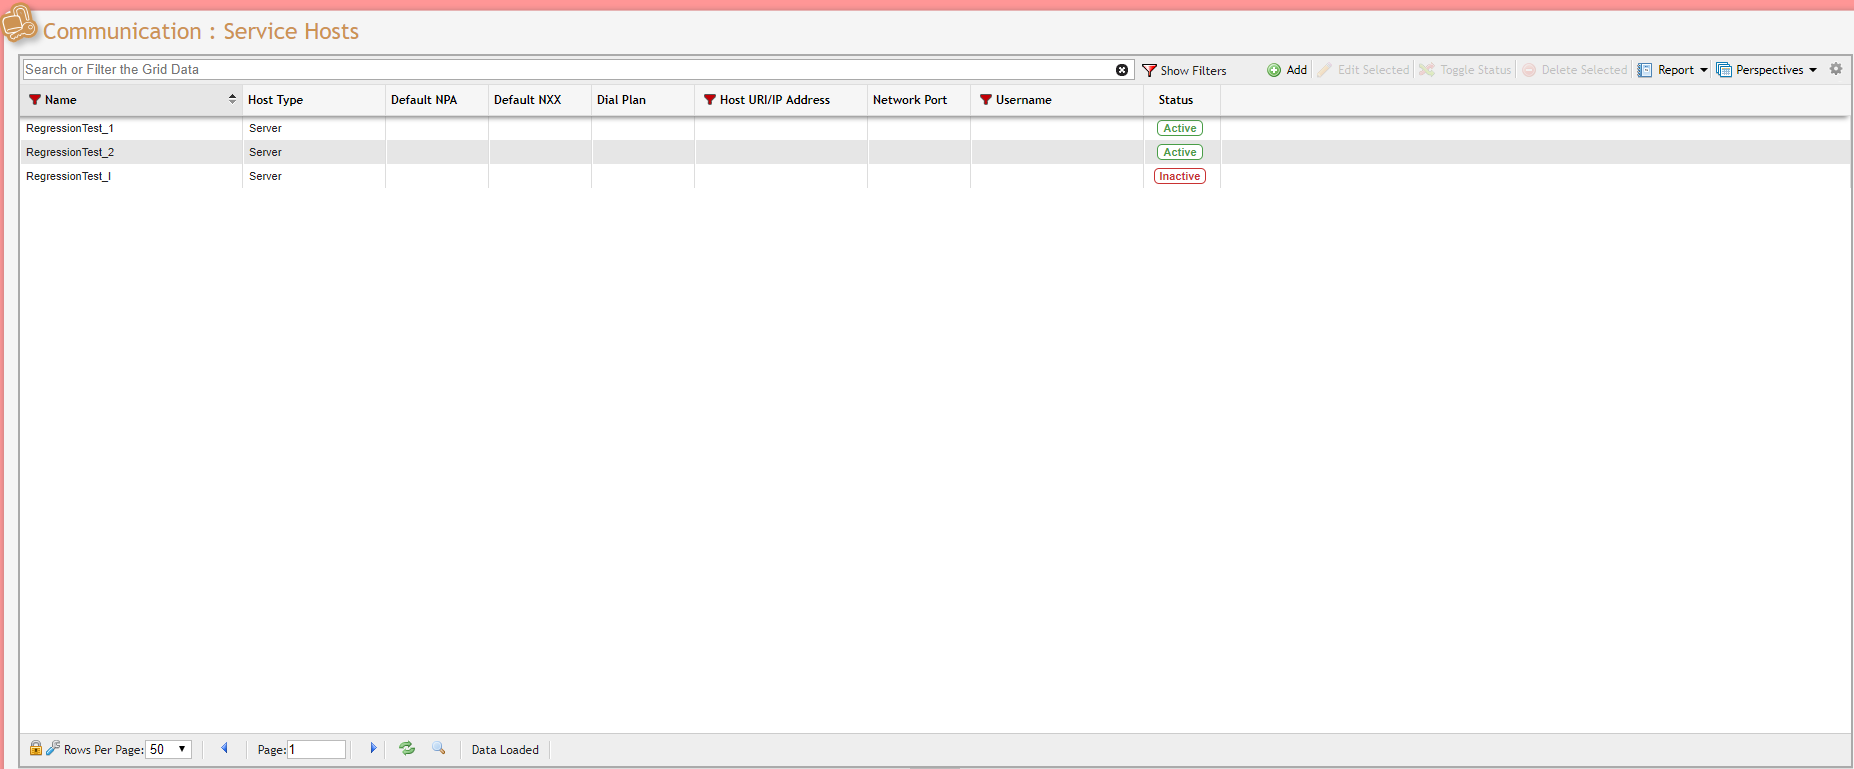
Service Hosts Grid example
The items on the Service Hosts grid populate the drop-down lists of Service Hosts that occur throughout the application. Service Hosts define specific types of services that have special permissions associated with them. An example would be: adding Cisco VoIP service to part of your organization. By defining Cisco VoIP as a Service Host a User can then specify the Equipment (and subsequent Service Locations) tied to this Service Host. This enables you to view your organization by Service Hosts as well as eliminate errors by trying to add, for example, TDM voice services where only VoIP services exist and vice versa. By adding items to the grid, Admin Users can add to these lists; by editing existing items, Admin Users can change the contents of these lists; and by deleting items from the grid, Admin Users can reduce these lists.
In any case, the items on the Service Hosts grid represent the hosts that provide phone or other services for the User's organization or its customers.
Adding a Service Host
Navigate to the Service Hosts grid (see image above) by opening the 'Admin' tab and clicking on the node labeled 'System Tables', then the node labeled 'Service Hosts'.
To add a new Service Host to the grid, click the
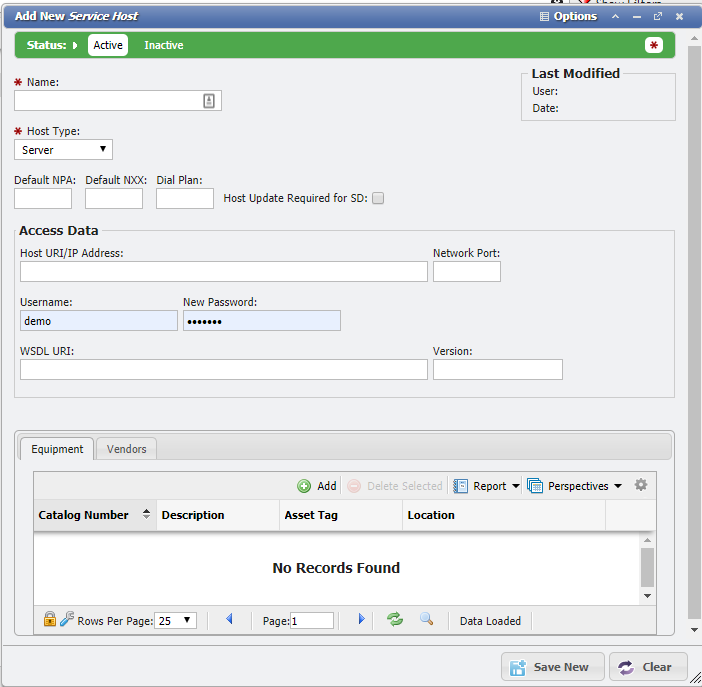
Add New Service Host form example
In the Service Host data entry form (see image above), the user is prompted to define two required fields: 'Name', and 'Host Type'.
Users can also define a default 'NPA' and 'NXX' to be used during call file processing.
Using the tabs displayed in the graphic above, Admin Users can also add Equipment to the Service Host and add Vendors associated with the selected Service Host.
In the middle section of the form, labeled 'Access Data', Admin Users specify how the system can access this Service Host. These settings are used by the Communication/Switch Modules to connect to the host. The Admin user can set access data by 'IP Address', 'Network Port', 'Username', 'New Password', 'WSDL URI', and 'Version' (see figure below).
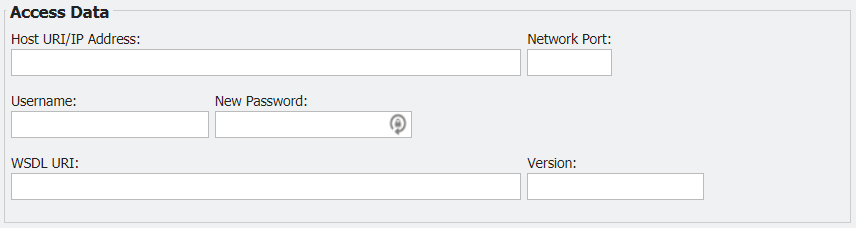
Access Data section example
Saving the New Service Host
Once all Required fields have been satisfied, click the ![]() button located at the bottom of the Service Host data entry form. The new Service Host will appear as an item on the original Service Hosts grid and will be available as a selection whenever a 'Service Host' field is encountered throughout the application.
button located at the bottom of the Service Host data entry form. The new Service Host will appear as an item on the original Service Hosts grid and will be available as a selection whenever a 'Service Host' field is encountered throughout the application.
Editing Existing Service Hosts
Admin Users can edit existing Service Hosts by double-clicking on any item on the Service Hosts grid or by selecting an item and clicking the ![]() button located immediately above the grid.
button located immediately above the grid.
This opens the item's Service Host data entry form, at which point the User can define the item's inputs by following the protocol established earlier in this section. Once all Required fields have been satisfied, click the ![]() button at the bottom of the form.
button at the bottom of the form.
Admin Users can delete existing Service Hosts by selecting the appropriate item on the Service Hosts grid and clicking the ![]() button located immediately above the grid. The deleted Service Host will no longer appear as an option when users encounter a 'Service Host' data field throughout the application.
button located immediately above the grid. The deleted Service Host will no longer appear as an option when users encounter a 'Service Host' data field throughout the application.
Exchanging Data With External Data Stores
Service Hosts can be set up to take advantage of remote data resources via Internet-based APIs. This section will explain how to set up API Service Hosts and utilize them in PCR-360.
Set Up An API Service Host
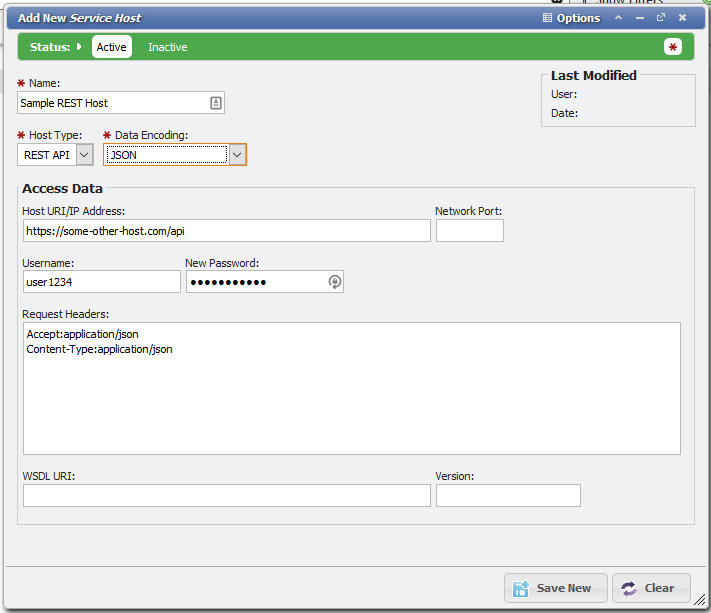
Add New Service Host form example
Go to Admin > System Tables > Service Hosts
Open a new Service Host, and select "REST API" on the Host Type list. The form will update, changing some of the inputs available. The image above shows a sample of the data needed for the new Host.
If the API you're using requires specific HTTP headers, you can use the "Data Encoding" list to select some pre-set headers. You can customize them in the "Request Headers" box. Enter one complete header per line. If you modify the presets, they won't be changed if you select a different "Data Encoding" item. Clear the text box if you want to switch Encoding types to use different preset headers.
Enter the URL to the API that will process your data. The "https://" is optional, but our Service Hosts will only send requests over an encrypted connection. APIs that don't support encrypted connections are not supported and strongly discouraged.
To make the Host reusable, use only as much of the API URL as is necessary to establish the connection. For example, many APIs use path segments to indicate how a request should be routed:
https://some-other-host.com/api*/customers/1234?*first_name=Jeff*&*last_name=Smith*
could indicate the customers table, ID # 1234 should update first_name and last_name to the provided values.https://some-other-host.com/api*/order/add
could mean that an Order needs to be generated. Perhaps this API requires a JSON data object instead of a query string that would look like:JS{ "45-abc-67": 1000, "~staples": 400, "SD_NUMBER": [the Service Desk Number from PCR-360] }This may indicate 1,000 of part # 45-abc-67 and 400 of something that looks like "staples", and the ServiceDesk SD Number is needed.
Notice the only common part of the above examples is the URL entered in the sample image. Everything after "api/" changes depending on what kind of request you're making. Provide the minimum part of the URL you need. The part of the URL that changes will be set in the Escalation Sequences.
If your connection requires authentication, provide the Username and Password. The password will be securely encrypted in the database. Some APIs use a Key string that acts as authentication so you don't need a User/Pass pair. You may need to provide the key as a parameter in the Escalation Sequence, or include it in the Host URL input above. Address specific requirements with the API owner.
Some APIs may also require usage of a configuration file, version, or specific network port to establish connection and/or exchange data. Fill these in as needed.
When all information is complete, Save the Service Host. Note that you cannot change the "Host Type" of existing Service Hosts anymore. This is to avoid retaining or adding invalid data, or removing necessary data, for a given Host Type.
The Service Host is now ready for setting up Escalations REST Sequences.