Department Hierarchy
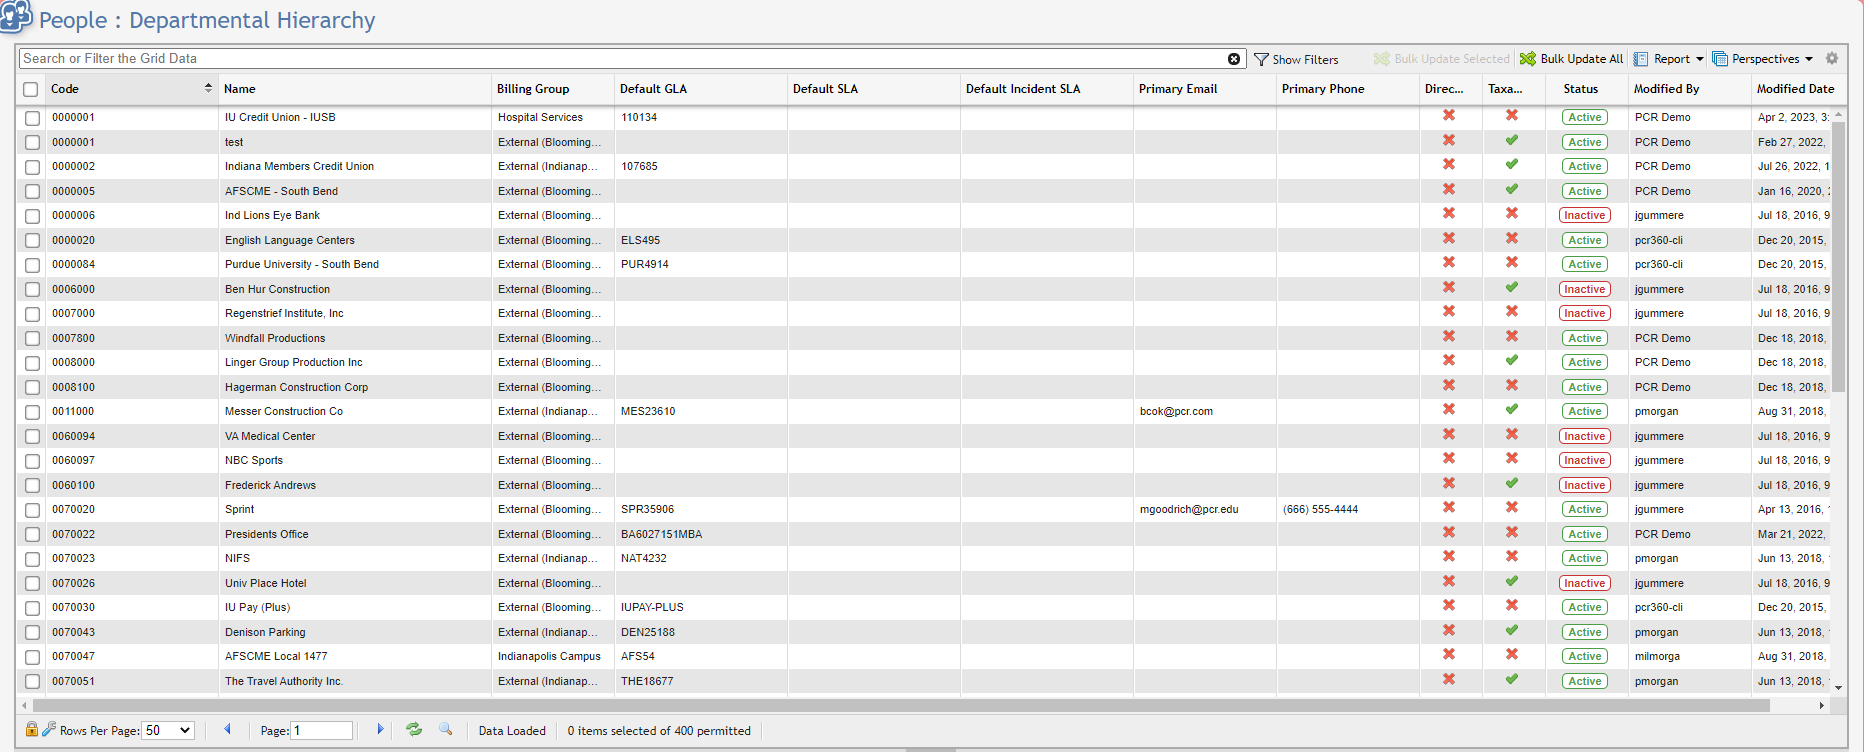
Departmental Hierarchy Grid example
The Departmental Hierarchy function presents Users with a visual representation of their organization's working hierarchy.
Users can reference the Departmental Hierarchy to more easily identify and visualize different business concerns while serving as an important tool regarding issues of seniority and responsibility. Departmental Hierarchy entries can be defined throughout the application as 'Owners' of products and services and as a way to organize and group employees and customers.\
Note: if a Department has multiple Primary Phone Numbers and/or Emails on the Phone Number and Emails tabs, the Department will appear multiple times in the Department Hierarchy grid. The application does not allow multiple Primary Phone Numbers/Emails, so this should never occur unless there was a preexisting data issue. To correct, open the desired Primary Phone Number/Email and save the record, the application will make all other Phone Numbers/Emails non-primary.
Adding a New Departmental Hierarchy Level
Navigate to the Departmental Hierarchy Grid. Main > People > Departmental Hierarchy
Click the 
Add New Departmental Hierarchy form example
In the Departmental Hierarchy data entry form, Users are prompted to define the required fields: Code and Billing Group. Users can also define default GLAs, SLAs, and Incident SLAs that are triggered when a User selects the new Departmental Hierarchy level elsewhere in the application.
Note: the field labeled Parent is grayed-out and is not available for edit. After the new level is saved, the User can move the level along the Tree located immediately to the left of the People Departmental Hierarchy Grid. These moves establish both the level's place in the hierarchy and its Parents or Children.
Users can create Child Departmental Hierarchy levels via the Departmental Hierarchy displayed to the left of the Grid. Right-click on the Departmental Hierarchy level intended to be the Parent of the new record and select 'New Item' from the menu. Alternatively, Users can highlight the intended Parent Department Hierarchy level and press the
Once all required fields have been satisfied, click the
Managing Departmental Hierarchy Levels
Now that a new Departmental Hierarchy level has been saved, the User can manage it or other existing levels using the Tree located immediately to the left of the People Departmental Hierarchy Grid.
The Tree allows Users to drag and drop Departmental Hierarchy levels to any position on the Tree. The application prompts the User to confirm the move. After confirmation, the move is saved, and the appropriate Parent to the new Departmental Hierarchy level appears in the level's Departmental Hierarchy data entry form (see 'Adding a New Departmental Hierarchy Level ' section).
Note: Moving a Departmental Hierarchy record that has descendants moves the descendant records as well and change the 'Parent' field in the level's Department Hierarchy data entry form.
Users can also move items within the Departmental Hierarchy Tree by cutting and pasting. To cut an item, right-click the Departmental Hierarchy level and select Cut. To paste an item, right-click on the intended Parent Departmental Hierarchy level and select Paste.
Bulk Updates
Department Hierarchy Bulk Update Grid example
Making a Bulk Update
Users can perform a Bulk Update by either clicking on the
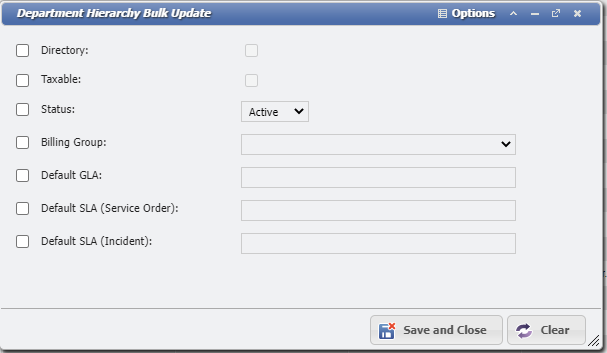
Department Hierarchy Bulk Update Form example
After the User clicks on the

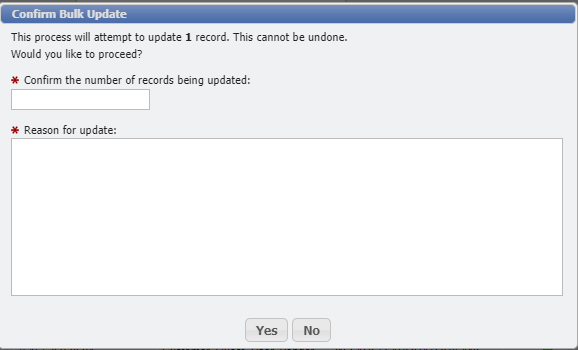
Confirm Bulk Update form example
Replacing a Department Hierarchy
Confirm Bulk Update dialogue example
This button replaces all instances of a Department Hierarchy with another Department Hierarchy. This can be useful if a Department has their name changed. To use, select a Department Hierarchy to replace and click the 
The Department Hierarchy is replaced on any Service Order, Service, or Equipment where that Department Hierarchy appears. Because the Replace function can change LARGE volumes of data, it is strongly recommended to permission this button where only authorized Users can access it. For more information on securing the Replace button, please see the Permissions and Best Practices pages.
The Delete Department checkbox serves a dual purpose. The default behavior leaves the checkbox unclicked. This makes the Replace function leave the Replaced Department Active and replace it anywhere it has been previously associated if it can be replaced. If the User selects the Delete Department checkbox, the Replace functionality tries to delete the existing Department. If the Department cannot be deleted because of any lingering associations, the Replaced Department record is set to Inactive instead.
The following are special circumstances related to the use of the Replace button.
Service Desk and Service Desk Action: The application can only update the Owner if the Status of the Order/Action is not Finalized, Void, or Billed.
Services: If the Billing Group of the new Department does not match the Billing Group of the old Department Hierarchy, the Billing Group Override is set to the new Billing Group.
Equipment: If the Billing Group of the new Department does not match the Billing Group of the old department, the Department is NOT face replaced.
Department Hierarchy tabs
The tabs that appear in the Department Hierarchy form can be used to input as much Department Hierarchy information as the User desires.
If a tab is marked as having a Required field, open that tab enter information in the field.
Once all Required fields have been filled, click the
Remarks tab
Remarks
Department Hierarchy Remarks Tab
Add Remark
Remarks are useful for making notes about a Return Order that might need to be recalled in the future. To add a Remark, follow these steps:
Click the
button.
This will open the 'Add New Remark' form.
Enter the Remarks desired into the field.
Click the 'Save New'
The Remark will be added to the list along with a User ID and time stamp for tracking.
View/Edit Remarks
Double-click or select the

The form will open so the User can read all the content of a given Remark.
Click the
UNKNOWN ATTACHMENT
button to commit any changes made to the Remark.
Delete Selected
Clicking the

Note: Remember that depending on the system configuration Remarks may not be editable once added.
Use of HTML Tags
Some fields within PCR-360 allow Users to input HTML tags to make displaying that information a richer experience for those that are expected to consume it. For more information on HTML tag usage, please see the wiki entry for it.
GLA Permissions tab
GLA Permissions
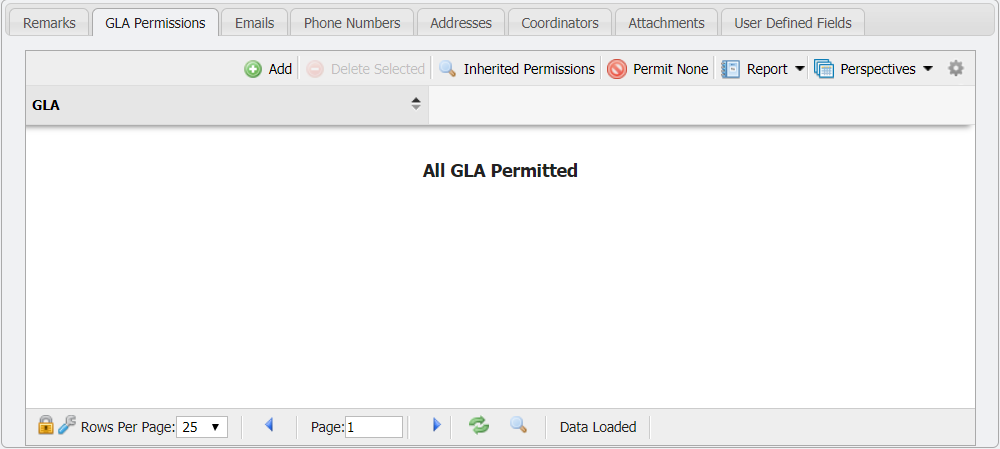
Department Hierarchy GLA Permissions Tab example
The 'GLA Permissions' tab will allow a User to limit a Contact to be associated with specific GLAs for greater administrative control. Whatever GLA Permissions are set here are the GLA(s) that the Contact will have access to via the CustomerCenter.
When a Contact is assigned as a Coordinator for a Department, the Contact inherits the Department's GLA Permissions.
The Contact GLA Permissions are the ones used, even for Coordinators. If no Contact Permissions are present, then the Coordinator's Departments' GLA Permissions will be used.
Add
To limit a Contact to a GLA(s) follow these steps:
Click the
 button.
This will open the 'Add New GLA Permission' form.
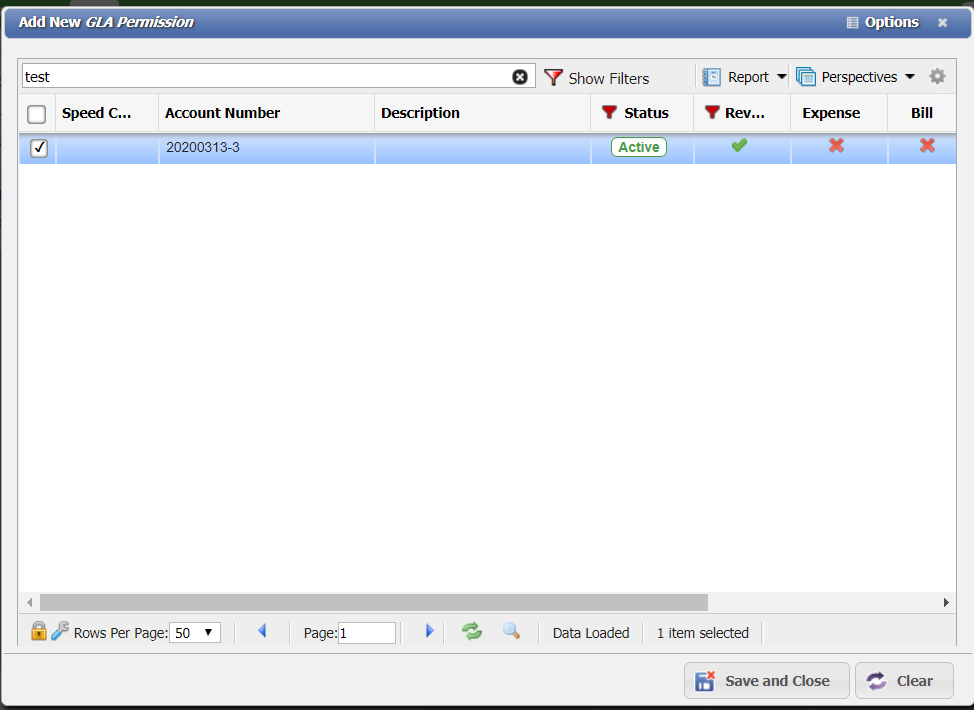
Add New GLA Permission form
Select the GLA or GLAs that are desired to associate from the grid. Filters and Search can be used to sort to the GLA(s) that are desired.
Click the
 button.
The GLA Permissions will be added to the Contact record. Any time Users attempt to assign a GLA through the CustomerCenter for this Contact record, the GLA(s) available will be limited to the ones in this list.
Permit None
If the Contact should never be allowed to be associated with a GLA simply click the

To remove the 'Permit None' restriction, simply select the message in the grid, and then click the

Emails tab
Emails
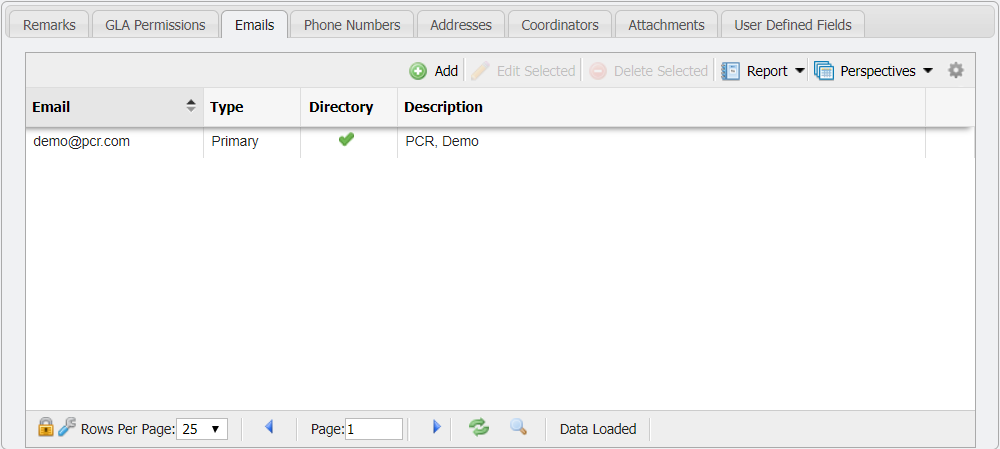
Department Hierarchy Emails Tab example
The 'Emails' tab will associate an email address to a Contact record. Multiple email addresses can be saved in PCR-360 with the option to set an Email Address as the primary for the Contact. To add an email association, use the following steps:
Click the
 button.
This will open the 'Add New Contact Email Address' form.
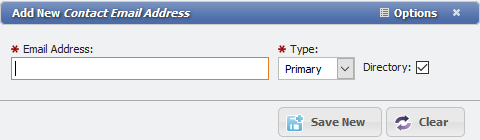
Add New Contact Email Address form
Enter the Email Address and select if the Email is intended as a Primary contact or as an alternate email.
If the Email Address should show in the Directory select the 'Directory' checkbox.
Click the
button.
The Email Address for the Contact will be added to the grid.
Set as Primary
The

Phone Numbers tab
Phone Numbers
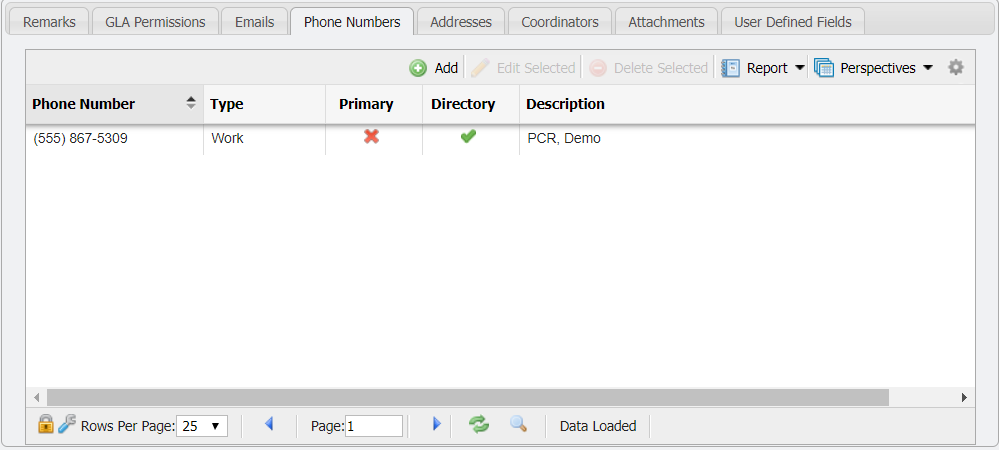
Department Hierarchy Phone Numbers Tab example
The 'Phone Numbers' tab will allow the association of a Phone Number or numbers with a Contact record. These numbers can be set as primary or allowed to appear in the directory. To add the Phone Number association follow these steps:
Click the
 button.
This will open the 'Add New Contact Phone Number' form.

Add New Contact Phone Number form
Enter the 'Phone Number' and select the 'Type' of number that it is; work, home etc.
If the Phone Number is the Primary number for the Contact, click the 'Primary' checkbox.
If the Phone Number should show in the Directory select the 'Directory' checkbox.
Click the
button.
The Phone Number will be added to the grid.
Addresses tab
Addresses
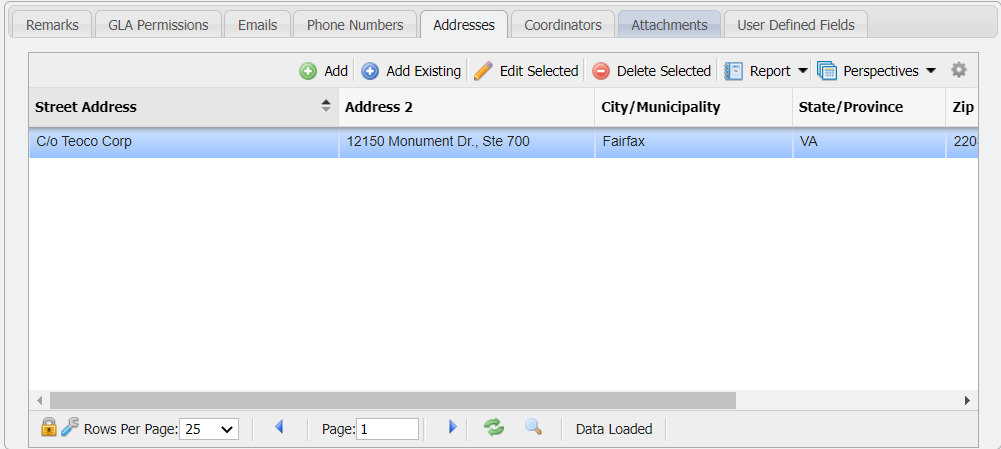
Department Hierarchy Addresses Tab example
The 'Addresses' tab will associate an Address to the Contact record.
Click the
 button.
This will open the 'Add New Address' form.
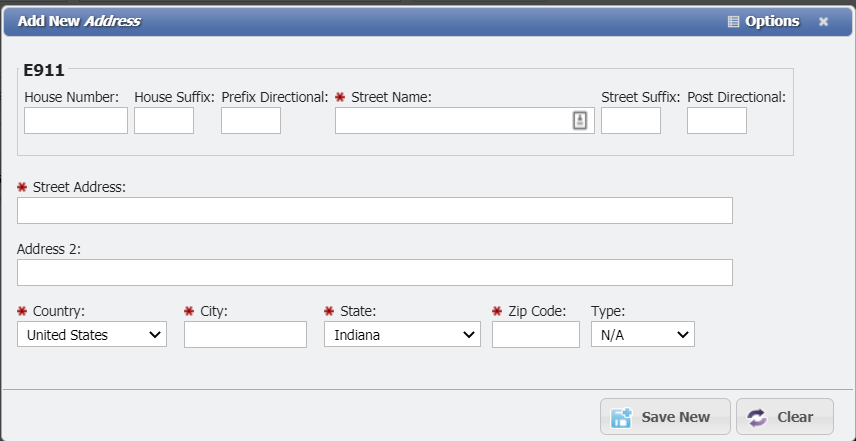
Add New Address form
Enter the 'Street Address', 'City', 'State', and 'Zip'. Each of these fields are required.
Select the 'Type' if one is desired.
If the Address should show in the Directory select the 'Directory' checkbox.
Click the
button.
The Address will now reflect in the grid on the Addresses tab.
Coordinators tab
Coordinators
Coordinators or Billing Coordinators is a special classification for a User within PCR-360 who has the responsibility to review Bills for their Department to ensure accuracy before that Bill is Finalized. These Users can be directly sent a message containing the Bill after it is generated.
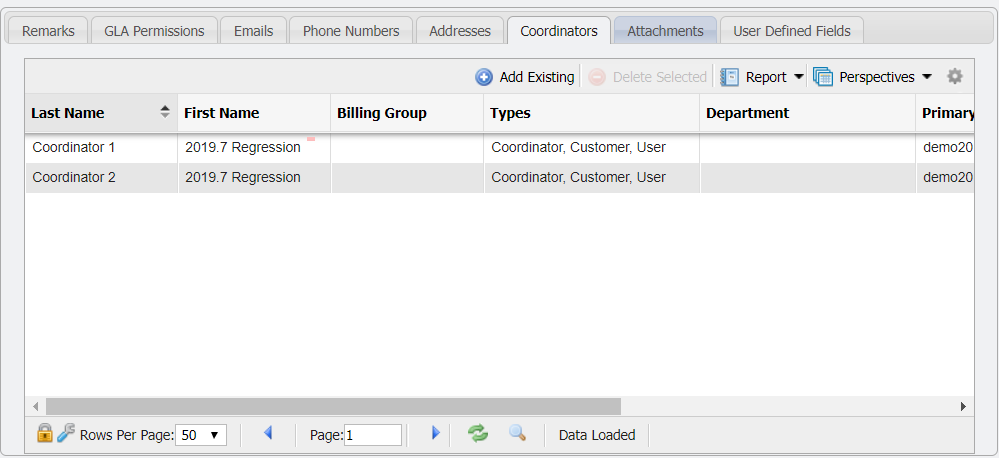
Coordinators tab
When a Contact is a Coordinator for a Department the Contact inherits the Department's GLA Permissions.
The Contact GLA Permissions are the ones used, even for Coordinators. If no Contact Permissions are present, then the Coordinator's Departments' GLA Permissions will be used.
The 'Coordinators' tab appears in the Department Hierarchy menu. A User can add an existing Coordinator, or delete the Coordinator from the Department Hierarchy. To add a Coordinator, follow these steps.
Click the
 button.
The 'Add New Existing Coordinators' form will open.
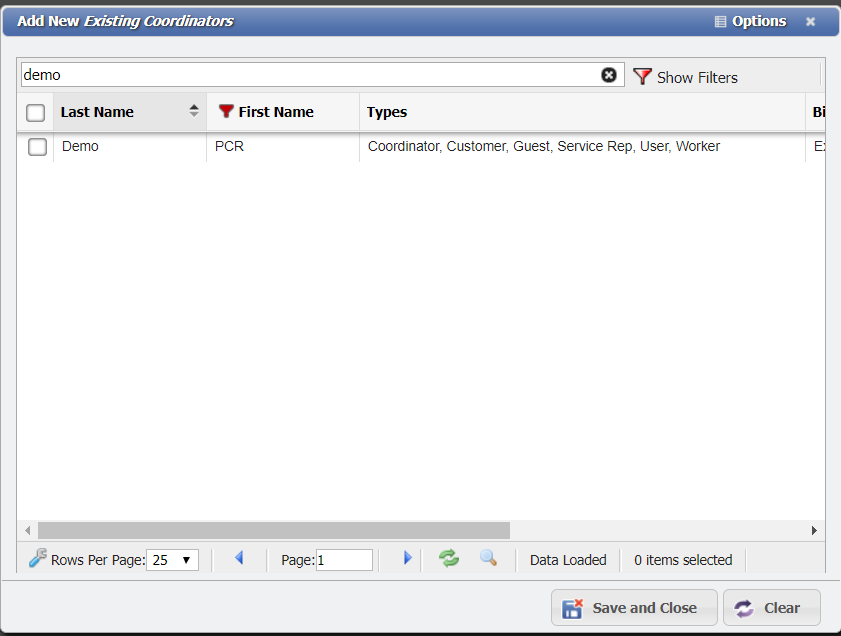
Add New Existing Coordinators form
Select the Coordinator(s) that should be associated with the Department Hierarchy. The filters and search bar can help limit the results to find the Coordinator desired.
Click the
 button.
The Coordinator(s) will be added to the tab.
For more details in how to setup a Coordinator, see the How do I set up a Coordinator page.
Attachments tab
Attachments
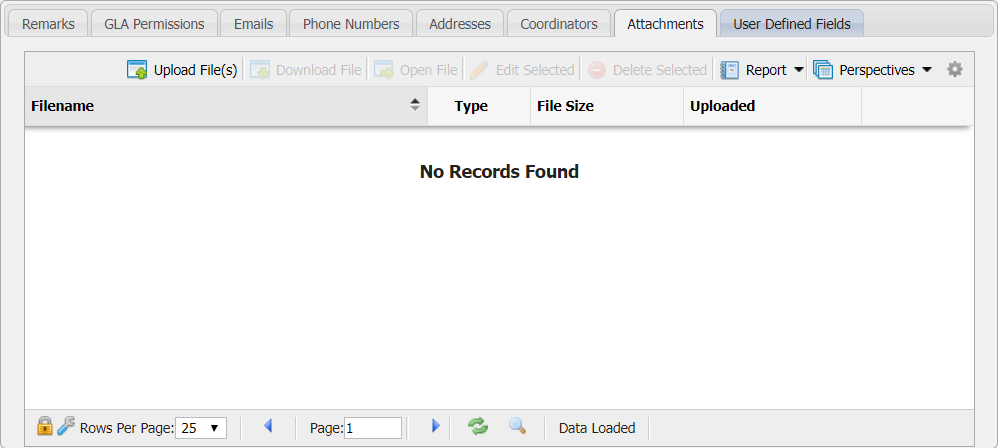
Department Hierarchy Attachments Tab example
The Attachments tab allows Users to attach files (including .pdf, .jpg, .doc, and more) of interest or relevance to the Department by uploading them into PCR-360.
Uploading a File
To attach one or more files, navigate to the 'Attachments' tab and click the
Download File
Allows a User to download a file to their local machine. Useful to make modifications to a file, which can then be re-uploaded. To download a file click the
Open File
This will open the file, if possible, for viewing by the User. No modifications of the original file can be made when opened in this manner. To use this functionality select the file to view and click the

Edit Selected
Allows the name of the file to be modified within PCR-360. If a User modifies the name of the file, that is the new name that will be used when downloading the file.
1. Select the file to modify and click the
2. This will open the 'Manage Attachment' form.
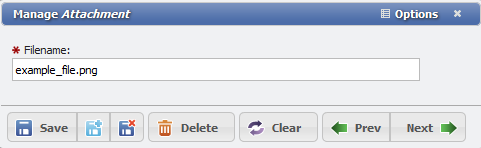
Manage Attachment form
From here the filename can be modified as desired.
Note: Care should be taken NOT to change the extension of the file name or unexpected behaviors or lose of the file are possible.
Delete Selected
This will remove the file from PCR-360. Select the file to remove and click the
User-Defined Fields tab
User-Defined Fields
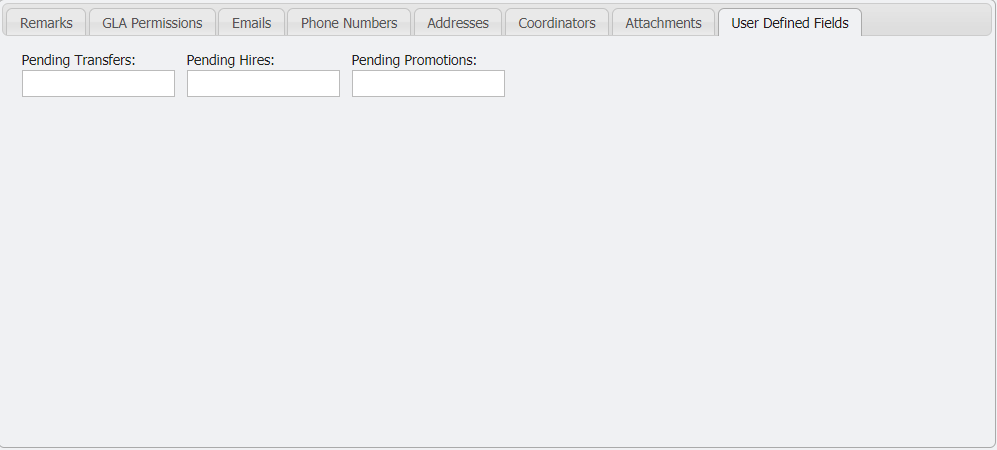
Department Hierarchy User-Defined Fields Tab example
The User Defined Fields tab provides access to any extra fields that have been defined for the given grid. See Adding User Defined Fields for more information.