In PCR-360, a number of associated Service Requests, Service Orders, Work Orders, Incidents, and/or Incident Requests are known as a Project. Sometimes it would be preferable to have Service Desk Items grouped together to aide in tracking related issues in the organization. These associated items are known as a 'Problem'. To build a Problem, Users will follow the same protocol established to build a Project.
From the Main > Service Desk > Projects grid, a User is able to view the Assigned Workers, Completed Workers, Assigned Workgroups, and Completed Workgroups related to each item.
Building a Problem
Navigate to the Service Desk Problems grid by clicking the Service Desk icon in the 'Main' tab. Select the Problems icon. Select the 'Add' button on the Grid Toolbar located above the Problems grid.
Problem Data Entry Form
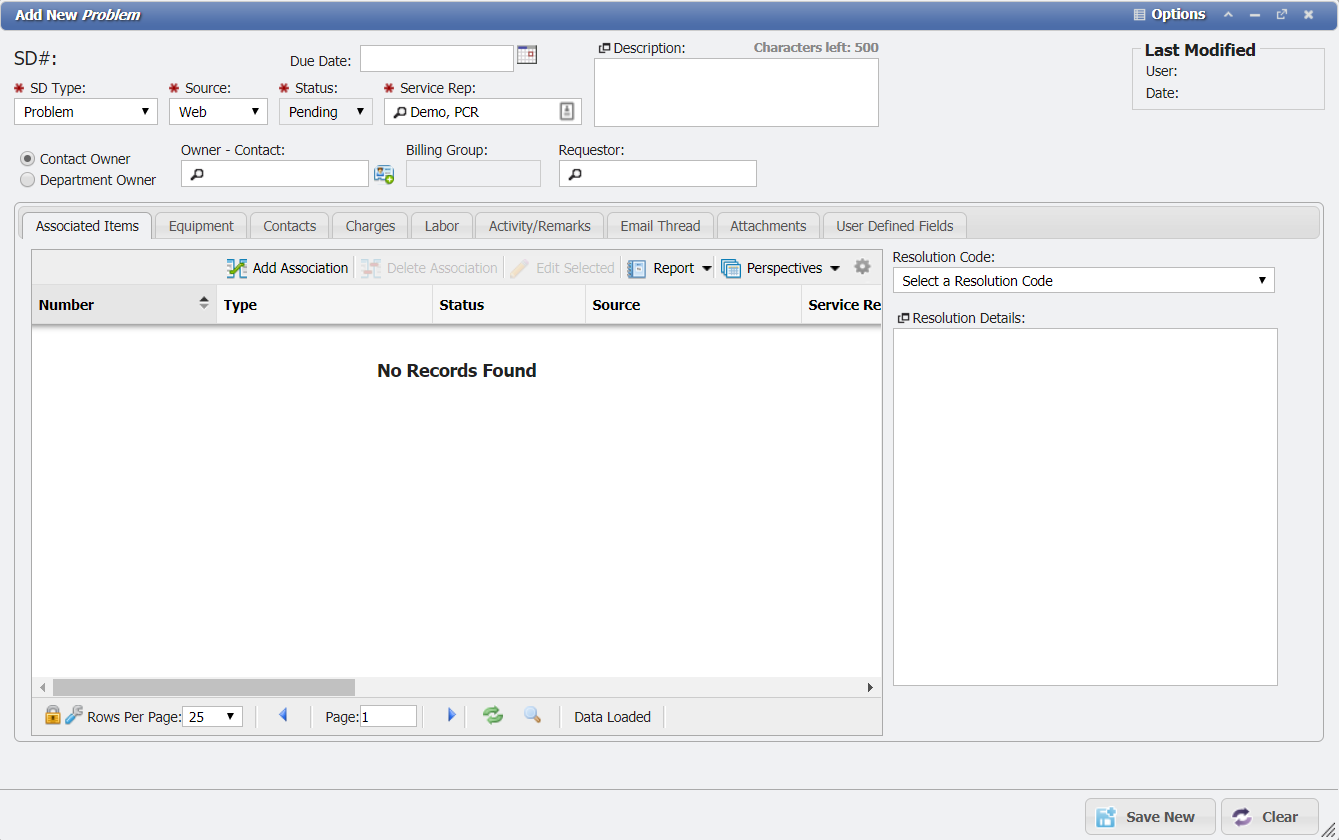
The Problem Data Entry Form will require Users to define the Problem's Source, Status, and Service Rep from drop-down menus. Keep in mind that multiple Incidents may be assigned to multiple Service Representatives, a Problem is assigned to only One Service Representative.
The critical function when creating a Problem is to consolidate several Incidents under one Problem. To do so, see the tab entitled 'Associated Items' in the data entry form.
Tabs
When on the Problem Form, the tabs are displayed immediately below the input fields in the data entry form. By accessing these tabs, Users can see all the associated data that is related to the Problem and edit the data that is specific to the Problem. The 'Tabs' associated with Problem are Associated Items, Equipment, Contacts, Charges, Labor, Activity/Remarks, Email Thread, Attachments, and User Defined Fields.
Associating Items to Problems
To consolidate several Service Desk items under one Problem a User can use the 'Associated Items'.

By clicking the 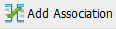
Keep in mind that Users can navigate page-to-page, selecting as many Service Desk items as they choose, while those boxes checked on previous pages will remain checked.
When the appropriate boxes have been satisfactorily checked, click the 
Create a Problem
-
Go to Main > Service Desk > Problems.
2. Click the 
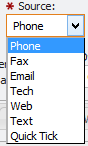
3. Change the Source if desired.
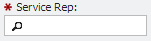
4. Enter the Service Rep into the field.
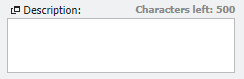
5. Enter a brief description of the Problem into the field. This is not Required but encouraged.
6. Enter the Due Date into the field. If it's not known, it can be entered later.

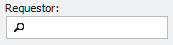
7. If known or needed, enter Requestor into the field.
8. If known or needed, enter choose the Owner. The Requestor and Owner fields are not Required and can be added later or not at all. Don't forget, the Owner can also be an Organizational Hierarchy instead of a person. To use a Department Hierarchy as the Owner, toggle the radio button.

9. Enter the Dept. Hierarchy (or use the Hierarchy picker ![Hierarchy_picker[1].png](/__attachments/a_6fcaf66bf9524ce6250085c50e8d48f0f17366ae5052add1faa0dbafdbbd524d/Hierarchy_picker%5B1%5D.png?cb=b0f6e66e7970c76e677e4ac3406ae0fd)
10. Click the
At this point, you should have a Problem number in the upper left-hand corner of the screen:

To Associate an Incident with a Problem:
There are three ways to do this:
-
Go to Main > Service Desk > Incidents.
-
Find the Incident you want to use or create it from scratch.
-
Enter your Problem number into the picker
-
![Associated_problem_picker[1].jpg](/__attachments/a_6ccba717149527606f7cc125603ee7f757f44df699156bbfda11117754bebcb2/Associated_problem_picker%5B1%5D.jpg?cb=fd76fb5ec750aecad3365d3a6177552c)
or use the Problem picker
-
-
If this Incident has already been added (it has an Incident number), click the

-
-
Go to Main > Service Desk > Incidents.
-
Click Add to Problem/Project.
-
Select a problem (The Service Number on a problem starts with PB) to associate the incident with and click the
-
-
Go to Main > Service Desk > Problem.
-
Open a pending Problem from the grid or create a new problem.
-
Go to the
-
Click the
-
The next step is to toggle the Incident(s) to be associated with this Problem and click the
-
Resolving a Problem
Once all of the Incidents have been resolved on the Problem the User can select a Status of Complete to close the Problem. The User will be asked if the Problem's Resolution should be copied to the Incidents. If the User selects Yes this form then the Resolution will overwrite the previously selected Resolutions on the Incidents.
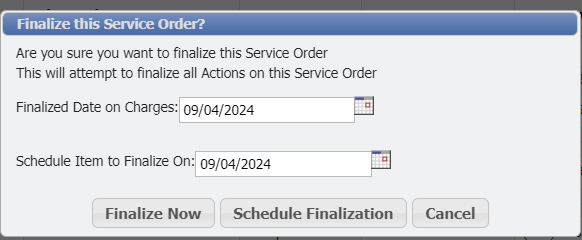
When completing an item, a User can either ![]()
![]()

This same process applies to Finalization.
When a User changes the Status of a SD Item a User can either ![]()
![]()