System Widgets
The System Widgets grid displays a comprehensive list of all the Widgets currently being used within the Admin User's organization. These Widgets are available on the 'Landing Page' as part of the organization and view of that page. In the System Widgets section, Admin Users can add new Widgets to the grid, making them available to other Users as defaults, and edit or delete existing widgets from the system.
This can be accessed by navigating to Admin > System Tables > System Widgets.
Adding a Widget
To add a new Widget to the grid, click the 'Add'
In the Widget data entry form (see image above), the User is prompted to define a 'Title' and input a 'Path to Widget' (the Widgets destination URL).
The Admin User can also choose to apply the Widget to as many 'Roles' as desired. Once the Widget is saved, those Users who fall under the Role distinctions designated here will be able to select the new Widget from a list of defaults on the Dashboard.
Saving New Widget
Once all required fields have been satisfied, click the 'Save New'
Editing Existing Widgets
Admin Users can edit existing Widgets by double-clicking on any item on the System Widgets grid or by selecting an item and clicking the 'Edit Selected'
This action opens the item's Widget data entry form, at which point the User can define the item's inputs by following the protocol established earlier in this section. Once all required fields have been satisfied, click the 'Save'
Admin Users can delete existing Widgets by selecting the appropriate item on the System Widgets grid and clicking the 'Delete Selected'
Toggle Status of a Widget
Widgets can be prevented from use through the Toggle Status
Messages Widget and Icon
When the Messages widget is active on the Landing Page, Users can view messages from the Messages Widget. The Messages Icon

Users can easily mark messages as "read" by clicking and opening individual messages one at a time or by clicking the

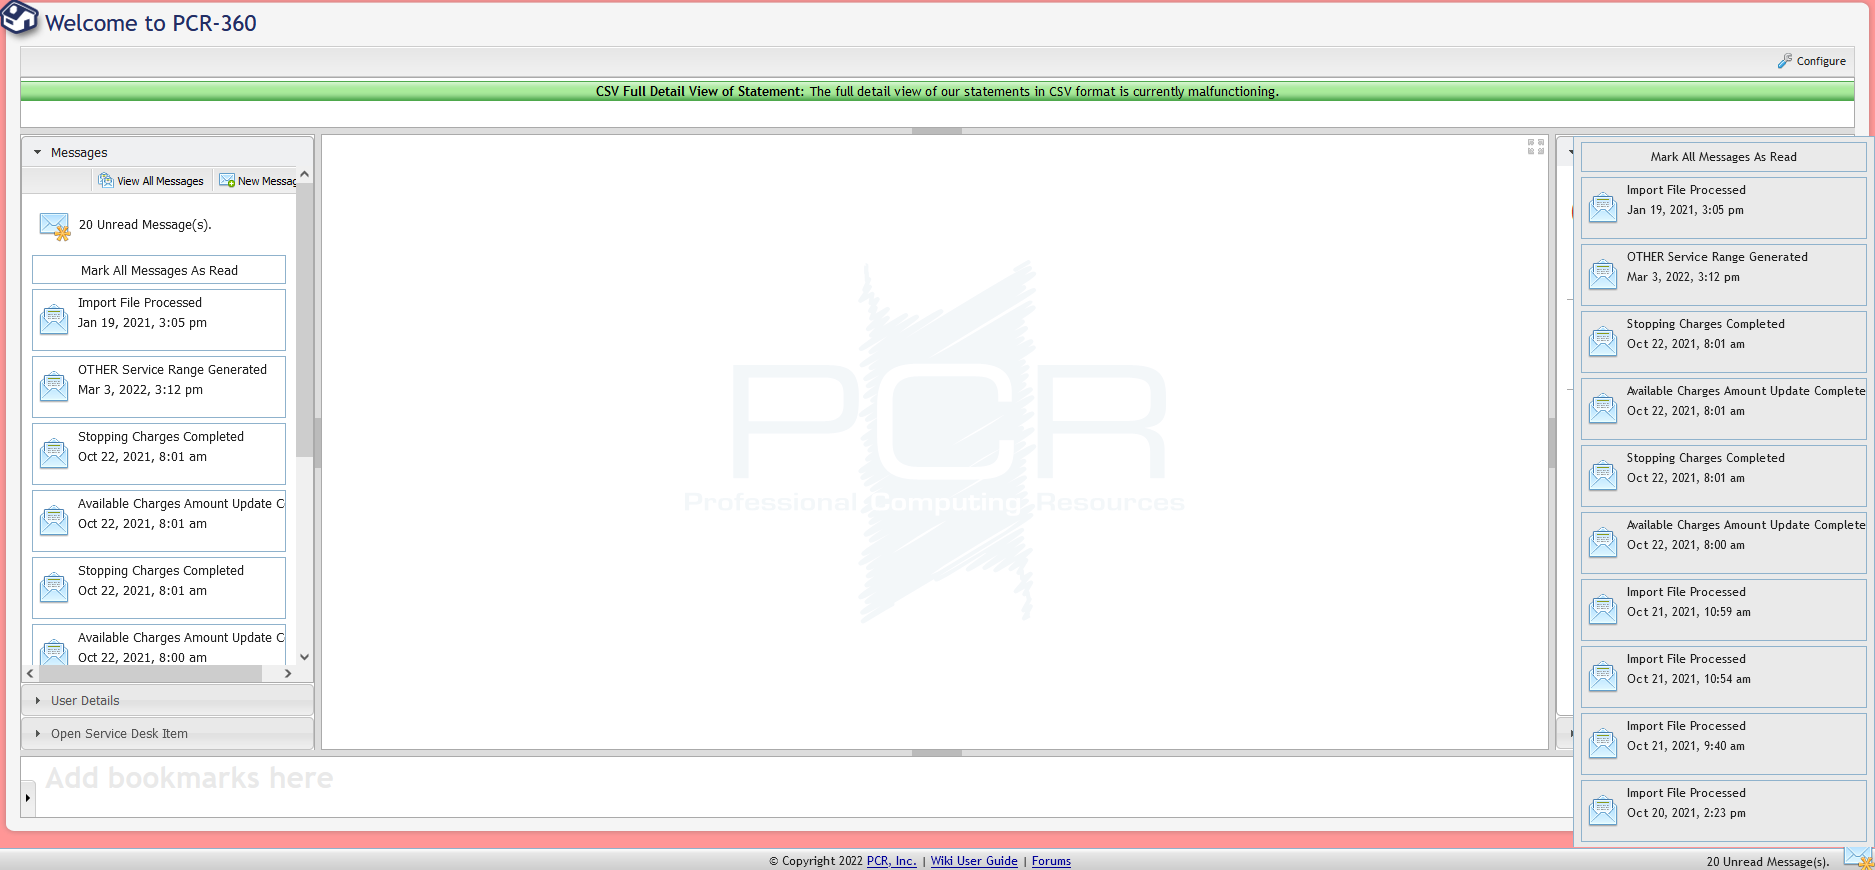
If Users want to view more than 10 messages at a time or want more control over messages, they can click the
