Service Order to Add New Service
On PCR-360's Service Desk, "Add New Service" is used to create a new instance of a service.
Create an Add Order
The first step is to create a Service Desk Order.
Go to Main > Service Desk > Orders.
Click the Add button.

Enter the Service Rep if not populated with your name.
Enter the Owner of the new Service.

If desired, enter the Requestor's name.
Next, enter a brief description for the details of the order.
Click Save New. UNKNOWN_ATTACHMENT
An Order number will have now appeared in the upper left hand corner of the window.
Specify a GLA for the entire Service Order by following the steps below or enter specific GLA information on each Order Action.
Click on the GLA tab.
Enter the Default Action Expense GLA or choose it from the picker.
Click the Save button.

Adding an Action
Next, add a Service Order Action.
Click the Add button.
Leave do not change defaulted Action from Add.

Select the type of Service (Service Catalog) for the Order.
Select the Service Host.
If the Service ID (in this case a phone number) in known, the User can enter the number
 or can click the available service button
and select from the list. If not, you can come back at any time before completing the Order and add this info.

If this Service Catalog requires a Location (cellular types and some circuits might not require a location), enter it now.

Click the Save New button.
If there are any matching SDC's (Service Desk Classification), the User will see this screen and have the choice of choosing the appropriate SDC, saving without an SDC, or not saving the Action.
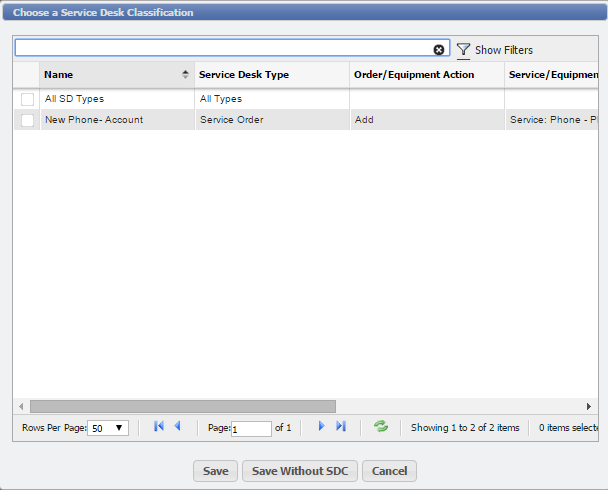
If the User saves (with or without a SDC), there will be an Action number next to the SD#. If the Due Date was not populated automatically from the SDC (Service Order templates), a date can be selected by either entering the date into the Due Date field or by clicking on the calendar next to the Due Date field and choosing the desired date. If the Due Date is entered here (or changed), click the Save button.
Entering Workflow
If the Workflow is not populated from the Service Desk Classification or it is desired to add additional Workflow, it can be entered here.
Click on the Workflow tab.

Click the Add button.
Choose a Service Desk Classification and click the Save Selected
 button or click the Save Without SDC button
  .
.Enter a Workflow Number.

A couple of things to remember about Workflow numbers:
They are used to order the Workflow items.
Leave a range of numbers available between Workflow numbers in case items need to be added later. We recommend intervals of 100.
Multiple Workflow items can have the same number. This is done when those tasks can be performed concurrently.
Enter the Workgroup.
If assigning to specific person, enter/select the Worker.
If this WF item is ready to be worked, enter a Start Date.
.
Optionally, choose a Scheduled Date and/or enter an Estimated Time to complete the Workflow.
Click Save.
Selecting GLA's
If the Default Action Expense GLA was not specified on the GLA tab of the Service Order, it can be entered GLA(s) here:
Click on the GLA tab

Click the Manage Entries button

This opens the the Expense GLA form. The Expense Type can be changed from Default to if desired and enter GLAs. If using multiple GLAs, be sure the Percentages add up to 100%.
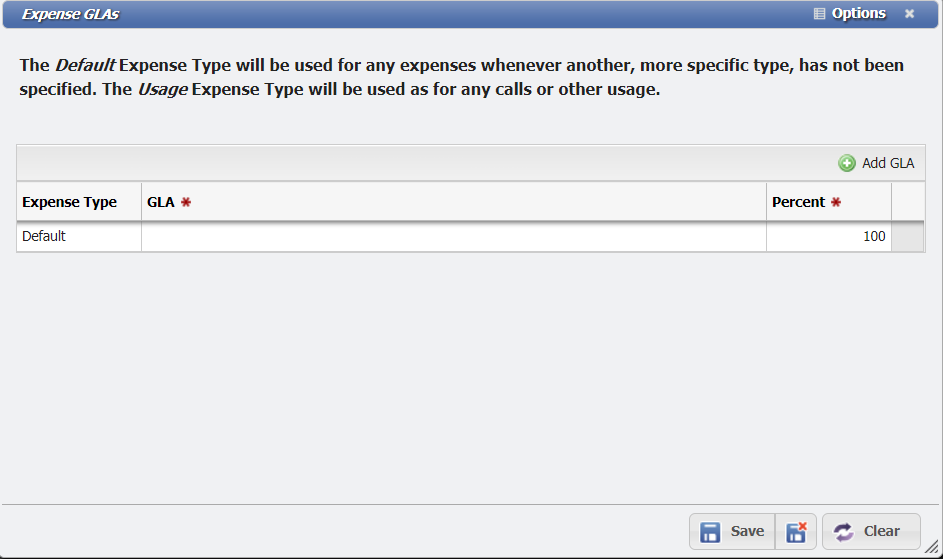
Click Save
At any point during this process, the User can go to the Equipment tab and add any appropriate Equipment, go to the Charges tab and enter any appropriate charges, and go to the Cabling tab and enter the Cable Path for this Service (if appropriate).