Service Desk - GLAs
GLAs
This tab is of particular importance to the User organization's financial team in that it allows Users to set GLAs for new Service Desk items and edit those of existing Service Desk items.
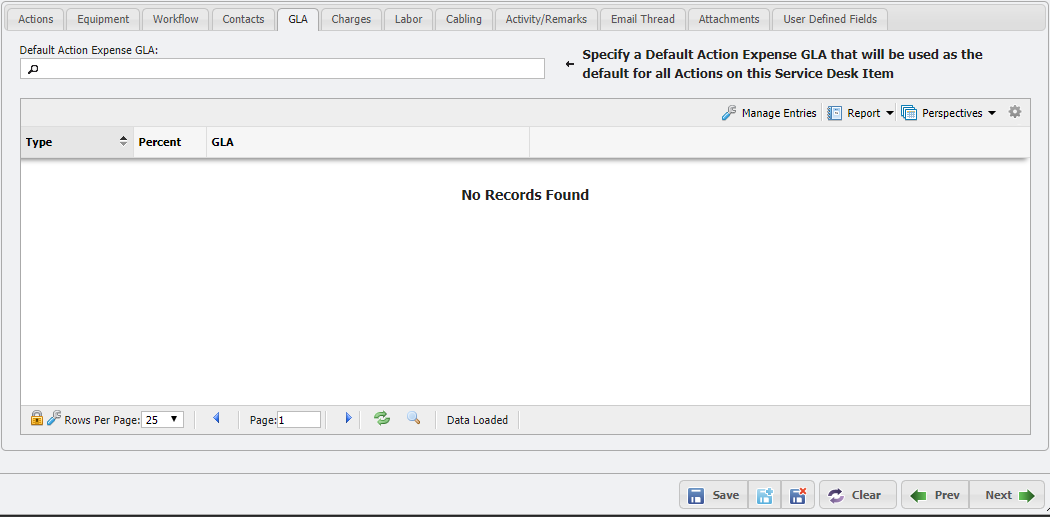
GLA tab example
To set a Default GLA, click the Search Icon in the 'Set Default GLA' field and select a GLA from the list. This field adds the selected GLA at 100% and replaces any 'Default' type existing GLAs in the Grid above.
Default GLAs for Actions
Depending on the value of SDA_ALLOW_MULTIPLE_DEFAULT_GLAS, a Service Desk Item can be set to use one or more Default GLAs for all Actions that are a part of the Service Desk Item. When multiple Default GLAs are set from different sources it can be confusing which GLA takes precedence. The order of GLA priority is as follows and is used for each GLA expense type(if SDA_ALLOW_MULTIPLE_DEFAULT_GLAS is set to FALSE the default expense type is used):
Manually Entered GLAs (GLAs enter by a User by managing the GLAs)
Service GLAs (GLAs present on the associated Service)
Owner Default GLAs (GLAs present on the associated Owner/Customer)
Action Default GLAs (GLAs defined by the Service Desk Item)
When an Action is created it automatically loads Service GLAs (for Change/Remove Actions), Owner Default GLAs (if available) or Action Default GLAs (if available). After the Action is created if the Service or Owner are changed it will reload GLAs based on the priority and for each expense type.
Managing GLA Entries
Users can also specify GLAs by clicking the 
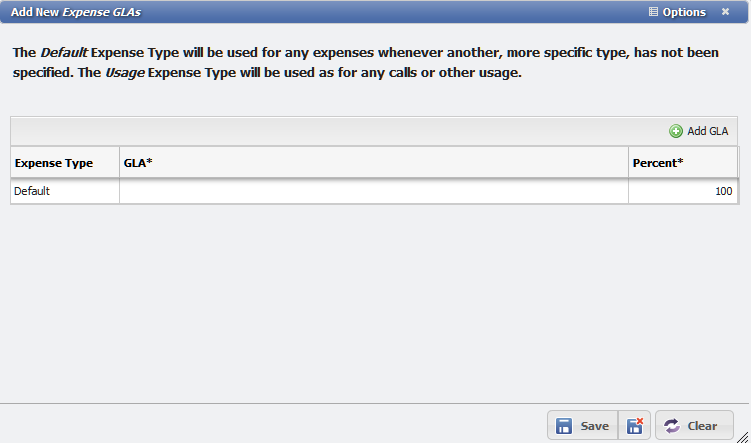
From this new form, the User can set a single GLA or Multiple GLAs quickly without having to re-open the form multiple times. There are three fields that can be edited on the table whether the User is Adding a Single GLA or Multiple GLAs.
Expense Type - This dropdown allows the User to select the Expense Type of the GLA.

GLA - This picker allows the User to select the GLA to associate with the Expense Type.
Percent - The number selector allows the User to specify the percent of the Expense Type to apply to the GLA.
Single GLA
The first row of the table is added to the 'Add New Expense GLA' form by default. The User only needs to select the 'Expense Type', 'GLA', and 'Percent' and click the 
Multiple GLAs
To add multiple GLAs on the 'Add New Expense GLA' form, the User can follow these steps:
Click the
 button.
This adds a row to the table.
Repeat to add as many rows as are required.
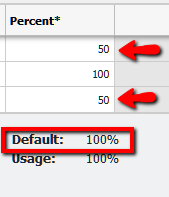
When adding multiple GLAs, the percentages of a given 'Expense Type' must equal 100% as in the following example:
If the Percentages are not enough to equal 100%, or exceed 100% the User receives a notice as in the following example:

Once the User has added all the desired GLAs, the form can be saved by clicking the
button.
The GLAs are added to Grid on the 'Expense GLA' tab.
If SDA_ALLOW_MULTIPLE_DEFAULT_GLAS is enabled, the User can add Multiple Action Default GLAs by checking the Action Default box.
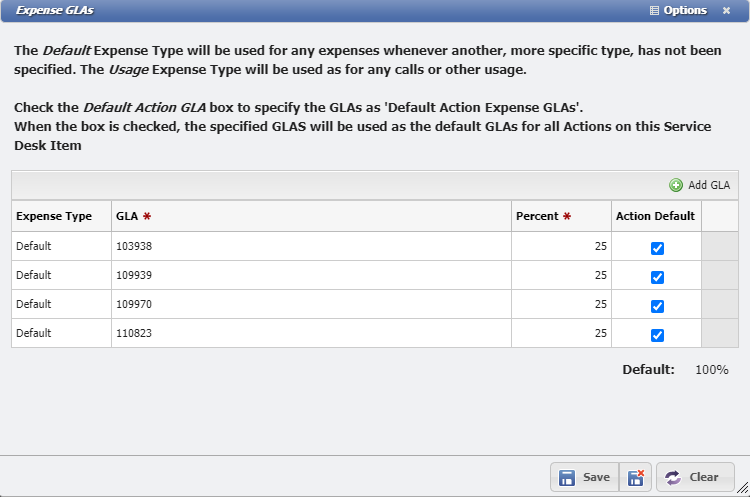
Expense GLAs Action Default
To delete a single GLA record, the User must follow these steps:
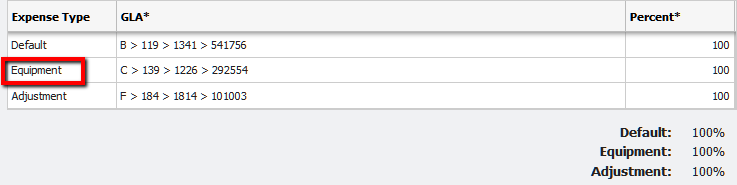
From the 'Add New Expense GLA' form, chose the row to delete.
In this example, the 'Equipment' Expense Type is being deleted.
Right-click the 'Equipment' row. This opens the table context menu.
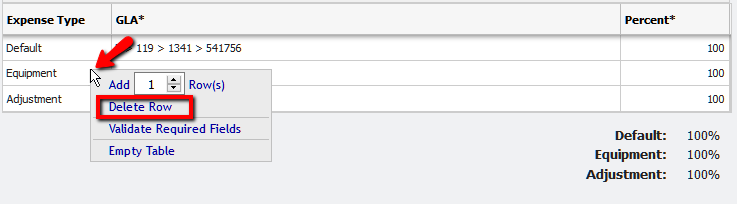
Click the 'Delete Row' menu option.
Click the
button.
The Grid updates and the GLA is removed.
GLA Usage on Incidents
GLAs when used on an Incident behave slightly differently than on other Service Desk Items, such as Service Orders.
The GLA on the Service or Equipment will be pulled into the Incident by default.
Changing the GLA will allow for any Labor or other Non-Recurring Charges to be Billed to a different GLA than the default GLA on the Service or Equipment.
Completion / Finalization of the Incident will NOT alter the GLA of the Service / Equipment.