Charges Tabs
Charges Tabs
This is a listing of all the tabs a User might encounter in the 'Charges' Catalog. To access the Charges Catalog, navigate to Main > Catalog > Charges.
Service Catalog Permissions
Service Catalog Permissions Tag example
The 'Service Catalog Permissions' tab is on the Charges Catalog. The functionality of this tab allows an Admin to limit what Services can be assigned to a Charge.
Add
Using the 'Add' functionality a User can associate a Service with a Charge. This association will allow the Service to be assigned to the Charge and any Children records.
Click the
 button.
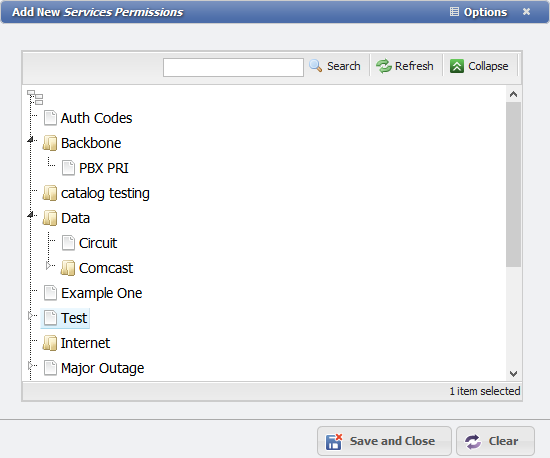
 This will open the 'Add New Services Permissions' form.
Add New Services Permissions form example
Select the Service(s) that are desired to associate with the Charge.
Click the
 button.
The Service(s) will now be associated with the Charge and be the only Service that can be assigned to the Charge elsewhere in PCR-360.
Delete Selected
This will remove a Service from the Charge record.
Select the Service Permission to remove from the Grid.
Click the
 button.
The Permission on the current Charge record will have been removed.
Note: Removing the Permission on a Parent record will remove it on all Children records as well. If a Permission is desired on a Child record, it will have to be added manually to the desired record after removing it from the Parent.
Inherited Permissions
This functionality looks up the Tree and shows any Service Permissions that are associated with a given Charge through Inheritance from the Parent record.
Click the
 button.
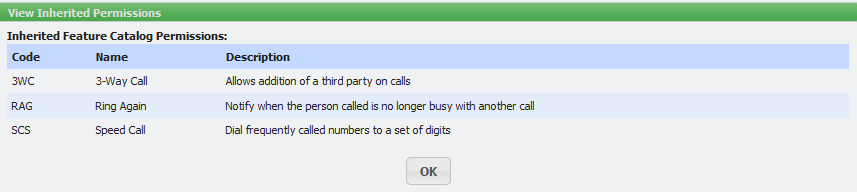
 This will open the 'View Inherited Permissions' dialog.

View Inherited Permissions dialogue example
Click the
 button when finished viewing.This button removes any Service Permissions from a given Charge. This will NOT remove any Inherited Permissions from the Parent record. To use, simply click the
button. Any Service Permissions that were associated with the Charge will have that Permission deleted. The Grid will display:

No Contacts Permissions example
Permit None
Note: If 'Permit None' is set on a Parent record, the Children records will be similarly limited.
To remove the 'Permit None' Status, follow these steps:
Select the line in the Grid that says:

No Contacts Permissions example
Click the
button.The Permit None restriction will have been removed and it will be possible to associate Service Permissions to the Charge again.
Equipment Catalog Permissions
Equipment Permissions tab example
The 'Equipment Permissions' tab is on the Charges Catalog. The functionality of this tab allows an Admin to limit what Equipment can be assigned to a given Charge.
Add
Using the 'Add' functionality a User can associate an Equipment Permissions with a given Charge. This association will allow the Equipment to be assigned to the Charge and any Children records.
Click the
 button.
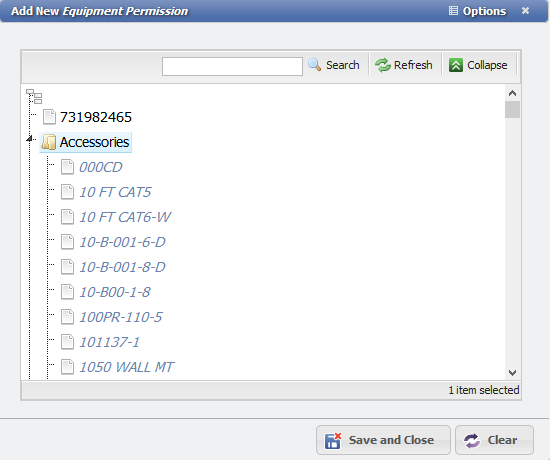
This will open the 'Add New Equipment Permission' form.
Add New Equipment Permission form example
Select the Equipment that is desired to associate with the given Charge.
Click the
 button.
The Equipment will now be associated with the given Charge and be the only Equipment that can be assigned to the given Charge elsewhere in PCR-360.
Delete Selected
This will remove an Equipment from the Charge record.
Select the Equipment Permissions to remove from the Grid.
Click the
 button.
The Permission on the current Charge record will have been removed.
Note: Removing the Permission on a Parent record will remove it on all Children records as well. If a Permission is desired on a Child record, it will have to be added manually to the desired record after removing it from the Parent.
Inherited Permissions
This functionality looks up the Tree and shows any Equipment Permissions that are associated with a given Charge through Inheritance from the Parent record.
Click the
 button.
This will open the 'View Inherited Permissions' dialog.

View Inherited Permissions dialogue example
Click the
 button when finished viewing.
Permit None
This button removes any Equipment Permissions from a given Charge. This will NOT remove any Inherited Permissions from the Parent record. To use, simply click the


Note: If 'Permit None' is set on a Parent record, the Children records will be similarly limited.
To remove the 'Permit None' Status, follow these steps:
Select the line in the Grid that says:
No Contacts Permission example
Click the
button. The Permit None restriction will have been removed and it will be possible to associate Equipment Permissions with the Charge/Service again.
SLA Catalog Permissions
SLA Permissions Tab Example
The 'SLA Permission' tab is specific to the Charges Catalog. The functionality of this tab allows an Admin to limit what SLA Permissions can be assigned to a Charge.
Add
Using the 'Add' functionality a User can associate an SLA Permission with a Charge. This association will allow the SLA Permission to be assigned to the Charge and any Children records.
Click the
 button.
 This will open the 'Add New SLA Permission' form.
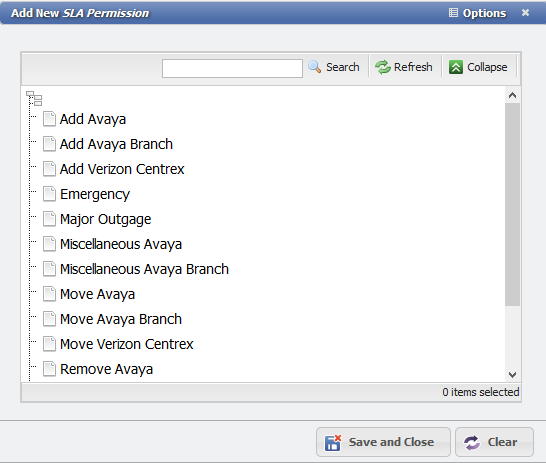
AddNew SLA Permission form
Select the SLA Permission that are desired to associate with the Charge.
Click the
 button.
The SLA Permission will now be associated with the Charge and be the only SLA that can be assigned to the Charge elsewhere in PCR-360.
Delete Selected
This will remove an SLA from the Charge record.
Select the SLA Permission to remove from the Grid.
Click the
 button.
 The Permission on the current Charge record will have been removed.
Note: Removing the Permission on a Parent record will remove it on all Children records as well. If a Permission is desired on a Child record, it will have to be added manually to the desired record after removing it from the Parent.
Inherited Permissions
This functionality looks up the Tree and shows any SLA Permissions that are associated with a Charge through Inheritance from the Parent record.
Click the
 button.
 This will open the 'View Inherited Permissions' dialog.

View Inherited Permissions dialogue example
Click the
 button when finished viewing.
Permit None
This button removes any SLA Permissions from a Charge. This will NOT remove any Inherited Permissions from the Parent record. To use, simply click the

Note: If 'Permit None' is set on a Parent record, the Children records will be similarly limited.
To remove the 'Permit None' Status follow these steps:
Select the line in the Grid that says:
No Contact Permissions example
Click the
button. The Permit None restriction will have been removed and it will be possible to associate SLA Permissions with the Charge again.
Feature Catalog Permissions
Feature Permissions Tab example
The 'Feature Permissions' tab is specific to the Charges Catalog. The functionality of this tab allows an Admin to limit what Features can be assigned to a Charge.
Add
Using the 'Add' functionality a User can associate a Feature Permission with a Charge. This association will allow the Feature to be assigned to the Charge and any Children records.
Click the
 button.
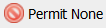
This will open the 'Add New Existing Features' form.
Add New Existing Feature form example
Select the Feature(s) that are desired to associate with the Charge.
Click the
 button.
The Features(s) will now be associated with the Charge and be the only Feature(s) that can be assigned to the Charge elsewhere in PCR-360.
Delete Selected
This will remove a single Feature from the Charge record.
Select the Feature Permission to remove from the Grid.
Click the
 button.
 The Permission on the current Charge record will have been removed.
Note: Removing the Permission on a Parent record will remove it on all Children records as well. If a Permission is desired on a Child record, it will have to be added manually to the desired record after removing it from the Parent.
Inherited Permissions
This functionality looks up the Tree and shows any Feature Permissions that are associated with a Charge through Inheritance from the Parent record.
Click the
 button.
 This will open the 'View Inherited Permissions' dialog.
View Inherited Permissions dialogue example
Click the
 button when finished viewing.
Permit None
This button removes any associated Feature(s) from a Charge. This will NOT remove any Inherited Permissions from the Parent record. To use, simply click the


Note: If 'Permit None' is set on a Parent record, the Children records will be similarly limited.
To remove the 'Permit None' Status follow these steps:
Select the line in the Grid that says:
No Contacts Permission example
Click the
buttonThe Permit None restriction will have been removed and it will be possible to associate Feature(s) with the Charge again.
Service Desk Permissions
Service Desk Permissions Tab example
The 'SD Permissions' tab is specific to the Charges Catalog. The functionality of this tab allows an Admin to limit what Charges can be assigned to a given Service Desk Type.
Add
Using the 'Add' functionality a User can associate a Service Desk Type with a Charge. This association will allow the Service Desk Type to be assigned to the Charge and any Children records.
Click the
 button.
 This will open the 'Add New Service Desk Permissions' form.
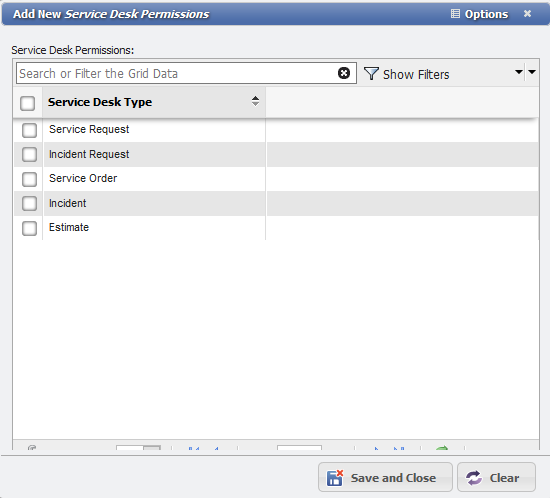
Add New Service Desk Permissions form example
Select the Service Desk Type(s) that are desired to associate with the Charge.
Click the
 button.
The Service Desk Type(s) will now be associated with the Charge and be the only Service Desk Type(s) that can be assigned to the Charge elsewhere in PCR-360.
Delete Selected
This will remove a single Service Desk Type from the Charge record.
Select the Service Desk Type Permission to remove from the Grid.
Click the
 button.
 The Permission on the current Charge record will have been removed.
Note: Removing the Permission on a Parent record will remove it on all Children records as well. If a Permission is desired on a Child record, it will have to be added manually to the desired record after removing it from the Parent.
Inherited Permissions
This functionality looks up the Tree and shows any Service Desk Type Permissions that are associated with a given Charge through Inheritance from the Parent record.
Click the
 button.
 This will open the 'View Inherited Permissions' dialog.

View Inherited Permission dialogue example
Click the
 button when finished viewing.
Permit None
This button removes any associated Service Desk Type from a given Charge. This will NOT remove any Inherited Permissions from the Parent record. To use, simply click the


Note: If 'Permit None' is set on a Parent record, the Children records will be similarly limited.
To remove the 'Permit None' Status follow these steps:
Select the line in the Grid that says:
No Contacts Permission Example
Click the
button. The Permit None restriction will have been removed and it will be possible to associate Service Desk Type(s) with the Charge again.
Billing Group Overrides
Billing Group Overrides tab example
The 'Billing Group Overrides' tab is specific to the Charges Catalog allows a User to overrides the Revenue GLA, Revenue Object Code, and Expense Object Code based on the Billing Group. The default Revenue GLA, Revenue Object Code, and Expense Object Code on the Charge are what will be overridden when Billing for the Charge. A User can set multiple Overrides to account for different Billing Groups.
Click the
 button.
 This will open the 'Add New Billing Group Overrides' form.

Add New Billing Group Overrides form example
Choose the Billing Group, GLA, Revenue Object Code, and Expense Object Code.
Click the
button.
The Billing Group Override will now show in the Grid on this tab. If multiple Billing Group Overrides are desired, simply repeat steps 1-4 until the desired Billing Group Overrides are in place.
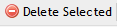
Billing Group Pricing
Billing Group Pricing Tab Example
The 'Billing Group Pricing' tab allows the User to provides a list of amounts that will force-override the given amount of the Charge if the Billing Group matches. The User can specify the Billing Group to associate, and the Charge that will be used to override the Default Amount on the Charge. Billing Group Pricing must be turned on with the Configuration Option GLA_PRICING_MODEL . If this Configuration Option is not set to "Billing Group" then this tab will NOT appear on the Charge Catalog.
To add a 'Billing Group Pricing' follow these steps:
Click the
 button.
 This will open the 'Add Billing Group Pricing' form
Add Billing Group Pricing form example
Choose a 'Billing Group' from the drop-down. This will be populated from the Billing Groups in the Admin section.
Enter the 'Amount'.
Click the
The 'Billing Group Pricing' will be added to the Grid. When Charges are generated, the saved Billing Group Pricing will always override the Amount of the Charge otherwise specified.
Managing Billing Group Pricing
When a Billing Group Pricing record is added/changed, the User is prompted to select when that change should apply. Selecting "Effective Today" will apply the change immediately, while selecting "Date to Last Billed" will begin as of the date of the last Bill Run. An example of the prompt is displayed below.

Effective Date dialogue example
MRC Selective Billing
MRC Selective Billing Tab
The 'MRC Selective Billing' tab allows the User to choose how they want to bill specific months of the Monthly Recurring bill. There is also a dropdown to select specific months. Selective Billing is only available for Monthly Recurring Charges. Also, if Selective Billing is selected, Forward and Backward Billing options will be disabled.
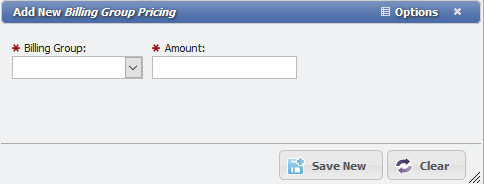
GLA Component Pricing
GLA Component Pricing Tab example
The 'GLA Component Pricing' tab allows the User to provide a list of amounts that will force-override the given amount of the Charge if the GLA Component(s) matches. It is important to note that if a GLA split is being set for a given Charge, and the GLA Component Pricing is specified for any of the GLAs that is being split, then the GLA Component Pricing will be automatically ignored. GLA Component Pricing must be turned on with the Configuration Option GLA_PRICING_MODEL . If this Configuration Option is not set to "GLA Component" then this tab will NOT appear on the Charge Catalog.
To add a 'GLA Component Pricing' for a Charge follow these steps:
Click the
 button.
 This will open the 'Add New GLA Component Pricing' form
Add New GLA Component Pricing form example
Choose a 'GLA Format' from the drop-down. This will be populated from the GLA Formats specified in the GLA Formats in the Admin section.
Enter the 'Amount'. This is the value that will override any other specified value.
Each of the individual Components in the GLA load dynamically onto the form based on the GLA Format specified. If there is only one GLA Component then there will be one selector.
Select the GLA Component(s) that need to be overridden.
Leaving a GLA Component blank will cause the GLA Component Pricing to treat the blank Component as a wildcard.
Click the
The 'GLA Component Pricing' will be added to the Grid. This saved record(s) will override the Amount of the Charge when Charges are generated, with the value specified, if any GLA Component matches the GLA Component of the Charge to be Billed.
Managing GLAs
When a GLA Record is added/changed, the User is prompted to select when that change should apply. Selecting "Effective Today" will apply the change immediately, while selecting "Date to Last Billed" will begin as of the date of the last Bill Run. An example of the prompt is displayed below.

Effective Date dialogue example
User-Defined Fields
User Defined Fields tab example
The 'User Defined Fields' tab will only be visible if there are User Defined Fields that are set in the User Defined Fields . Any User Defined Fields that are set will appear on this tab.
Remarks
Charge Catalog Remarks Tab
Add Remark
Remarks are useful for making notes about a Return Order that might need to be recalled in the future. To add a Remark, follow these steps:
Click the
 button.
This will open the 'Add New Remark' form.
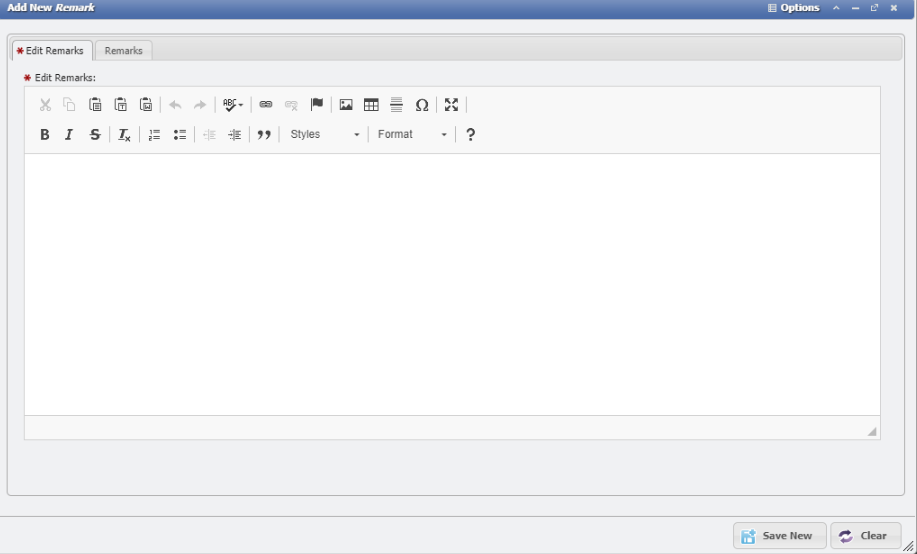
Enter the Remarks desired into the field.
Click the 'Save New'
 button.
The Remark will be added to the list along with a User ID and time stamp for tracking.
View/Edit Remarks
Double-click or select the ![]() button to open the Remark.
button to open the Remark.
The form will open so the User can read all the content of a given Remark.
Click the
 button to commit any changes made to the Remark.
Delete Selected
Clicking the ![]() button will delete any existing Remark.
button will delete any existing Remark.
Use of HTML Tags
Some fields within PCR-360 allow Users to input HTML tags to make displaying that information a richer experience for those that are expected to consume it. For more information on HTML tag usage, please see the wiki entry for it.
Note: Remember that depending on the System Configuration Remarks may not be editable once added.