Vendors
The 'Vendors' Grid provides Users with a convenient list of Vendors whose services are critical or relevant to the operation of the User's organization.
Examples of items on this list could range from 'Apple' if the organization supplies its employees with iPhones to 'Verizon' whose Backbone service might connect the organization's network infrastructure. In any case, the items on the Vendors Grid exist to make the User's job easier.
Vendor tabs
The tabs that appear in the Vendor form can be used to input as much Vendor information as the User desires.
If a tab is marked as having a Required field, open that tab enter information in the field.
Once all required fields have been filled, click the
Contact tab
Contact
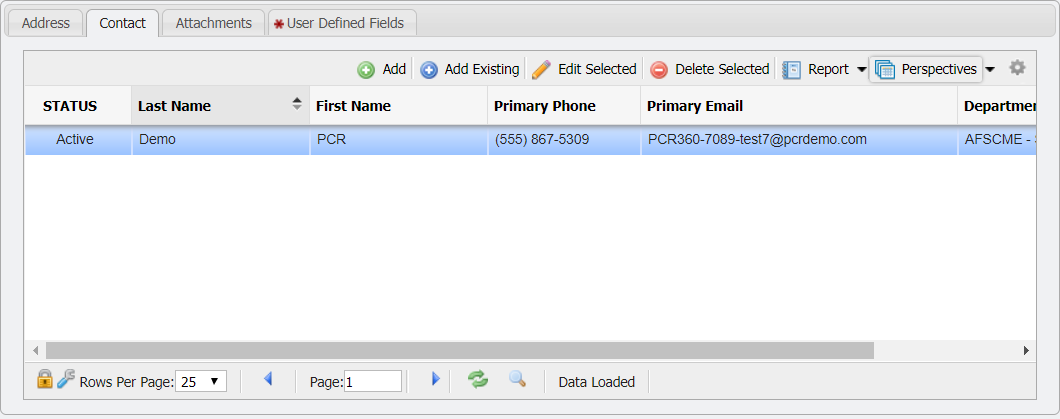
The 'Contact' tab provides the User the ability to associate Contacts with a specific Vendor. The User can manually manage these associations by using the Add, Add Existing, and Delete Selected functionality available on the Contact tab.
Adding New Contacts
After clicking on the

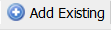
Adding Existing Contacts
After clicking the
Deleting an Association
Selecting the

Address tab
Address
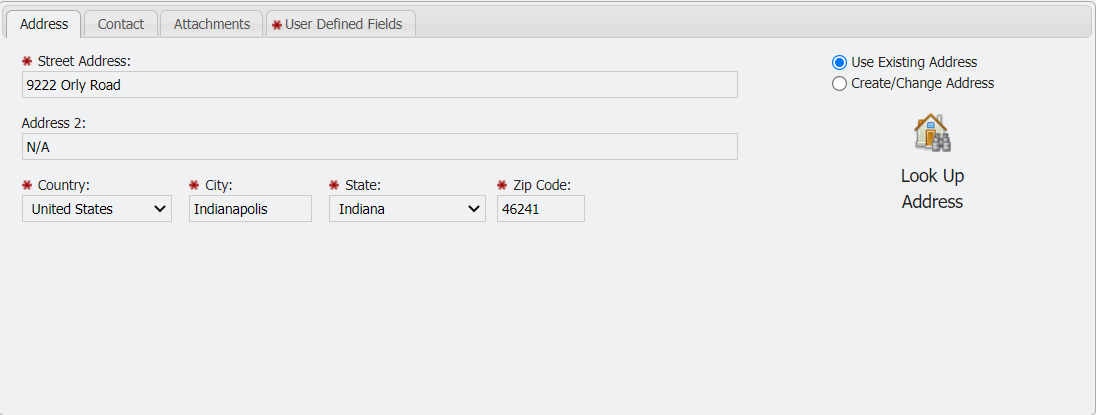
When a New Vendor is added to PCR-360, addresses can be added from existing records, or created/updated manually.
Use Existing
The Address tab is not directly editable when "Use Existing Address" is selected. Other addresses can be selected when a User clicks the
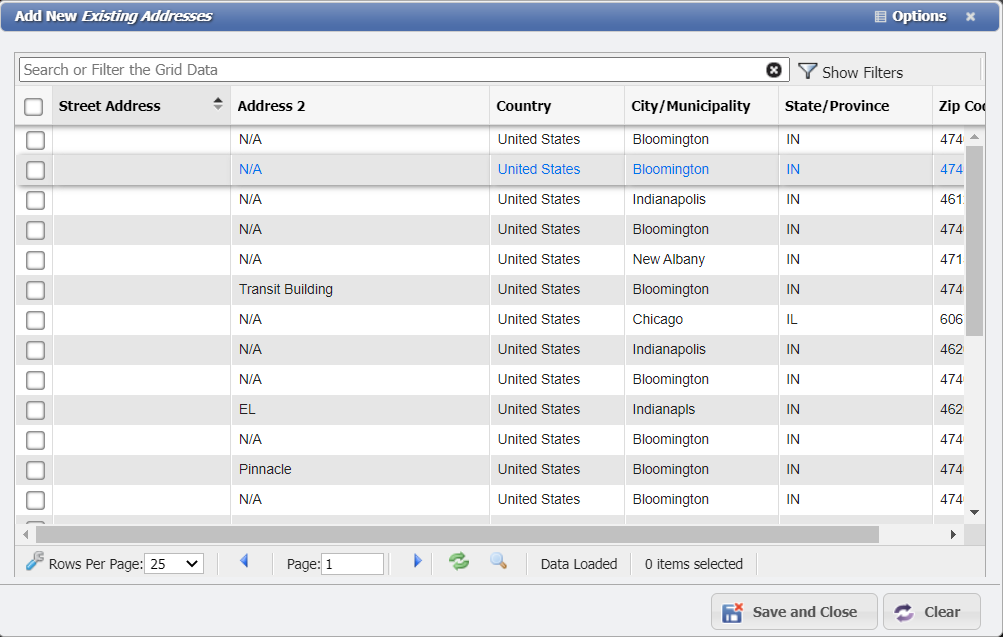
From the Select an Existing Address form, a User can select any Address that has been entered into PCR-360. Clicking the

Create/Change Address
When "Create/Change Address" is selected, the Address tab becomes fully editable. If an Address is selected from the
If an Address is created on a new Vendor, that addressed will be saved within PCR-360 so it can be used by others.
Attachments tab
Attachments
The Attachments tab allows Users to attach files (including .pdf, .jpg, .doc, and more) of interest or relevance to the service by upload.
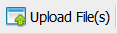
Uploading a File
To attach one or more files, navigate to the 'Attachments' tab and click the
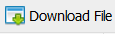
Download File
Allows a User to download a file to their local machine. Useful to make modifications to a file, which can then be re-uploaded. To download a file click the
Open File
This will open the file, if possible, for viewing by the User. No modifications of the original file can be made when opened in this manner. To use this functionality select the file to view and click the

Edit Selected
Allows the name of the file to be modified within PCR-360. If a User modifies the name of the file, that is the new name that will be used when downloading the file.
1. Select the file to modify and click the

2. This will open the 'Manage Attachment' form.
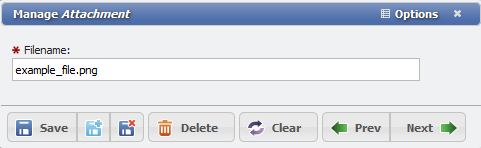
From here the filename can be modified as desired.
Note: Care should be taken NOT to change the extension of the file name or unexpected behaviors or lose of the file are possible.
Delete Selected
This will remove the file from PCR-360. Select the file to remove and click the
User-Defined Fields tab
User-Defined Fields
The User Defined Fields tab provides access to any extra fields that have been defined for the given grid. See Adding User Defined Fields for more information.
Adding a New Vendor
Navigate to the People: Vendors Grid by selecting the People icon in the 'Main' tab and clicking the node labeled 'Vendors'.
Click the 'Add' button
In the Vendor data entry form, the User is prompted to define the basic contact information for the new Vendor. Required fields include the Vendor 'Name', 'Address', and 'Status'. Keep in mind that if the User sets the 'Status' as 'Inactive', the new Vendor will not appear when selecting a Vendor elsewhere in the application.
The 'Blanket PO#' field
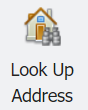
If the User would prefer to select an existing address rather than input a new one, Users can click the 'Look Up Address' icon which allows Users to select an existing address from the list of existing addresses.
Once all required fields have been fulfilled, click the 'Save New' button
Editing Vendors
Users can edit existing items on the People: Vendors Grid by double-clicking the item or highlighting it and clicking the 'Edit Selected' button