Projects
A 'Project' is any number of associated Service Orders, Service Requests, Work Orders, Incidents, or Incident Requests. Say for example, that a User's organization has expanded and needs to retrofit an older building with all new Services and Equipment. Such an endeavor could require multiple stages, dozens (or more) Orders and may take place over weeks, if not months; these activities could be compiled and addressed as a whole – as a Project. The PCR-360 application empowers Users to do just that.
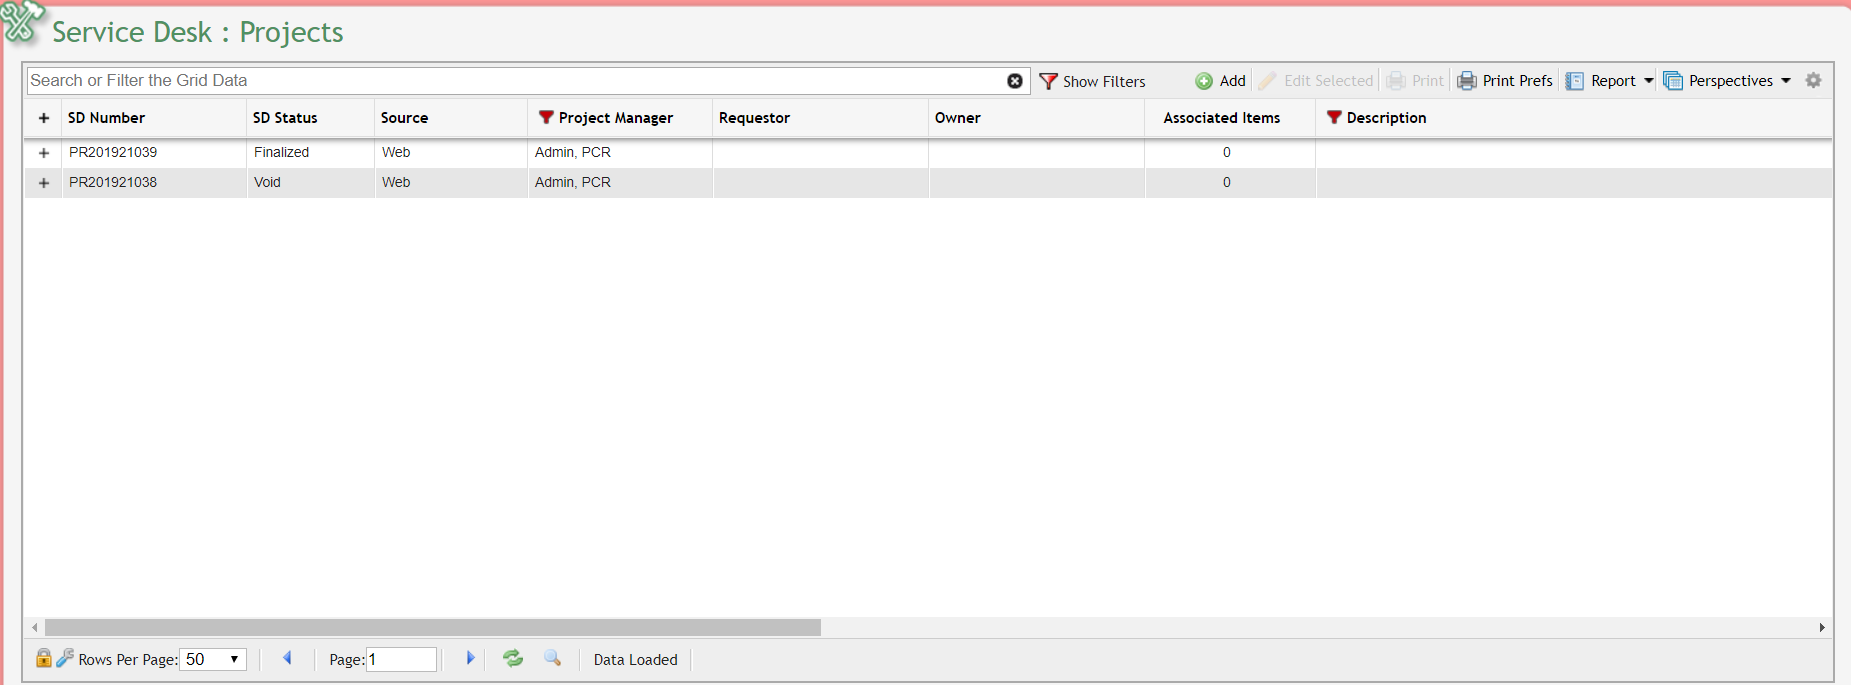
Service Desk Projects Grid example
Building a Project
Navigate to the Service Desk Projects grid by clicking Main > Service Desk > Projects. Select the 
Project Data Entry Form
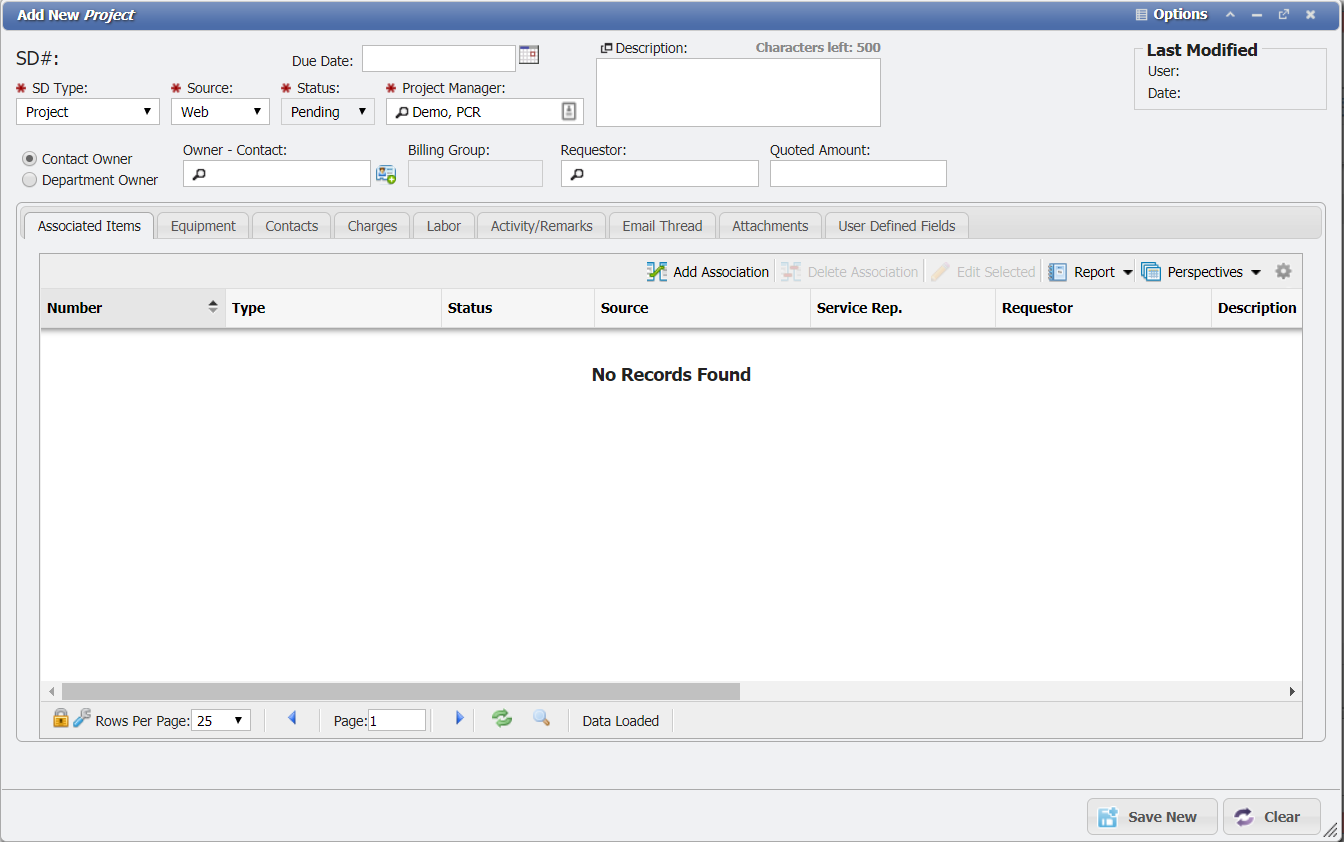
New Project Form example
Users must define the Project's Source, Status, and Service Rep from drop-down menus. Keep in mind that even though Projects represent multiple Service Desk items, a Project is assigned only one Service Rep.
Associated Items
The critical function here, however, is to consolidate several Service Desk items under one Project. This can be accomplished using the 'Associated Items' tab in the data entry form.
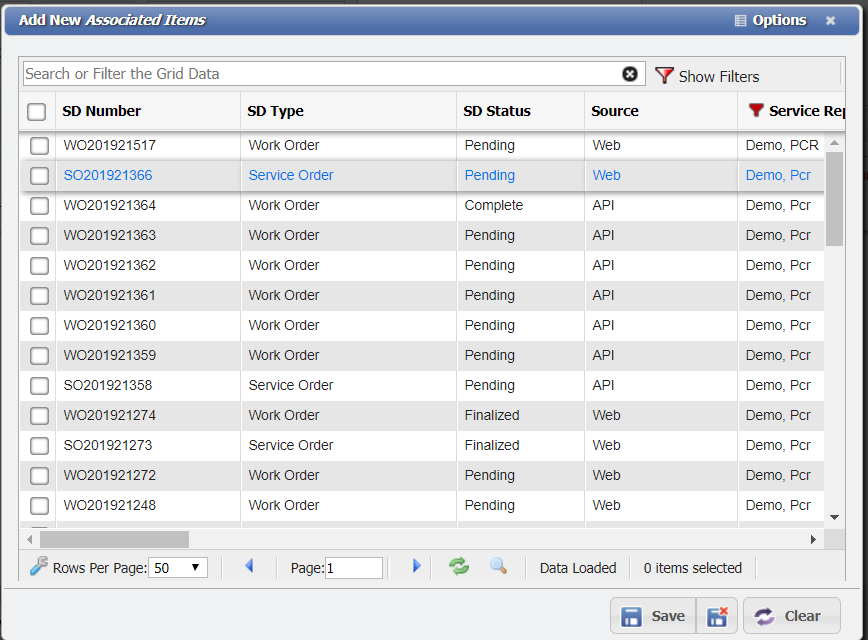
Add New Associated Items form example
By clicking the 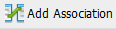
Keep in mind that Users can navigate page-to-page, selecting as many Service Desk items as they choose, while those boxes checked on previous pages will remain checked.
When the appropriate boxes have been satisfactorily checked, click the 
Tabs
When on the Project Form, the tabs are displayed immediately below the input fields in the data entry form. By accessing these tabs, Users can see all the associated data that is related to the Project and edit the data that is specific to the Project. The 'Tabs' associated with Projects are Associated Items, Equipment, Contacts, Charges, Labor, Activity/Remarks, Email Thread, Attachments, and User Defined Fields.
Create a Project
Navigate to Main > Service Desk > Projects.
Click the
 button.
Change the Source if desired.

Source dropdown field example
Enter the Project Manager.
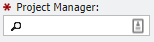
Project Manage field example
Enter a brief description of the Project. This is not required but encouraged.

Description field example
Enter the Due Date. If it's not known, it can be entered later.

Due Date field example
If known or needed; enter the Owner, Requestor, and Quoted Amount.

Owner/Requestor/Quoted Amount field examples
These fields are not Required and can be added later or not at all. Don't forget, the Owner can also be a Department instead of a person (Contact). To make a Dept. Hierarchy, the Owner just toggle the selector and enter the Dept Hierarchy (or to perform a search).
Owner field example
Click the
button.
At this point, a Project number has been generated in the upper left-hand corner of the screen that can be used to group together Orders. This process is the same regardless of what types of Orders are associate with this project.

To Associate an Incident or Order with a Project
There are three ways to do this:
Navigate to Main > Service Desk > Orders.
Find the desired Order to be used or create it from scratch.
Enter the Project number into the Associated Project field or use the Project picker
to select it.
Associated Project picker example
If this Order has already been added, (it has an Order number) click
 . Otherwise, continue entering the Order information like normal and click
 when ready.
Navigate to Main > Service Desk > Incidents or Main > Service Desk > Orders.
Click 'Add to Problem/Project' on the Incident grid or "Add to Project" on the Orders Grid.
Select a project, the Service Number on a problem starts with PR, to associate the Incident/Order with and click
.
Navigate to Main > Service Desk > Project.
Find and open the Project desired to be used or create it from scratch.
Go to the
 tab.
tab.Click
.Select an Order(s) or Incident(s), and click
.It maybe desired to shorten the list by filtering any of the columns (say Orders with a Status of Pending Owned by Bob). Basic Search will assist in this process as well.
Add to Project/Problem
Associating Service Orders, Service Requests, Incidents, or Incident Requests to a Project can be done with the 
Click the
button.This will open the 'Associate Project' form.
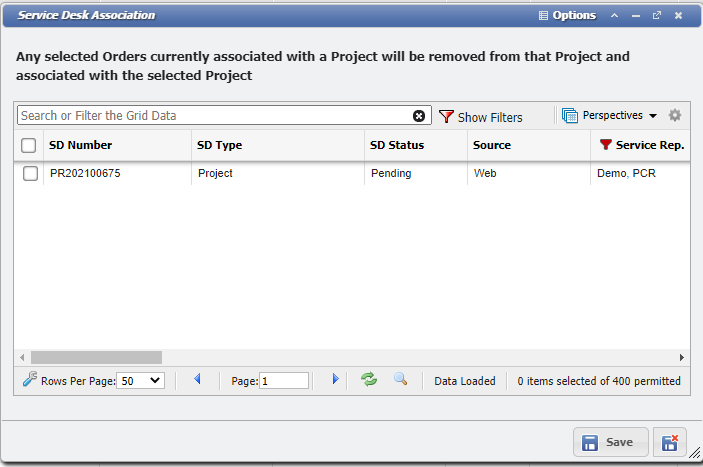
Service Desk Association form example
Select the Project(s) that should be associated.
Click the
button.
Editing a Project
Projects can be edited in the same manner as all other Service Desk items. To edit a Project, simply double-click an item on the Service Desk Projects grid. In the Project's data entry form, Users can add and delete further associations, change the Project's Source, Status, and Service Rep, and interact with the Service Item tabs.
Data on the Equipment, Contacts/Owners, Charges, and Labor tabs cannot be modified for a project. These tabs contain information from the Service Desk items associated with the Project, and all edits must be made to the associated Service Desk item itself.
For example, if an iPhone is listed on the Projects Equipment grid, with an SD number of SO201200232, the Equipment must be changed on Service Order SO201200232. Double-clicking on the associated Service Order on the 'Associated Items' grid will open the Service Order for editing.