Disconnect Service with a Remove Action
Create an Order
The first step is to create a Service Desk Order.
Go to Main > Service Desk > Orders.
2. Click the
3. Enter the Service Rep (if not populated with User name).
Service Rep picker
4. Enter the Owner of the desired service.

Owner - Contact picker
This can also be done on the Order Action below.
5. If desired, enter the Requestor's name.

Requestor picker
6. Next, enter a brief description.
Description field
Click the
Adding An Action
Next, add a Service Order Action.
Click the
button.
2. Set the Action as "Remove".

Action dropdown
3. Select the Service for the Order.
Service Catalog picker
Selecting a Service
Next, choose the Service to Disconnect:
If the Service Number in question is known, enter it into the Service ID field and hit enter.
Enter the Service Number in one of the following ways:
Enter part of the Service ID in the field and press Enter.
Click on the magnifying glass in the Service field and select the appropriate Service.
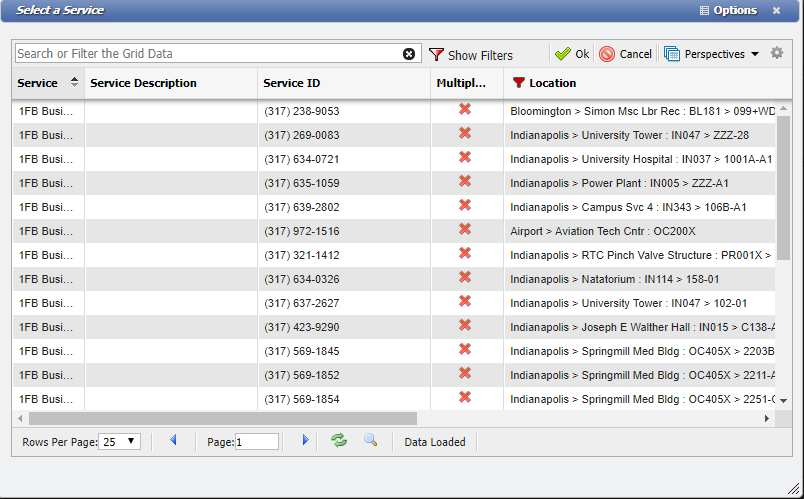
Select a Service form
Add filters to the columns to shorten the list.
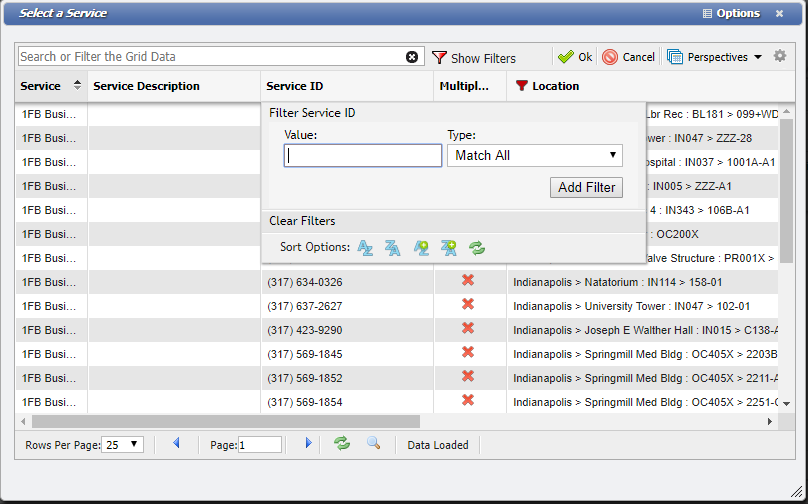
Select a Service Filter form
3. Once the Service is selected, click the
4. If there are any matching SDCs (Service Desk Classifications), they display on this screen. The User has the choice of choosing the appropriate SDC, saving without an SDC, or not saving the Action.
Saving (with or without an SDC) at this point populates an Action number next to the SD#. 5. Enter a Due Date and Save or go to the Workflow Tab and start entering the Workgroups.