Create a Move Action
Create an Order
The first step is to create a Service Desk Order.
Navigate to Main > Service Desk > Orders.
2. Click the 
3. Enter the picker (if not populated with User name).
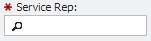
4. Enter the 'Owner' of the new service.

5. If so desired, enter the Requestor's name.

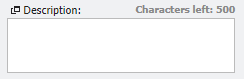
6. Next enter a brief Description.
7. Click the 
An Order number will now appear in the upper left corner of the window.
Add an Action
Now that the Order has been created, the User should navigate to the Actions tab.
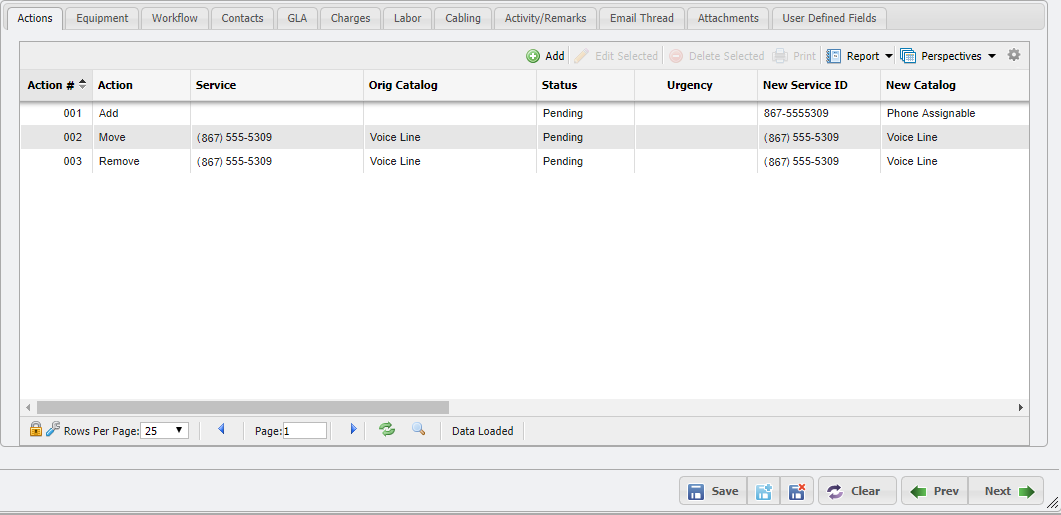
Actions Tab example
Click the
 button.
2. Set the 'Action' as "Move".
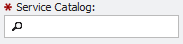
3. Select the Catalog for the Action
4. Because this is a Move Order, enter a new Location in the field
Note: When the new location is entered a banner will be displayed listing any existing service in the location
If the User clicks on the number of services in this banner, it will list those services. From that point, the User can then click on each service to see its details.
5. Click the
6. If there are any matching SDC's (Service Desk Classification), this screen will appear and have the choice of choosing the appropriate SDC, saving without an SDC, or not saving the Action.
If the User saves (with or without an SDC), an Action number will appear next to the SD#.
Ways to search for Services:
If the Service ID in question is known, enter it into the field. The Service Order will auto-populate and select the Service Number.
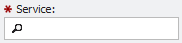
2. The User can also enter part of the Service ID in the Service field. The Service IDs that match the partial ID and display the results. Click the desired Service ID.
3. Click on the magnifying glass in the Service field and select the appropriate Service from the list (see below).
4. Add filters to the columns to shorten the list.
Entering Workflow
At this point, if the Workflow is not populated from the Service Desk Classification, it can be entered here.
From the Service Desk Action form, click on the tab.

2. Click the
3. Enter a Wf (Workflow) Number.

See Note below for additional information.
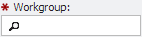
4. Enter the 'Workgroup'
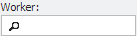
5. If this is being assigned to a specific person, enter/select the 'Worker'.
6. If this WF item is ready to be worked, enter a 'Start Date'.
Optionally, a 'Scheduled Date' may be chose and/or enter an 'Estimated Time' to complete the Workflow.
Note: A couple of things to remember about Workflow numbers:
They are used to order the workflow items.
Leave room between workflow numbers in case items need to be added later. We recommend intervals of 100.
Multiple WF items can have the same number. This is done when those tasks can be performed concurrently.
Selecting GLA's
From the Service Desk Action form, click on the tab .

2. If the default GLA is correct, this process is complete. Click Save (see step 7).
3. If a different GLA is desired, click the 
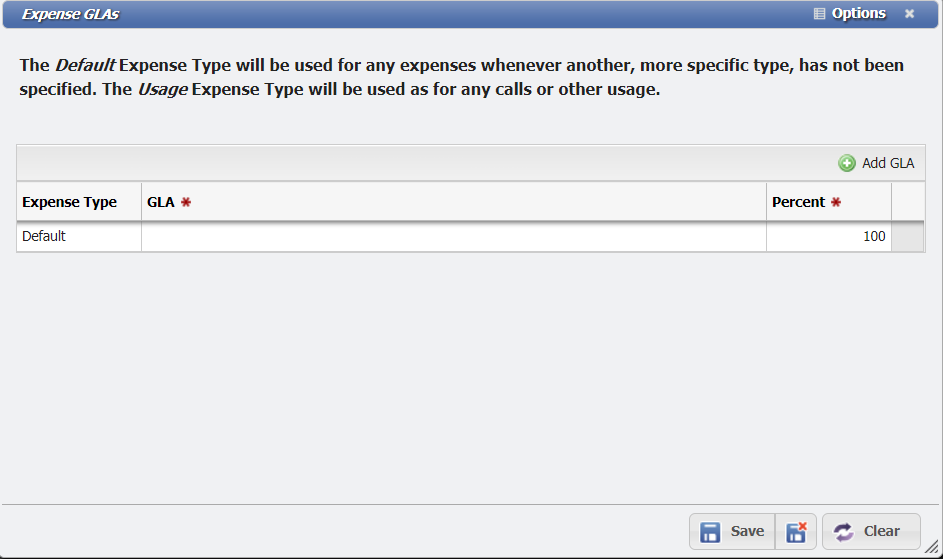
4. Click the 
5. Click in an empty GLA row and choose the GLA that will get billed for this Service's charges.
6. If the charges are split between multiple GLAs, edit the percentages and make sure they total 100%.
7. Click the 